Setting up Launch Using File Upload
Create a Project using File Upload
Launch allows you to create a project by directly uploading a project folder or a .zip file.
This document guides you through the process of creating a project in Launch by uploading a project zip file. The zip file can be a build zip or a source code zip.
Prerequisites
Access to Launch for your organization (Note: Only the Organization Admin/Owner has permissions to create Launch projects in a stack)
Steps for Execution
Follow the steps given below to deploy your first Launch project using GitHub:
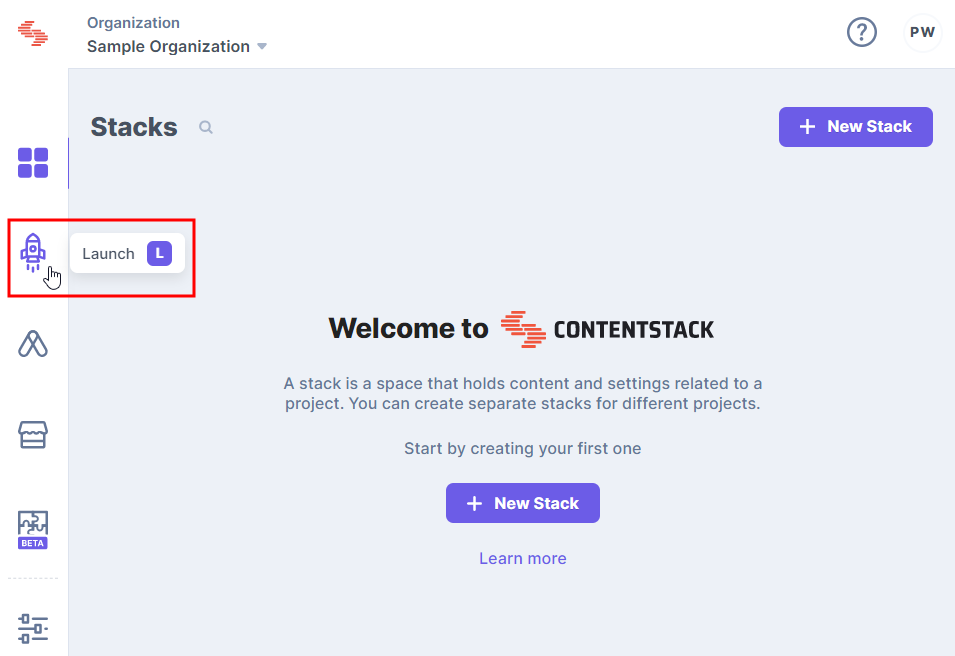
Log into Contentstack and click the Launch icon from the left navigation panel, as shown below:
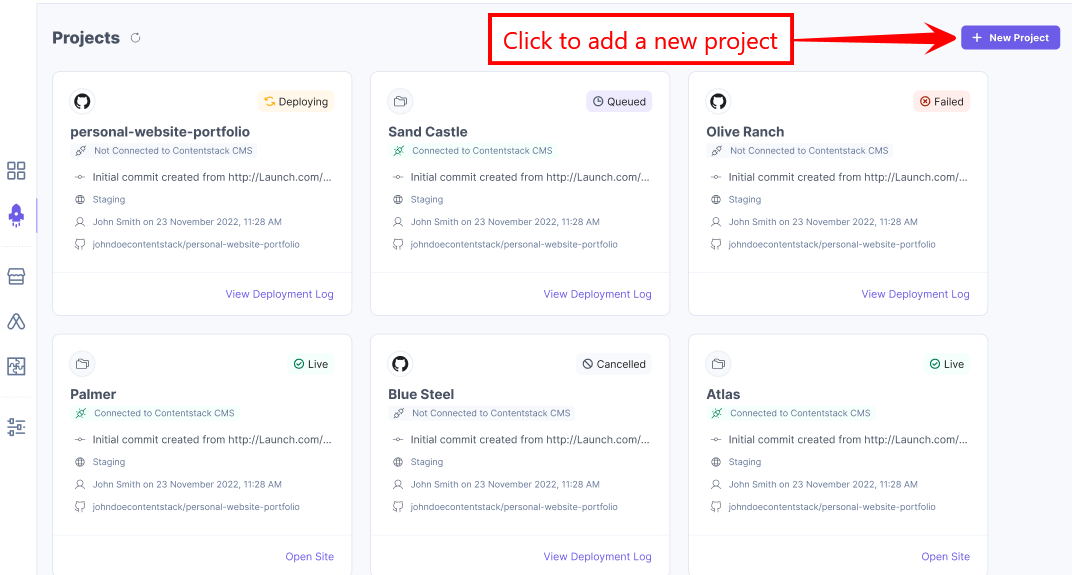
Click the + New Project button.
3. From the Create New Project modal, click Upload a file.
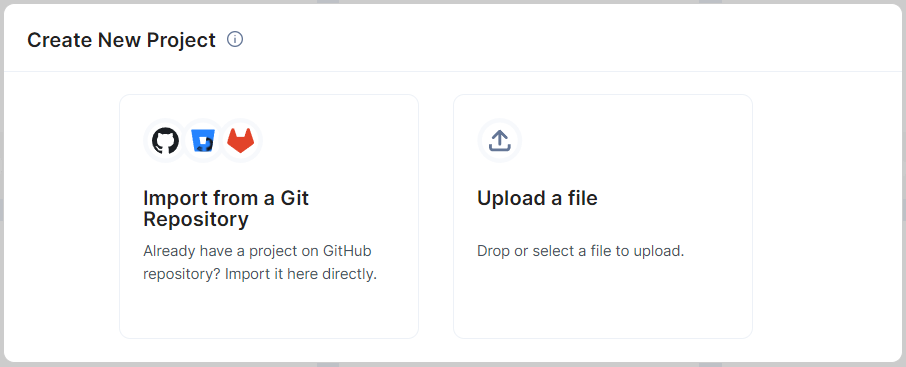 You can either drag and drop a .zip file or click the browse to upload link to upload a .zip file.
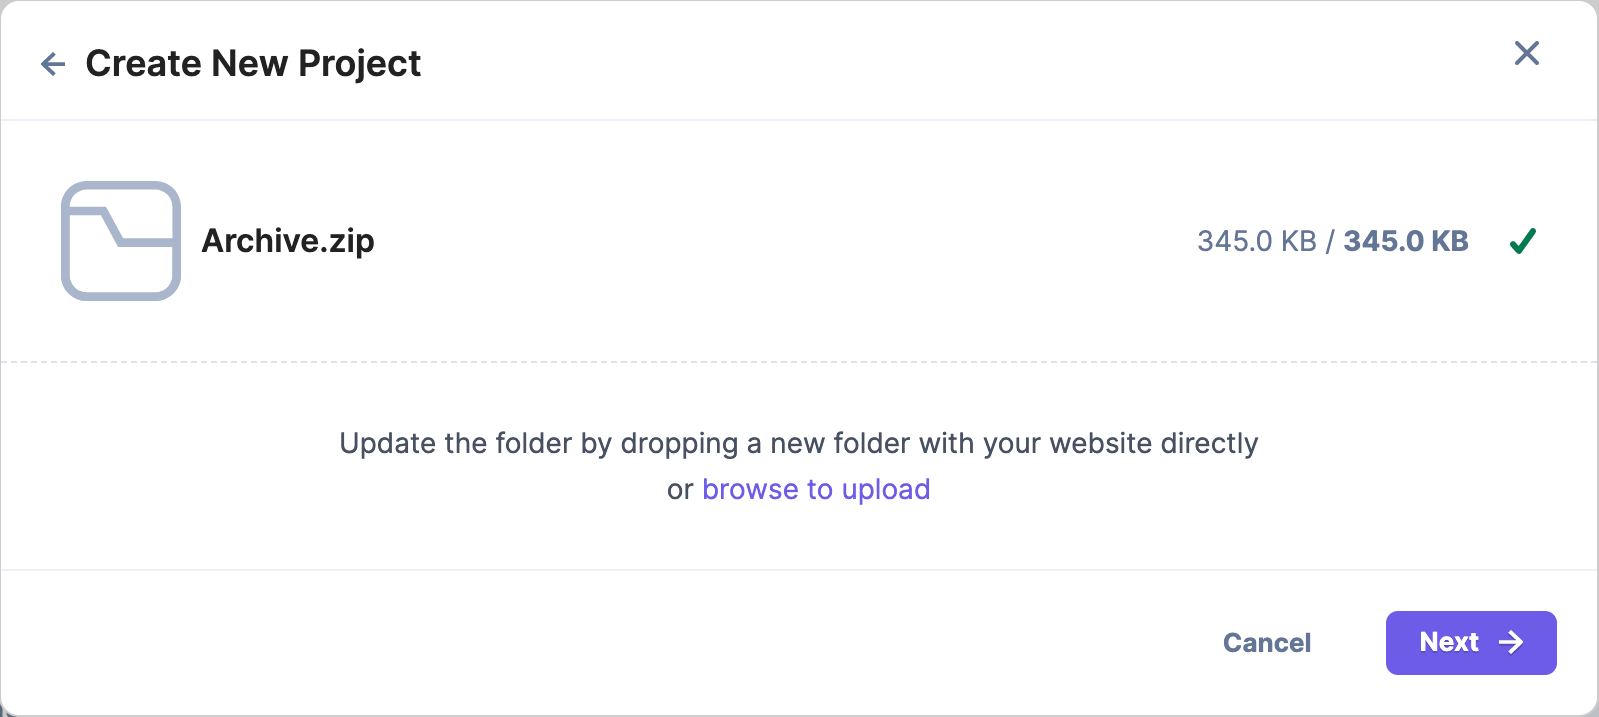
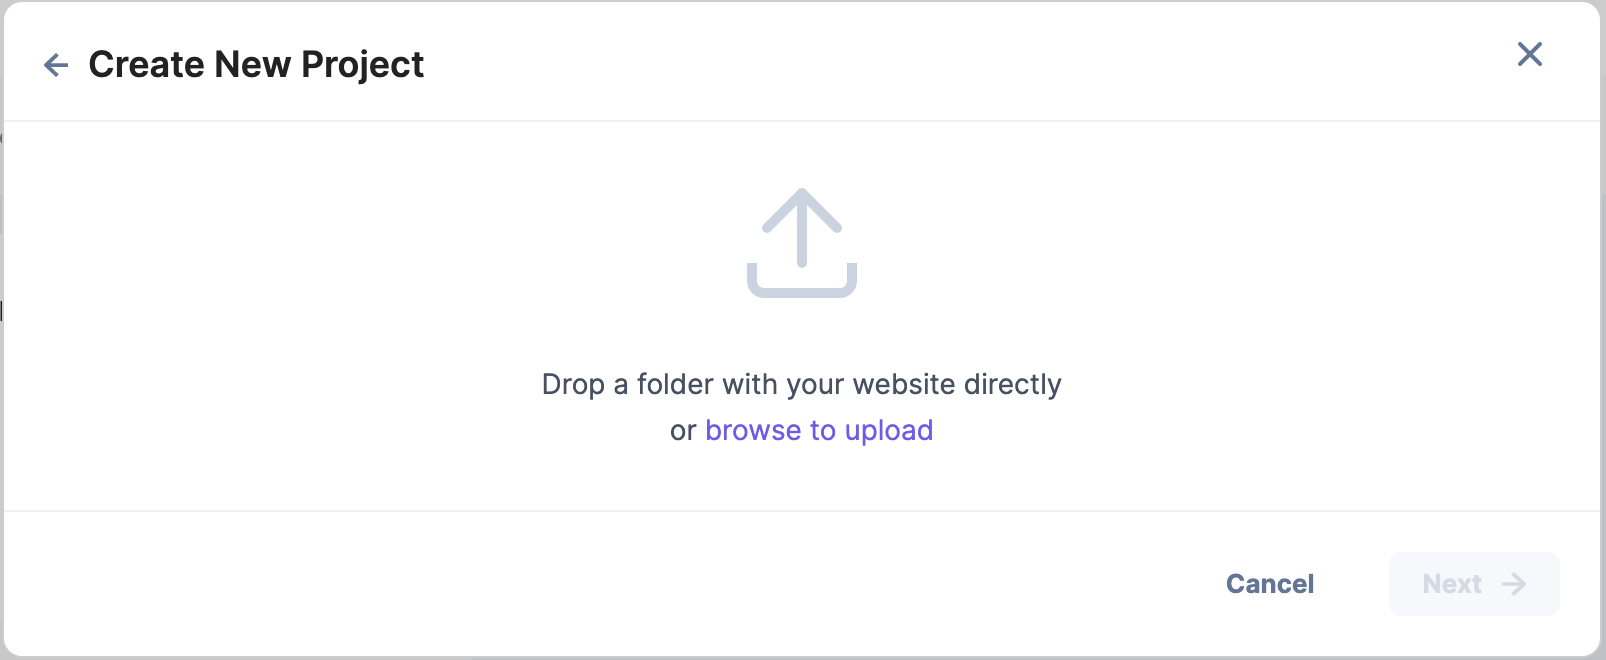 Click Next to proceed with the deployment steps.
Note: You can re-upload a .zip file after uploading one.
- You can also Cancel an ongoing file upload and re-upload a new file.
4. In the Deploy step add the following details:
Project Name (Mandatory): The project name is auto-populated with the name of the uploaded file. You can enter a new project name up to 200 characters. Environment Name (Mandatory): The environment name is automatically populated as Default, but can be changed. Note that this is specific to Launch and not directly related to any environments in your stack.
Build and Output Settings (Mandatory): The fields in this section are automatically populated based on the frontend framework detected in your repository.
Framework Preset: This is set based on the framework detected. You can change this to a different preset value or select “Other” if your framework isn’t in the list.
Build Command (Mandatory): The command used to build the project.
Output Directory (Mandatory): The directory path where the project’s build output files get stored.
Environment Variables (Optional):
Enter the key and value of your environment variables in the Key Value Edit section.
You can also add the key-value pairs in bulk in the Bulk Edit section.
Use the “Connect and Import Variables” option to automatically import important variables (such as API key and delivery token) from a stack.
Click the + Add Environment Variable button to add more environment variables.
5. Once all the fields are filled with appropriate values, click the Deploy button.
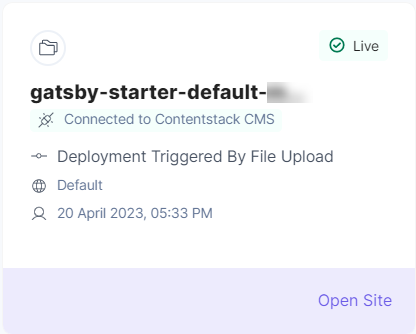
You have successfully deployed a project!