Creating Branches
Creating Branches with API
Prerequisites:
-
API Key and AuthToken:
Ensure you have the API key and authtoken for your Contentstack account.
-
Contentstack Stack API Endpoint:
Obtain the base API endpoint for your Contentstack stack.
Steps:
1. Authentication:
Before making API calls, ensure you authenticate your requests by including the API key and authtoken in the headers.
Headers:
Content-Type: application/json
api_key: YOUR_API_KEY
authtoken : YOUR_AUTH_TOKEN
2. Get Existing Branches (Optional):
You can retrieve information about existing branches in your Contentstack stack if needed.
GET /v3/stacks/branches
curl --location 'https://api.contentstack.io/v3/stacks/branches' \

--header 'api_key: ************************' \

--header 'authtoken: *********************' \

--header 'Content-Type: application/json' \

--data ''
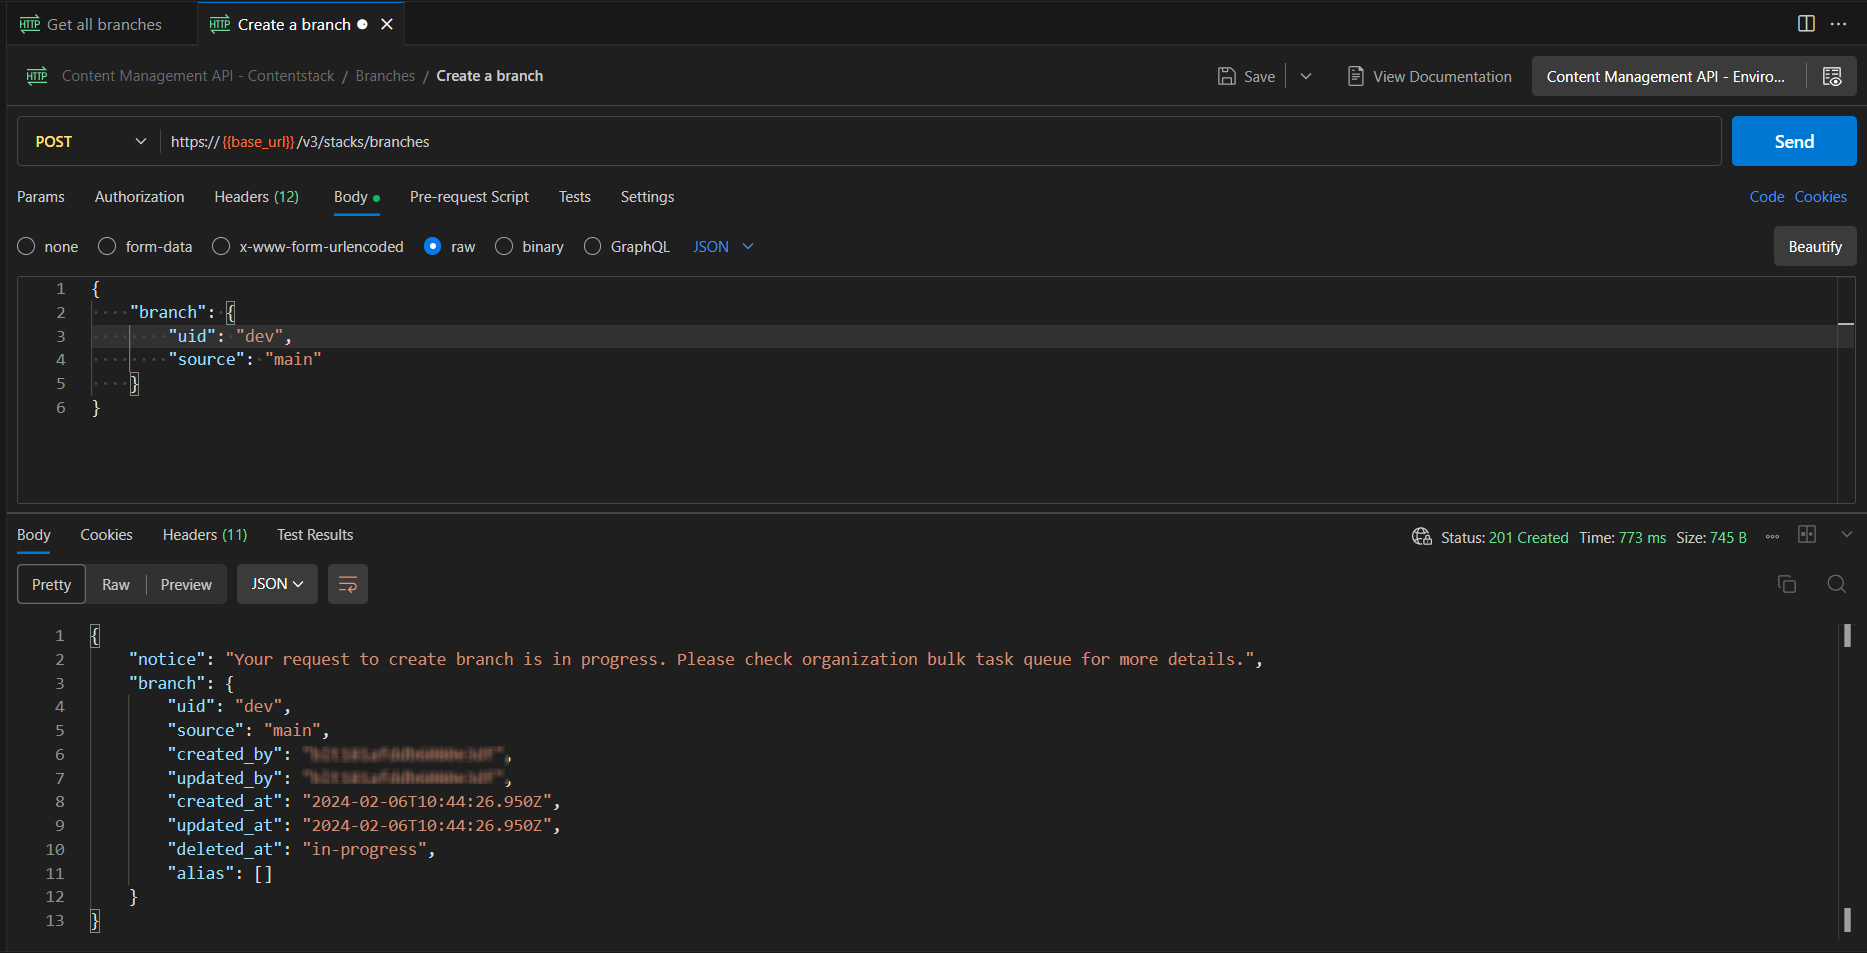
3. Create a New Branch:
To create a new branch, use the following API call:
POST /v3/stacks/branches
Request Body: {

  "branch": {

    "name": "NewBranchName",

    "source": "SourceBranchID"

  }

}
-
Replace "NewBranchName" with the desired name for the new branch.
Replace "SourceBranchID" with the ID of the branch from which the new branch should inherit its data.


curl --location 'https://api.contentstack.io/v3/stacks/branches' \

--header 'Content-Type: application/json' \

--header 'api_key: ******************' \

--header 'authtoken: ****************' \

--header 'Content-Type: application/json' \

--data '{

    "branch": {

        "uid": "dev",

        "source": "main"

    }

}'
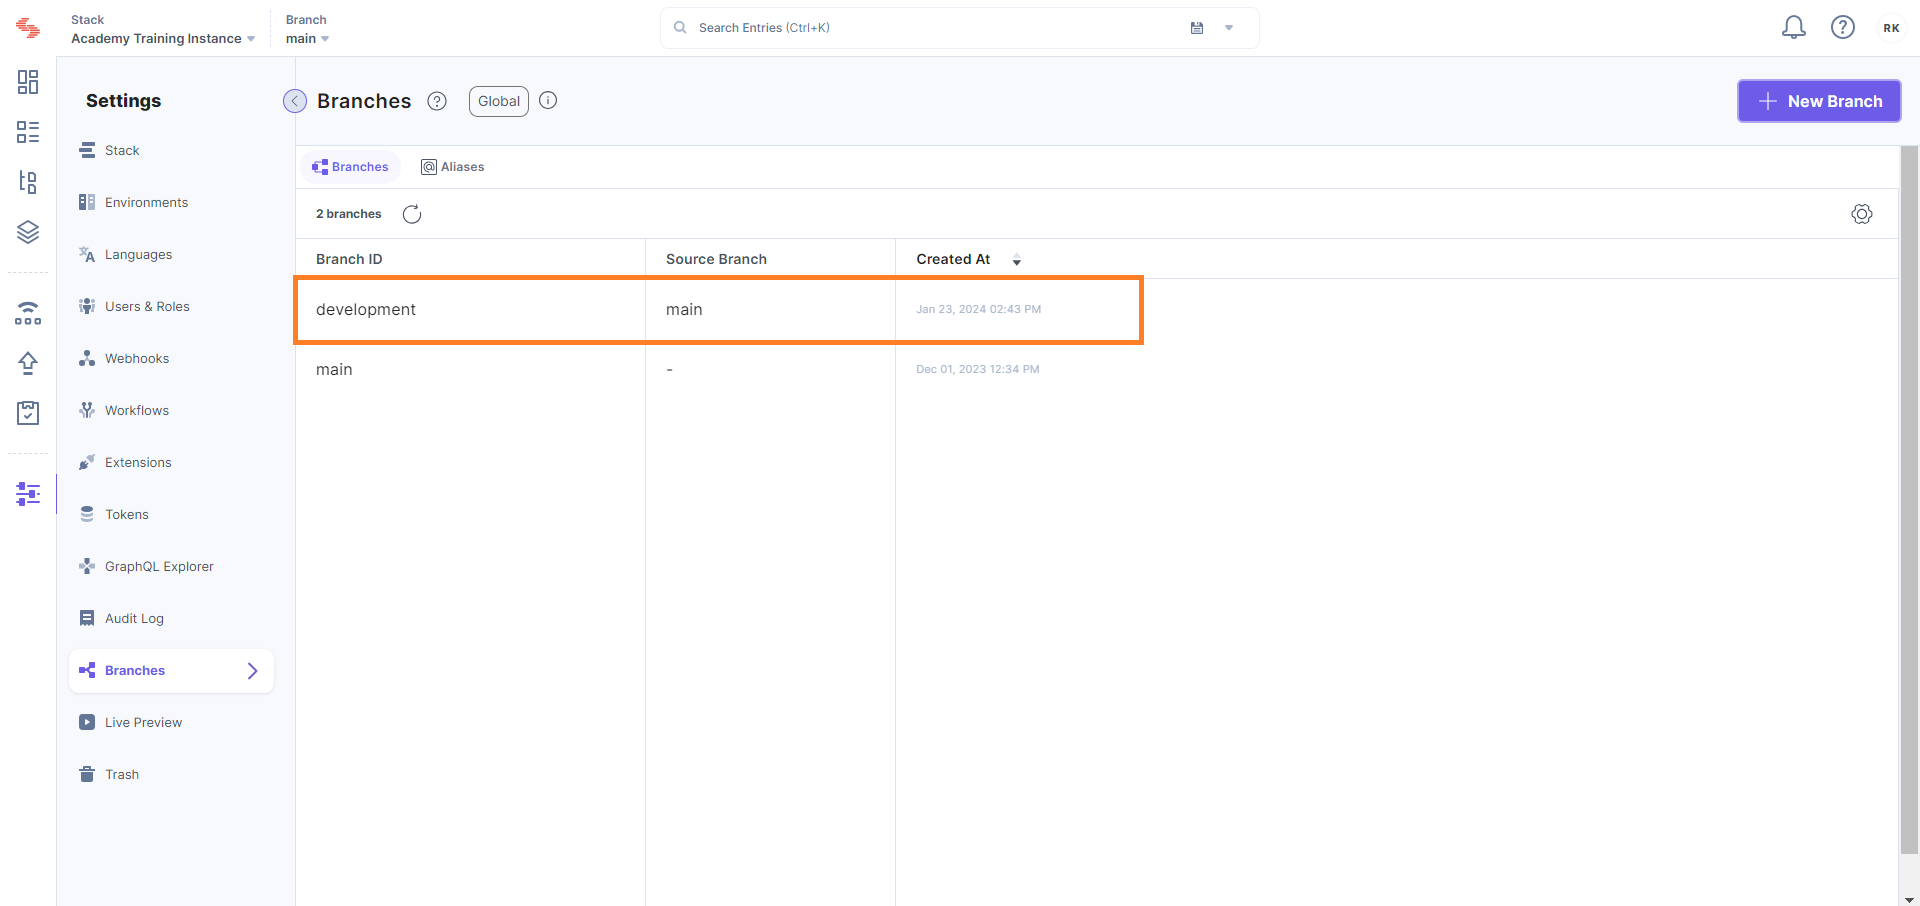
4. Response:
Upon successful creation, the response will include details about the new branch, including its unique ID.
{

  "branch": {

    "uid": "NEW_BRANCH_ID",

    "name": "NewBranchName",

    "source": "SourceBranchID",

    // Other branch details...

  }

}


{

    "notice": "Your request to create branch is in progress. Please check organization bulk task queue for more details.",

    "branch": {

        "uid": "dev",

        "source": "main",

        "created_by": "***************",

        "updated_by": "***************",

        "created_at": "2024-01-23T12:42:23.260Z",

        "updated_at": "2024-01-23T12:42:23.260Z",

        "deleted_at": "in-progress",

        "alias": []

    }

}
5. Error Handling:
Handle errors by checking the status code and the response body. Common error responses include details about what went wrong.
6. Conclusion:
With these API calls, you can seamlessly integrate branch creation into your Contentstack workflows, facilitating efficient collaboration and content development.
Creating Branches Using CLI
Prerequisites:
-
Contentstack CLI:
-
Ensure you have the Contentstack CLI tool installed. You can install it from https://www.contentstack.com/docs/developers/cli/install-the-cli.
-
-
API Key:
-
Obtain the API key for your Contentstack stack.
-
Steps:
1. Configure CLI:
Before initiating any commands, configure the Contentstack CLI tool with your API key, access token, and stack ID.
csdx auth:login
Follow the prompts to enter your API key, access token, and stack ID.
2. Create a New Branch:
Use the following command to create a new branch:
USAGE
  $ csdx cm:branches:create
  $ csdx cm:branches:create [--source ] [--uid ] [-k ]
  $ csdx cm:branches:create [--source ] [--uid ] [--stack-api-key ]
FLAGS
  -k, --stack-api-key=  Stack API key
  --source=             Source branch from which new branch to be created
  --uid=                Branch UID to be created
DESCRIPTION
  Create a new branch
EXAMPLES
  $ csdx cm:branches:create
$ csdx cm:branches:create --source main -uid new_branch -k bltxxxxxxxx
$ csdx cm:branches:create --source main --uid new_branch --stack-api-key bltxxxxxxxx
-
Replace new_branch with the desired name for the new branch.
-
Replace source with the ID of the branch from which the new branch should inherit its data.
-
Provide API key value to -k or --stack-api-key

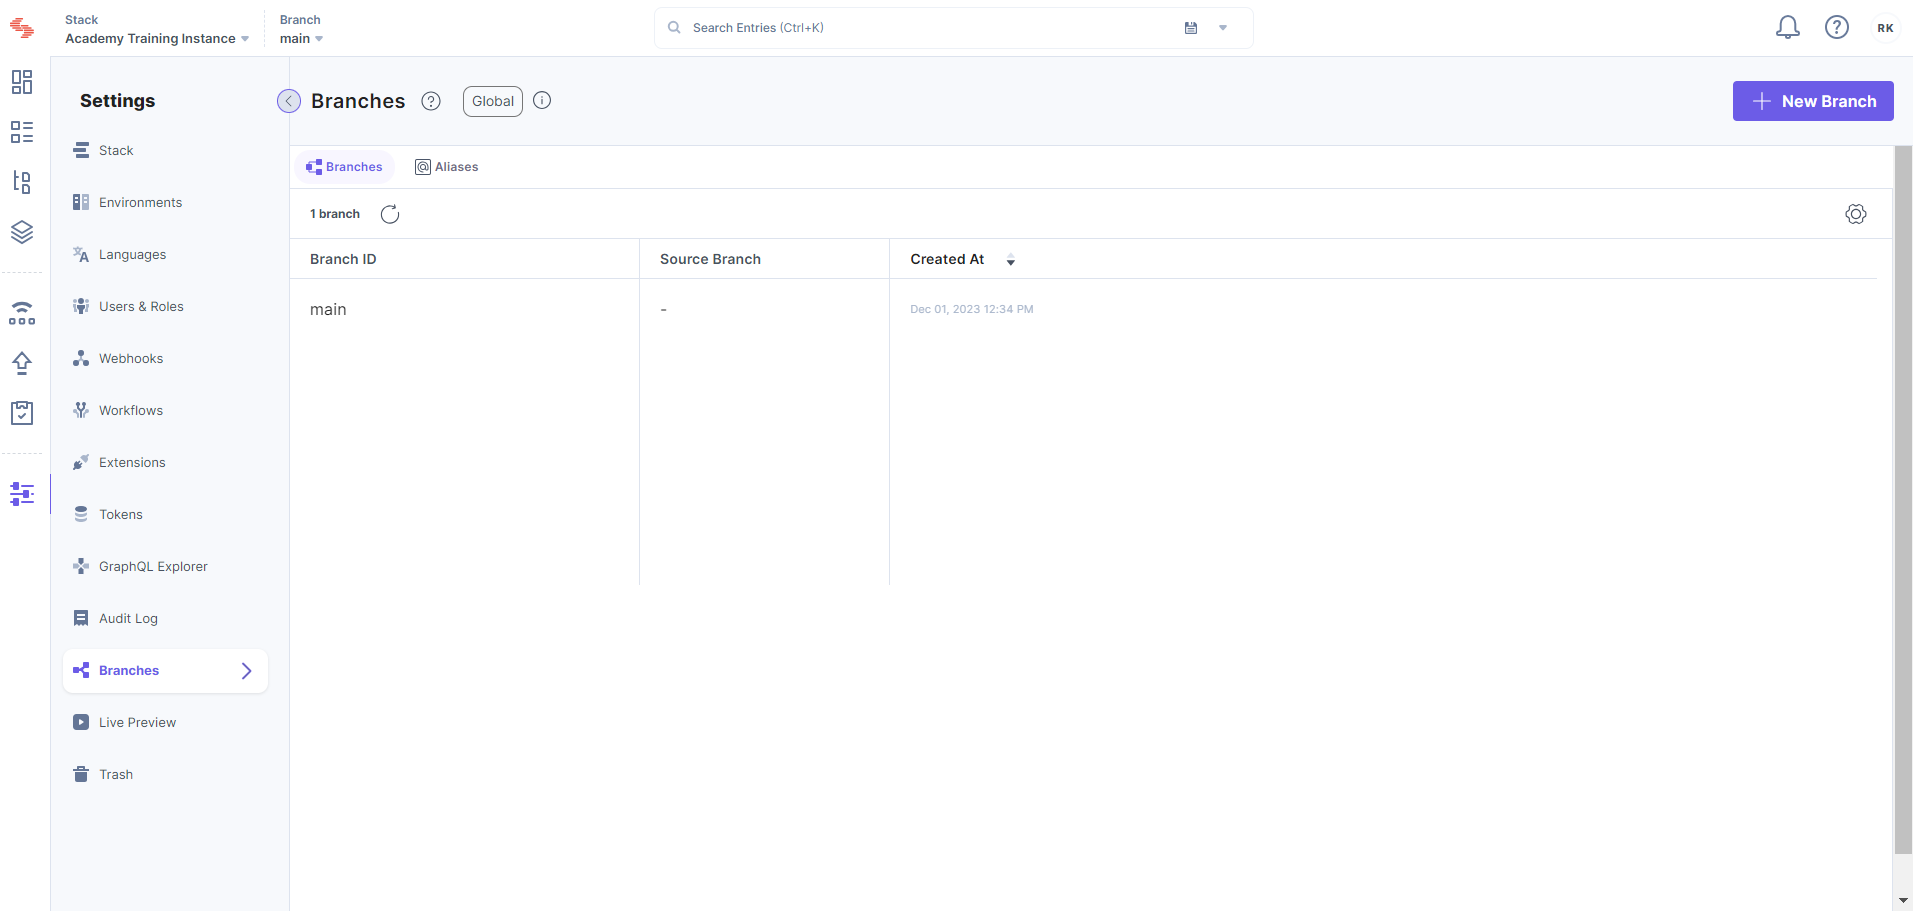
3. View Created Branch:
Verify the successful creation of the branch by listing the existing branches:
List the branches
USAGE
  $ csdx cm:branches
FLAGS
  -k, --stack-api-key=  Stack API Key
  --verbose                    Verbose
DESCRIPTION
  List the branches
EXAMPLES
  $ csdx cm:branches
$ csdx cm:branches --verbose
$ csdx cm:branches -k
This command will display a list of branches associated with your Contentstack stack, including the newly created branch.

4. Conclusion:
Congratulations! You have successfully created a new branch in Contentstack using the CLI tool. This streamlined process allows for efficient management of content branches, fostering collaborative content development within your Contentstack environment.
Creating a Branch with the UI
To delve into the intricacies of creating a new branch, users are required to navigate through the Contentstack interface and adhere to a structured set of steps:
-
Accessing Branch Settings:
-
Log in to your Contentstack account and proceed to the settings panel.
-
Choose the "Branches" option to initiate the branch creation process.
-
-
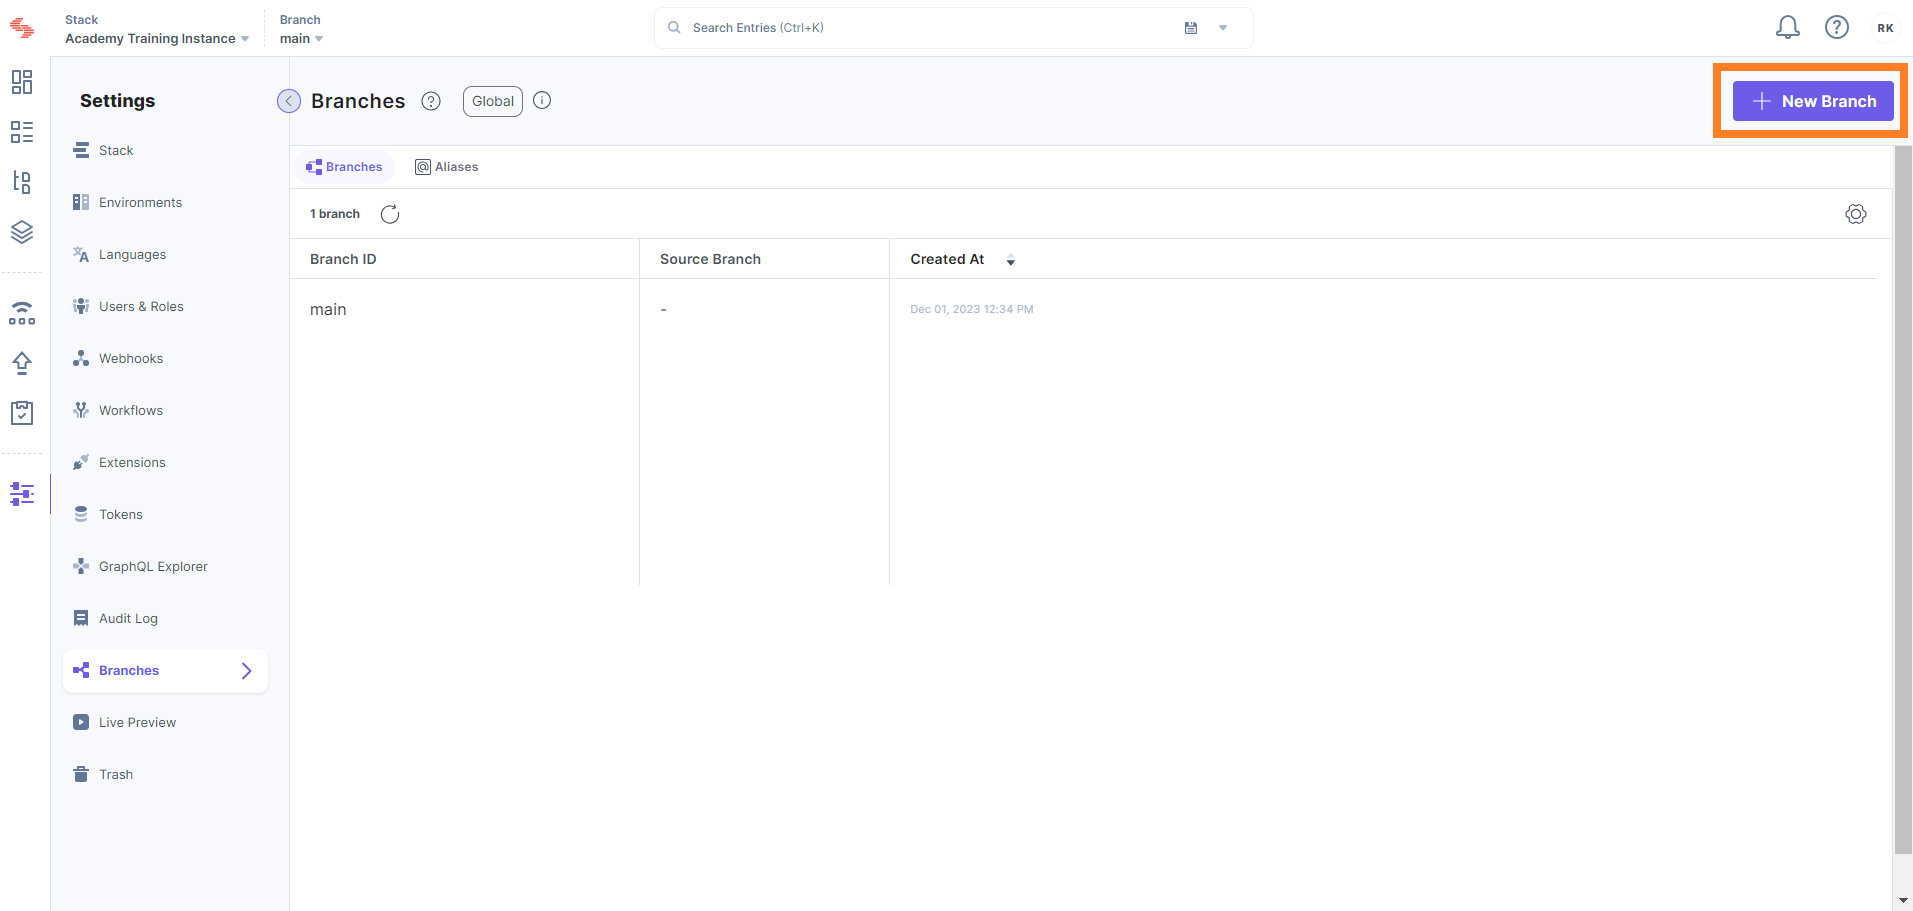
Initiating New Branch:
-
Within the Branches section, locate the "+ New Branch" option situated in the top-right corner.
-
Click on this option to commence the creation of a fresh branch.
-
-
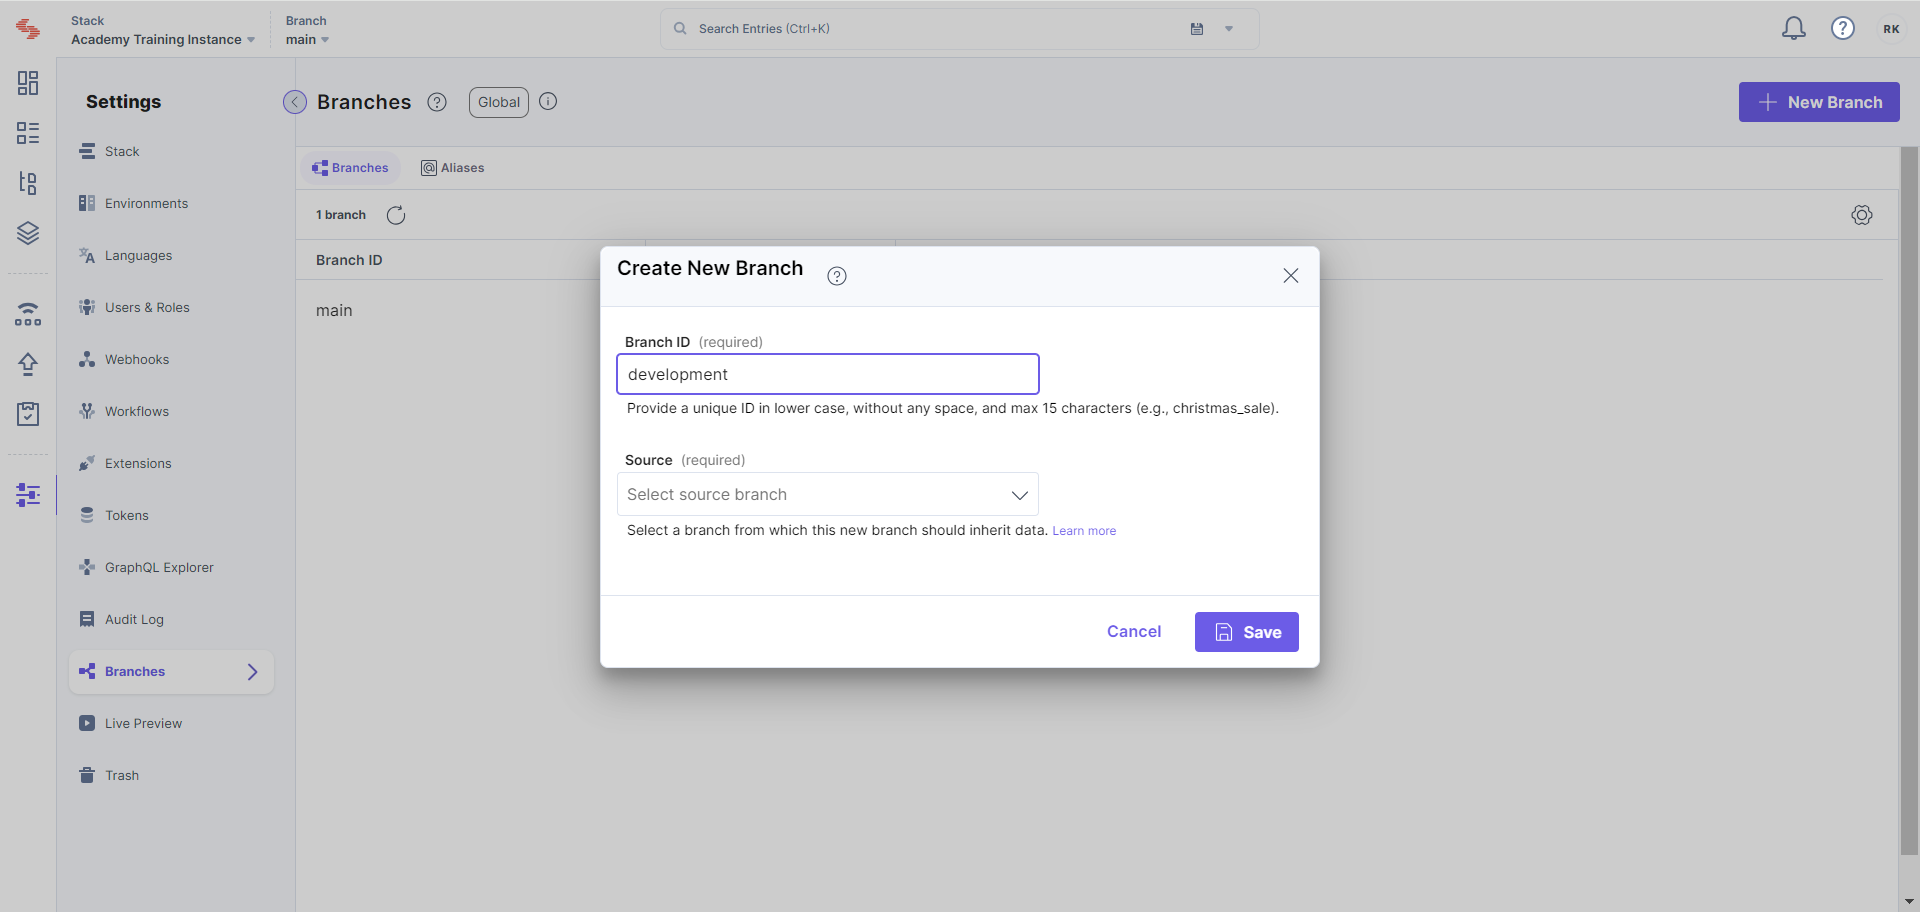
Completing the Create New Branch Form:
-
Upon selecting to create a new branch, a prompt directs users to the "Create New Branch" form.
-
Users are required to furnish the form with specific information to define the new branch.
-
-
Essential Information in the Create New Branch Form:
-
Branch ID: Users must assign a unique identifier to the branch, facilitating a clear distinction.
-
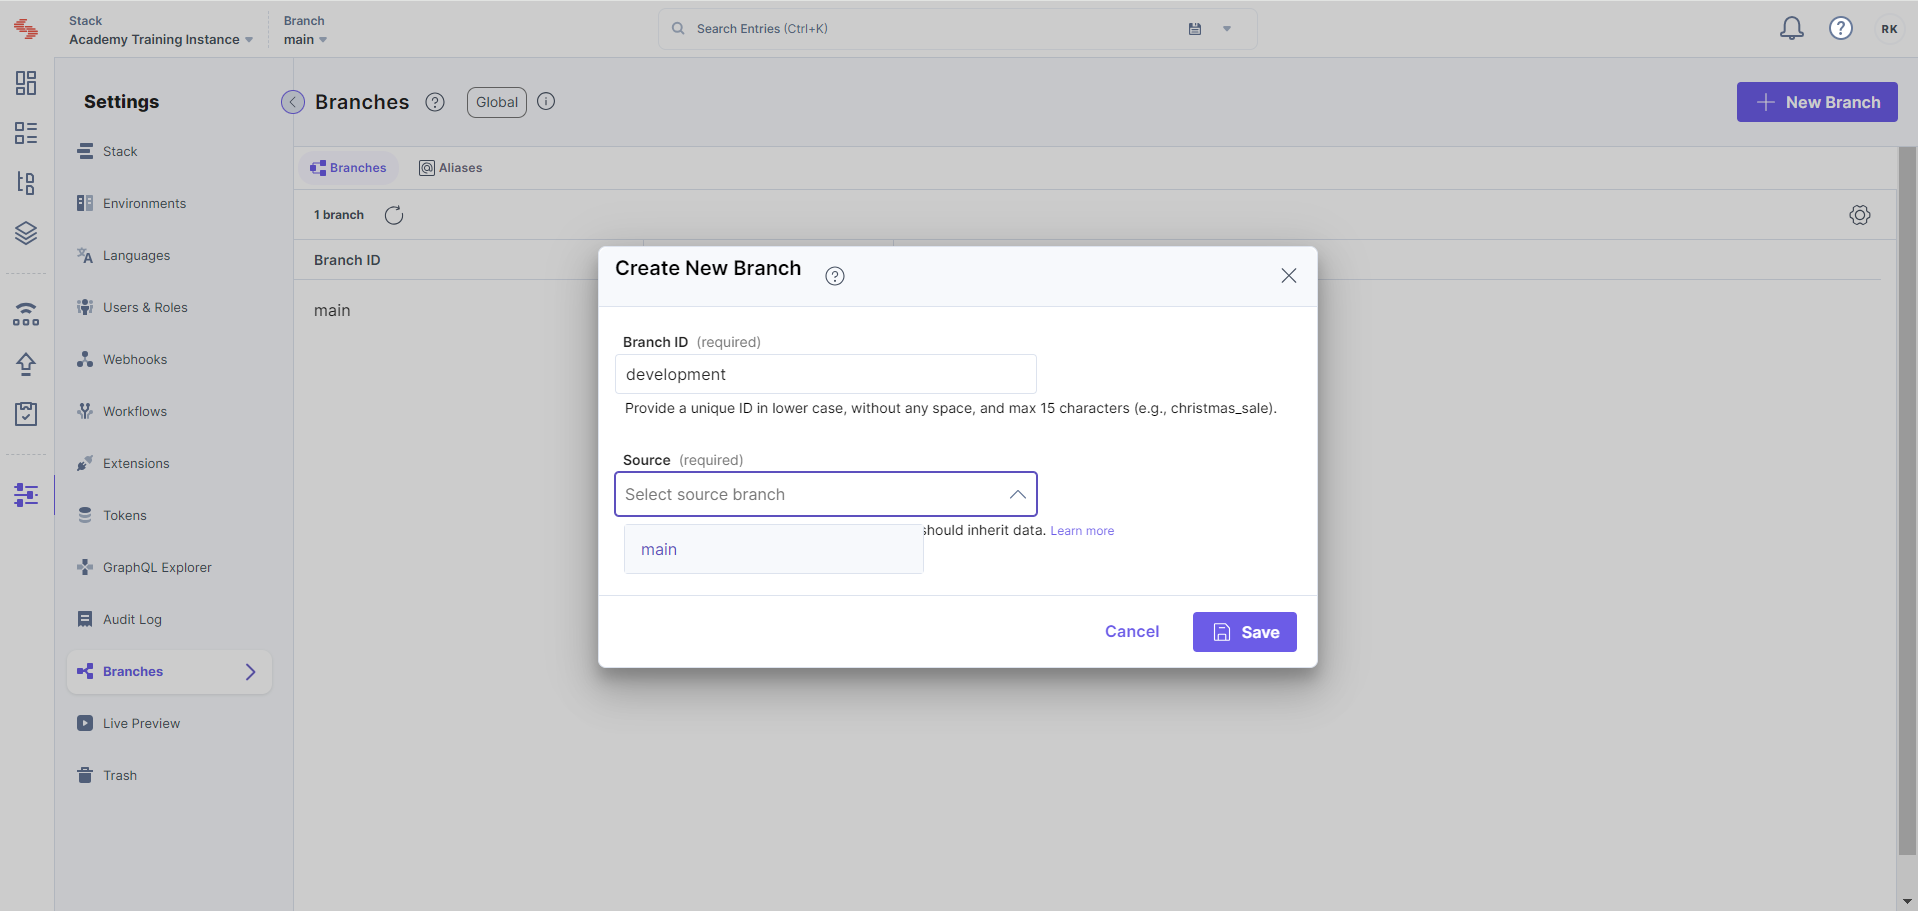
Source Selection: From the provided dropdown menu, users must select the source branch from which the new branch will inherit its data.
-
-
Finalizing the Branch Creation:
-
To conclude the branch creation process, users are instructed to click the "Save" button in the form's bottom-right corner.
-