Implementing App Locations: Stack Dashboard
The Dashboard Location is a type of location that lets you create widgets for your stack dashboard.
Using this location, you can create several useful widgets.
Consider a widget that does the following operations:
Shows real-time data of stack usage
Lists all the entries published recently
Allows you to add your "To-Dos" for the day or take notes.
Contentstack loads this location of your app inside an iframe in the Dashboard of your Stack. Like in previous modules, you can use the app sdk framework to, for example, access your configuration values, in case you need to display some third-party data such as Analytics data or Kanban Jira information, etc... Basically is a place for you to integrate any information and functionality that you want available to your editors when accessing their stacks.
Use Case
One of the most common use cases in Contenstack to leverage stack dashboard widgets, is typically to display analytics information on your sites, workflow statuses within Contentstack or other third-party systems. Add custom buttons and functionality to allow editors to quickly perform repetitive tasks or automate processes on other systems, for example, search engines, invalidate cache, preview most used promotions, or even get a comprehensive list of the best performing content in their digital properties.
Similar to the other locations, you can use the app sdk in order to read the stored configuration values, user information and even stack details as follows:
useEffect(() => {
ContentstackAppSdk.init()
.then(async (appSdk: any) => {
const config = await appSdk.getConfig();
const currentUser = appSdk?.currentUser;
const stack = appSdk?.stack;
setState({
config,
currentUser,
stack,
appSdkInitialized: true,
});
})
.catch((err: any) => {
console.error("Error while initializing app sdk:", err);
});
}, []);
Using these objects in the state variable, you can now render your UI according to your use case.
Using the e-commerce platform integration use case, you can use Stack Dashboard Widget UI location to display analytics of all the products against each entry, i.e. what entries use what products and how those products are performing. Those analytics could also include the updates made to the products and whether the particular updated product data is published to the site or not. Again, the possibilities are endless.
Exercise 4
In this exercise you will get the list of content types in Contenstack and you will display the amount of entries created based on each of those content types. The idea here is to illustrate how you can leverage the sdk to access other modules of the system, in this case, content types.
Using your code editor, access the file located at: src/containers/DashboardWidget/StackDashboard.tsx
In that file, within the available react component, create a state variable for the entry count:
const [entriesCounts, setEntriesCounts] = useState<any>([]);
While initializing the appSDK, use the following code snippet to retrieve all the content types in the stack:
const { content_types } =
(await appSdk?.location?.DashboardWidget?.stack?.getContentTypes()) || {};Next, you will use the apSDK to query for all the entries for all the content types. Here is the code:
let entriesCountObj = await Promise.all(
content_types?.map(async (content_type: any) => {
const { entries } =
(await appSdk?.location?.DashboardWidget?.stack
?.ContentType(content_type.uid)
?.Entry.Query()
.find()) || {};
return {
uid: content_type?.uid,
title: content_type?.title,
count: entries?.length,
};
})
);
setEntriesCounts(entriesCountObj);Next, import the following component from the Venus Component Library by pasting int into the file:
import { InfiniteScrollTable } from "@contentstack/venus-components";
The InfiniteScrollTable component you just imported requires a columns object to use for its columns definition. Use the following code to define the table columns:
const columns = [
{
Header: "Title",
accessor: "title",
columnWidthMultiplier: 1.9,
},
{
Header: "UID",
accessor: "uid",
id: "uid",
columnWidthMultiplier: 1.4,
},
{
Header: "Count",
accessor: "count",
columnWidthMultiplier: 0.7,
},
];To read more on how to use InfiniteScrollTable, refer to the Venus Components Documentation
To signal the loaded state of the rows in the Table, you need to populate the itemStatusMap object. To do that, you will:
Initialize the itemStatusMap:
let itemStatusMap: any = {};
Then, set the state as ‘loaded’ when the entriesCount is set:
useEffect(() => {
entriesCounts.forEach(
(_: any, index: any) => (itemStatusMap[index] = "loaded")
);
}, [entriesCounts, itemStatusMap]);And lastly, render the InifinteScrollTable in the DOM:
<div className="dashboard">
<div className="dashboard-container">
{state?.appSdkInitialized && (
<>
<h2>Entries Count</h2>
<InfiniteScrollTable
data={entriesCounts}
columns={columns}
uniqueKey={"uid"}
totalCounts={entriesCounts.length}
fetchTableData={() => {}}
loadMoreItems={() => {}}
itemStatusMap={itemStatusMap}
/>
</>
)}
</div>
</div>
Save your file and make sure that your application is still running with no errors.
Tip: in case you might have experienced any issues or your application is erroring, the final code is provided in the src/containers/DashboardWidget/solution.txt file, which contents you can copy and paste into the src/containers/DashboardWidget/StackDashboard.tsx file.
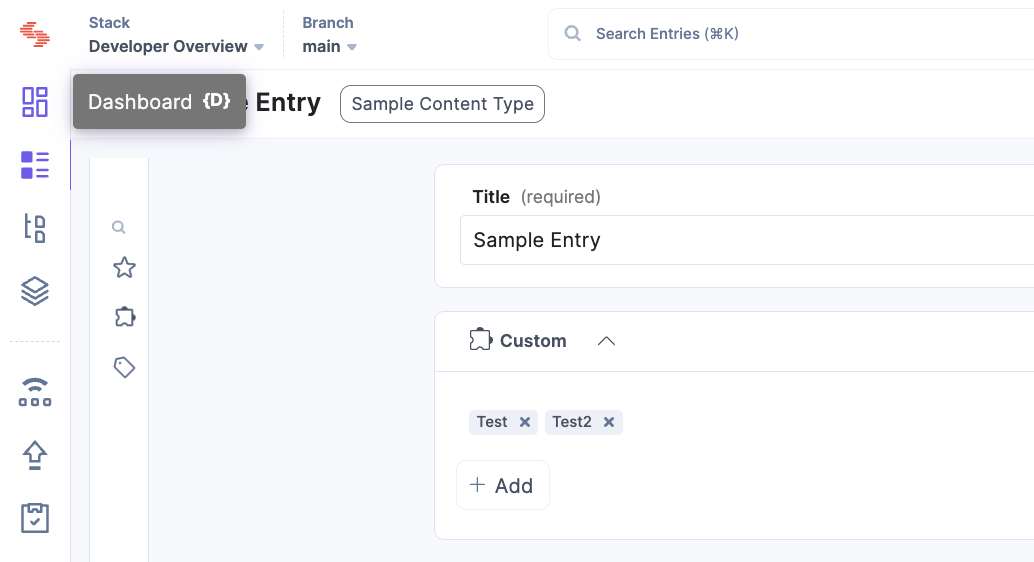
Now, go back to your Stack Dashboard. You can do so, by clicking the top `Dashboard` icon in the left navigation bar.
You will see your Stack Dashboard Widget. It should look similar to this:
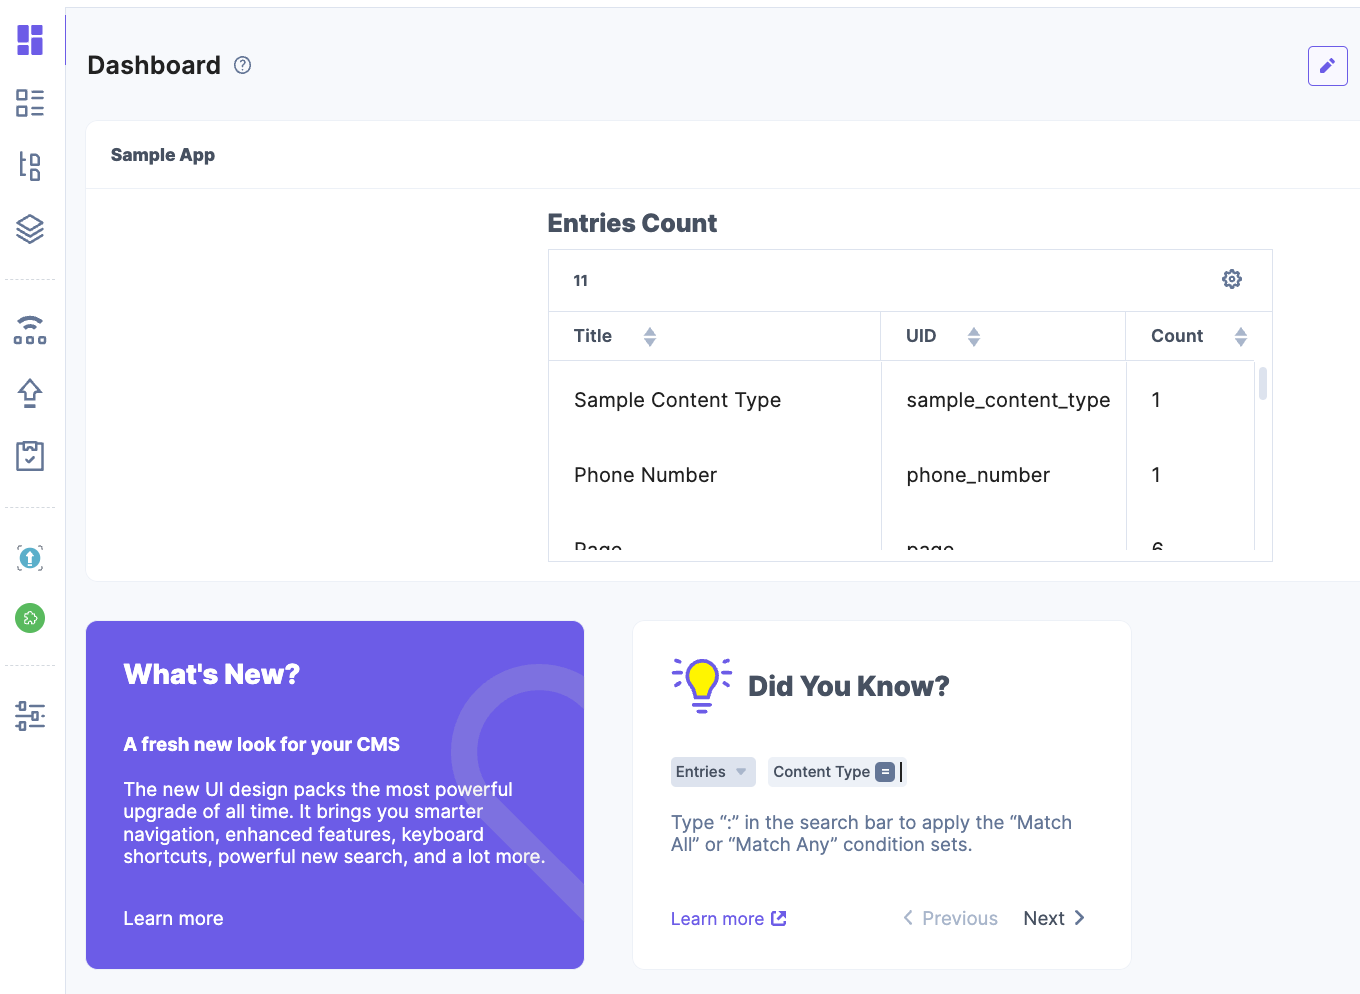
Tip: make sure you go over the entire code in the file to get a better understanding on how the logic is implemented.
If you want to learn more about this location, please visit our documentation: Stack Dashboard Location
In the next module you will implement the Asset Sidebar Widget location.
Video: Implementing Stack Dashboard Location
The following video walks you through the previous exercise steps so you can review and follow along: