Creating App in Developer Hub and Installing the App
In this section you will register your app in Developer Hub.
The Contentstack Developer Hub is an app development framework/portal that developers can leverage to rapidly build, host, and publish ready-to-use private or public apps. For more information about Developer Hub, please refer to the Developer Hub documentation.
Note: To complete this module is mandatory that you have your application running locally in Visual Studio Code, so make sure that you run the npm start command and that your application is running and browsable in port 3000,
To confirm your application is running, go to http://localhost:3000. you should see the following screen: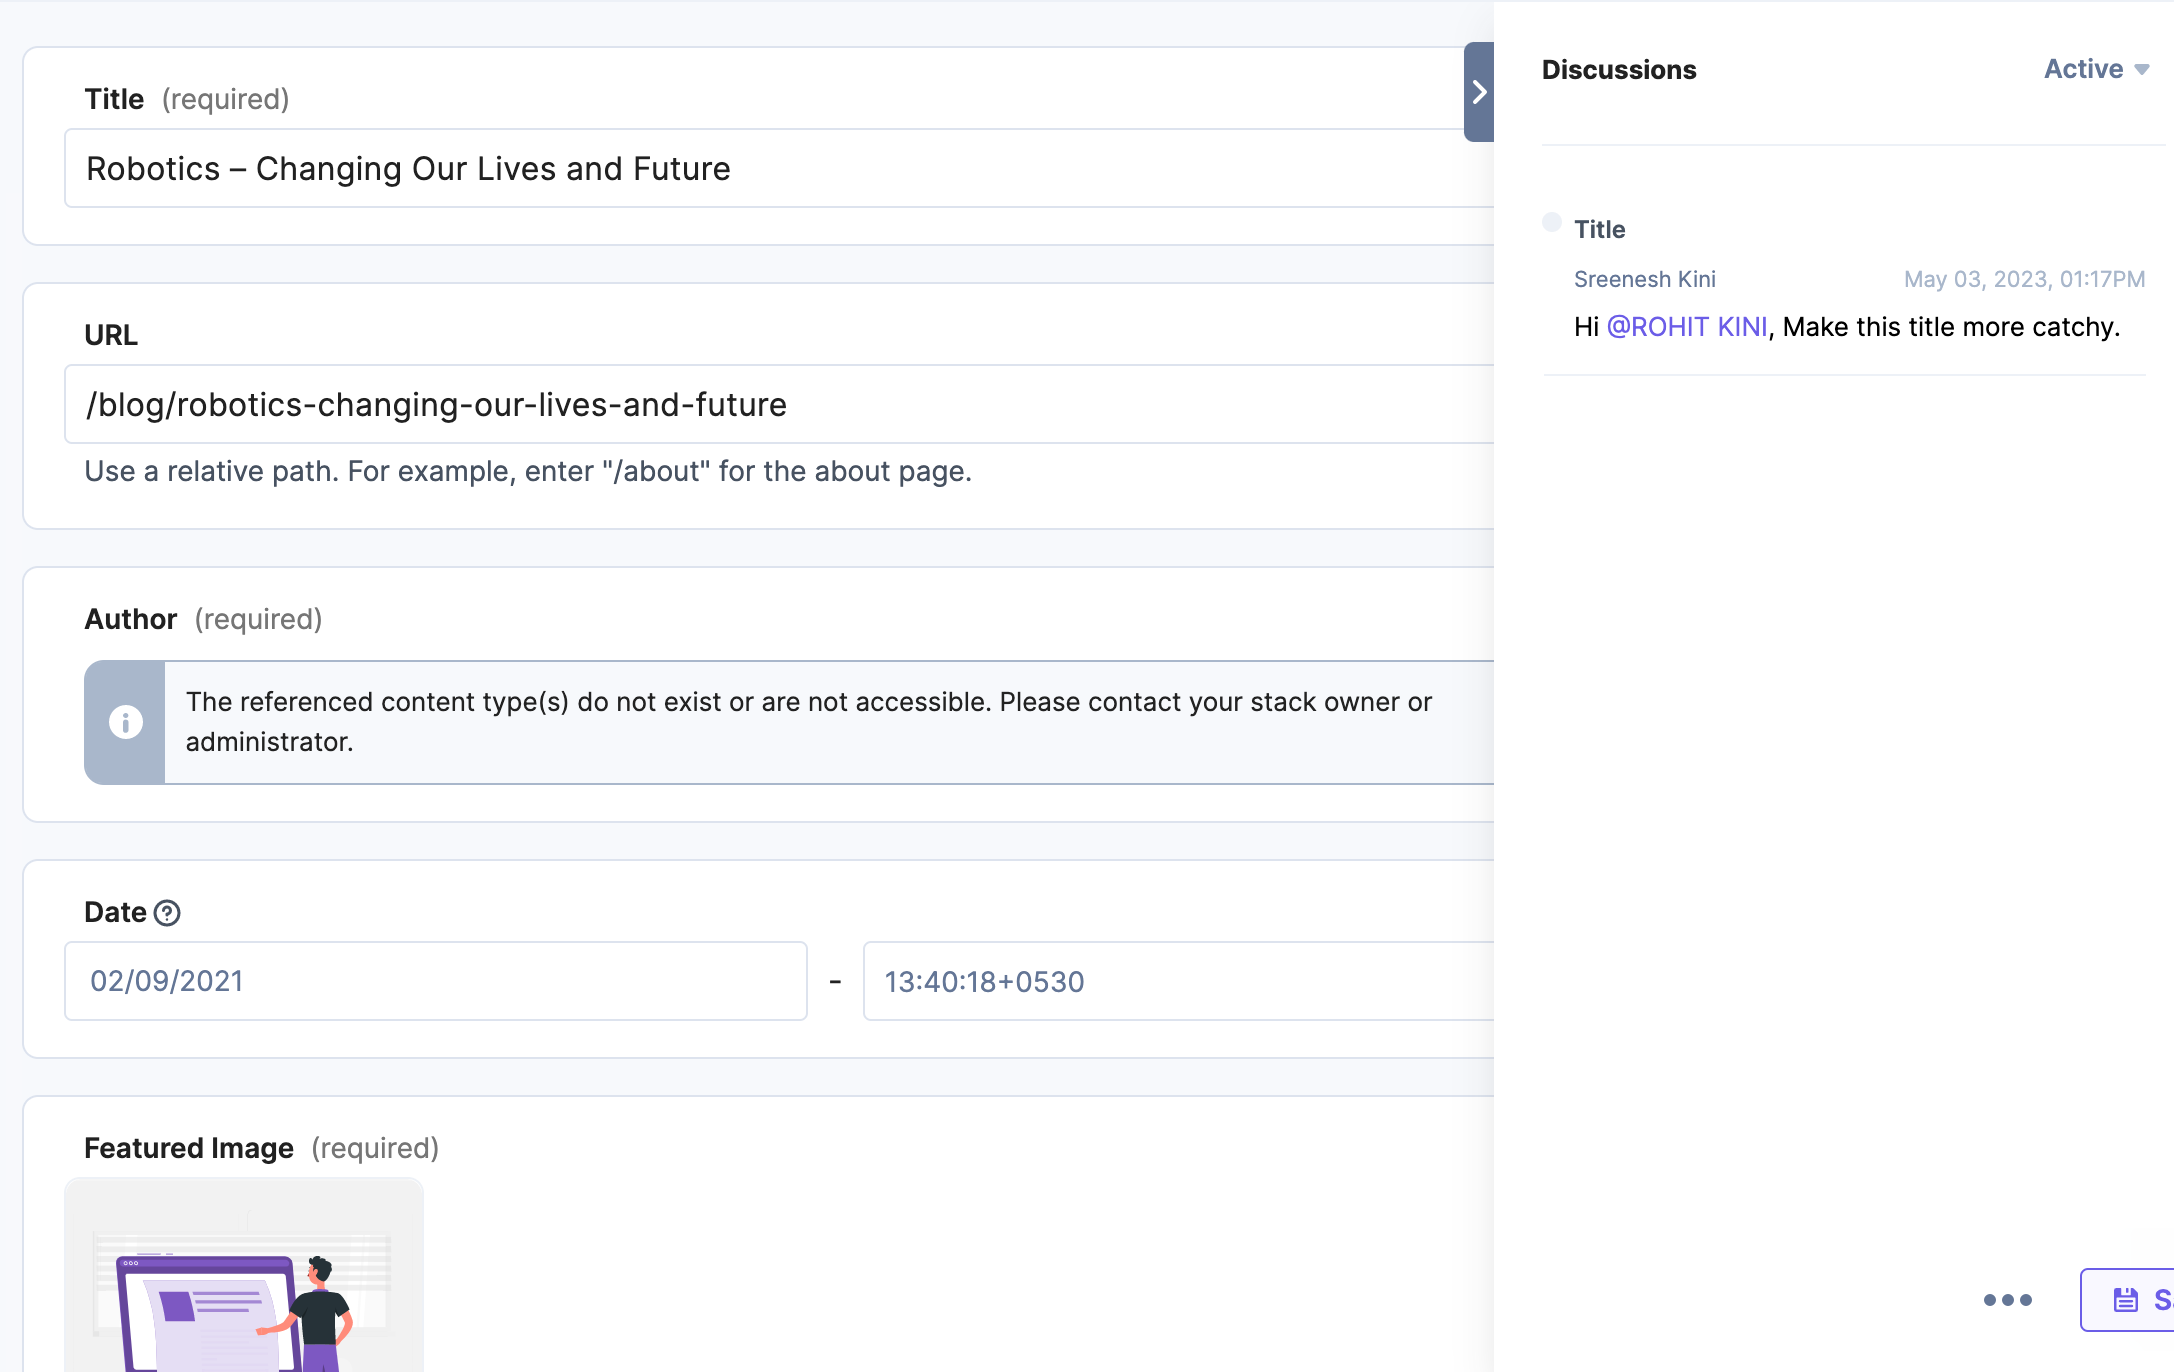
Next, you will access the Developer Hub and register your application. To do so, follow these steps:
1. Log in to your Contentstack account.
2. In the left-hand-side primary navigation, you will find the Developer Hub section (as shown below). Click the icon to go to the Developer Hub.
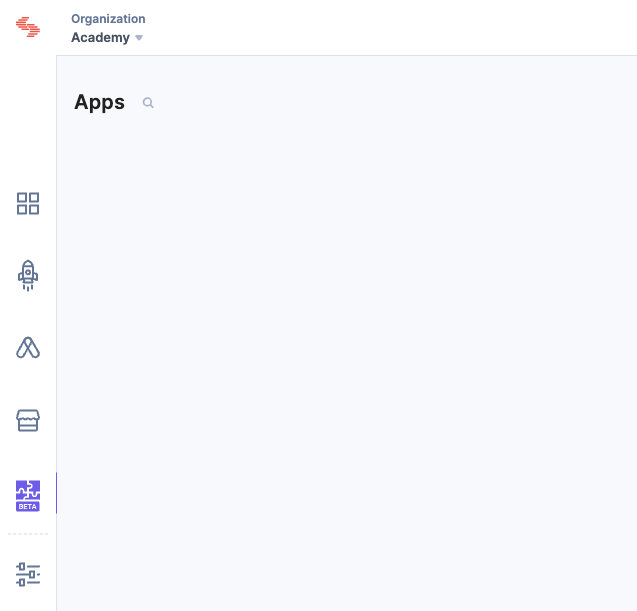
3. Click the +New App button at the top right corner of the page.
4. In the New App modal, provide a name and a description for your application. E.g. Sample App.
Notice this type of applications are considered private as they will not be publicly available in Contentstack’s marketplace.
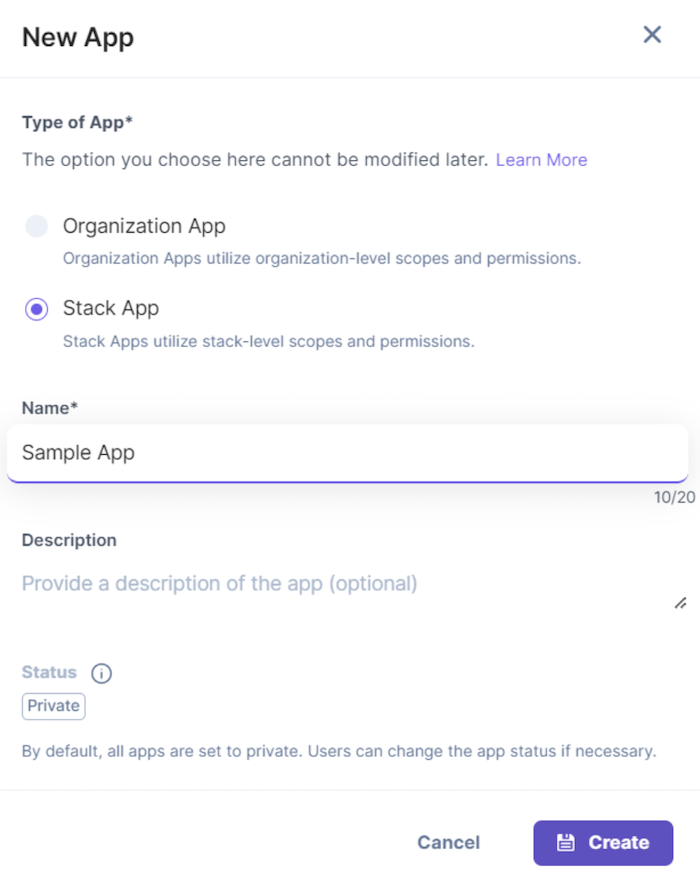
5. Next, click Create.
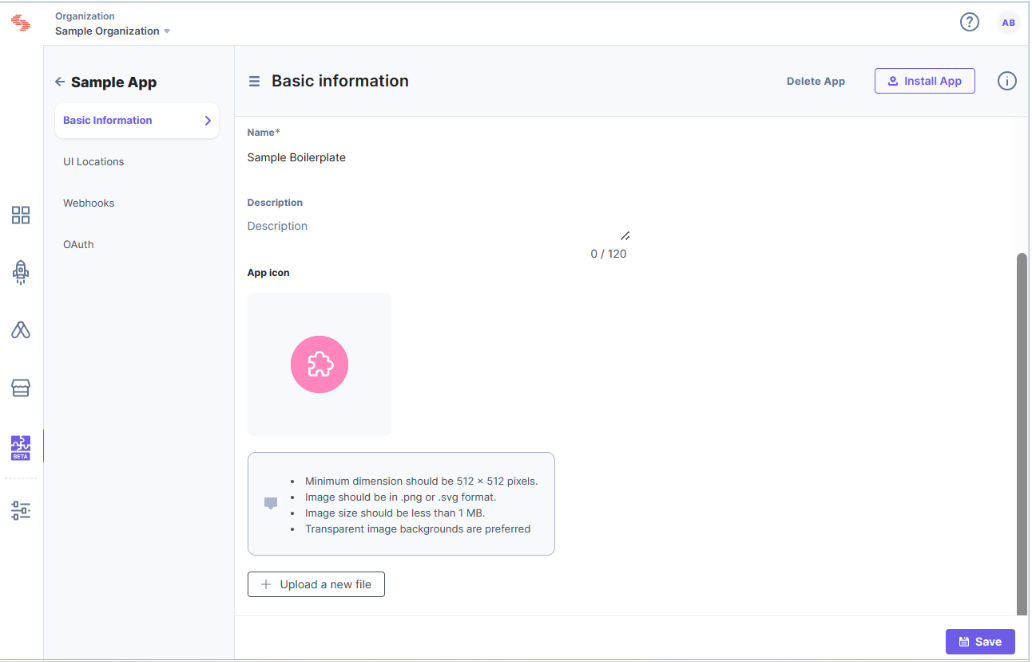
6. Next you will be presented with your application’s Information Page. Here you get access to your application’s basic information, and optionally you can upload an icon for your application. Once you are satisfied with the application’s name, description and icon, click Save to save your application’s data.
7. Next you will register all the UI locations this boilerplate application implements. To do so, you will click the UI Locations section on the left navigation bar. This will take you to the UI Locations Page.
8. In the UI Locations Page, enter the App URL in the input field. The App URL is the url where your application is hosted. Since we are running the boilerplate locally on port 3000, you will enter the following value in the App URL field: http://localhost:3000

9. Next we will register the different UI locations supported by the Boilerplate Application. In the following picture you can see a list of all the different supported extension locations.
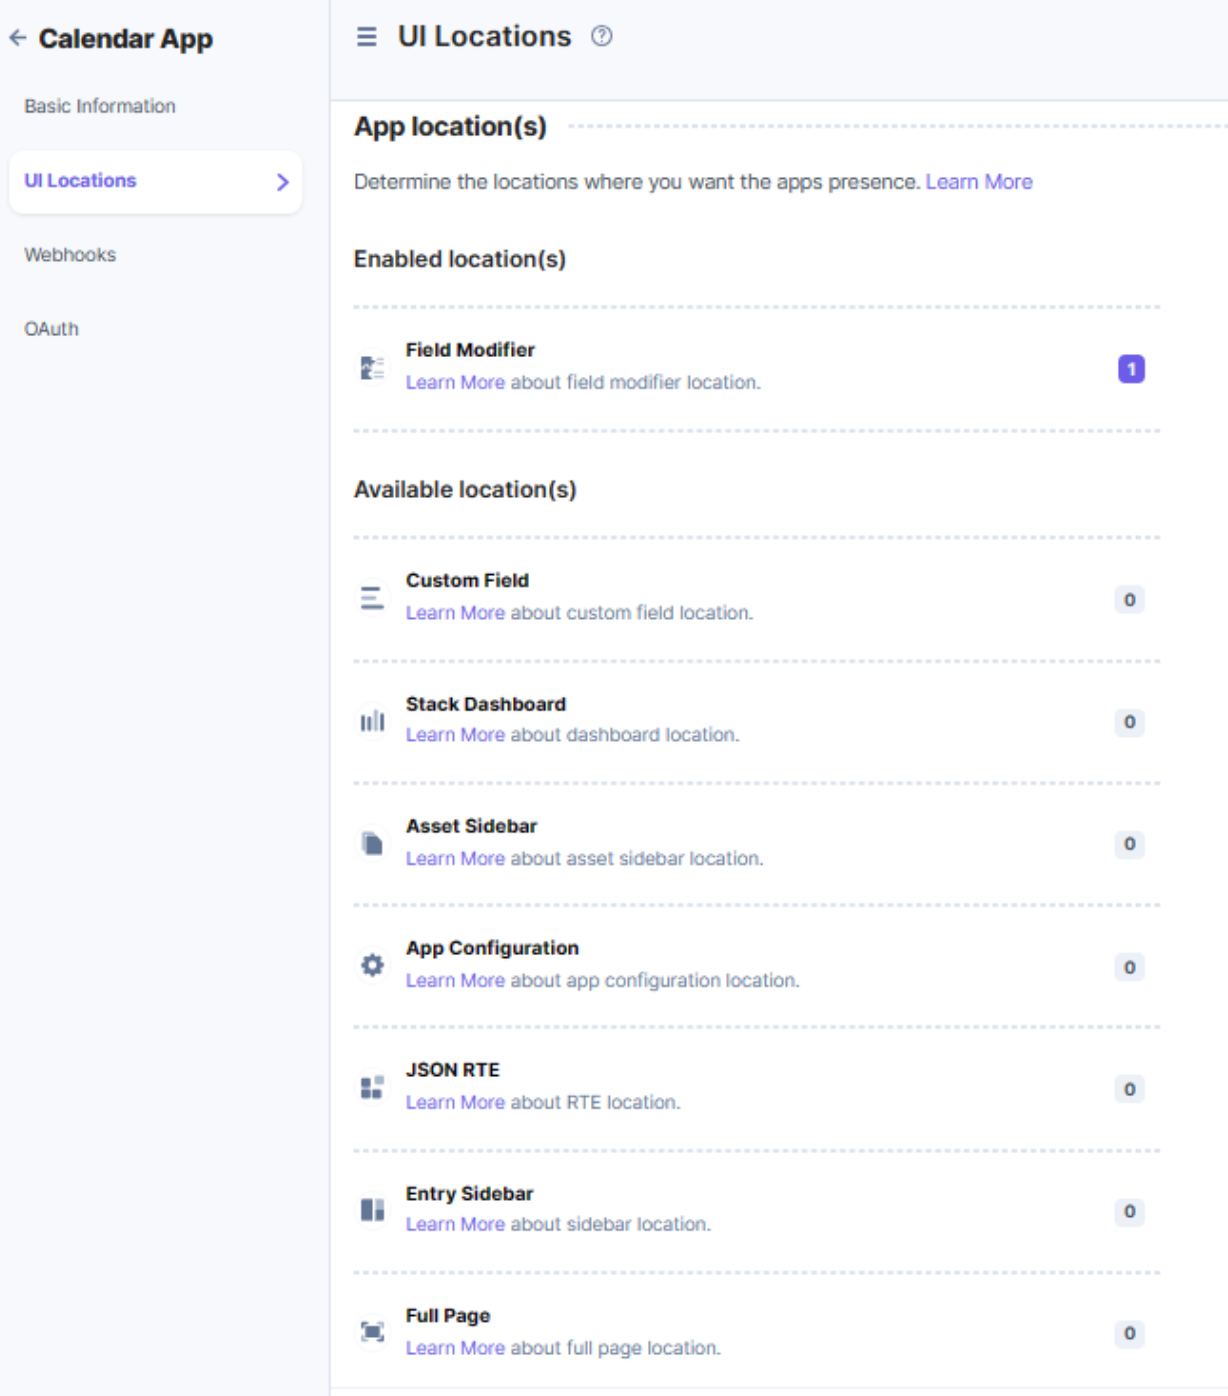
10. Add the following locations by clicking the +Add button that shows up when you mouse over the different Available Location(s), e.g:
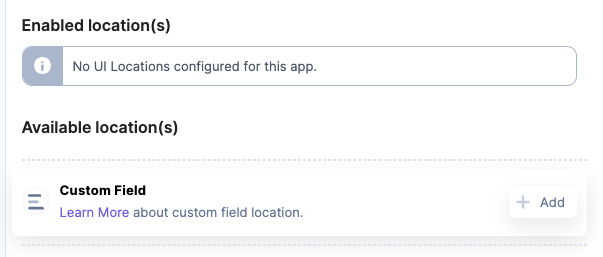
Note: The name for each UI Location is optional, and can be used to override the default app name. Once you provide the necessary data as described below, click the Save button at the bottom right corner of the page.
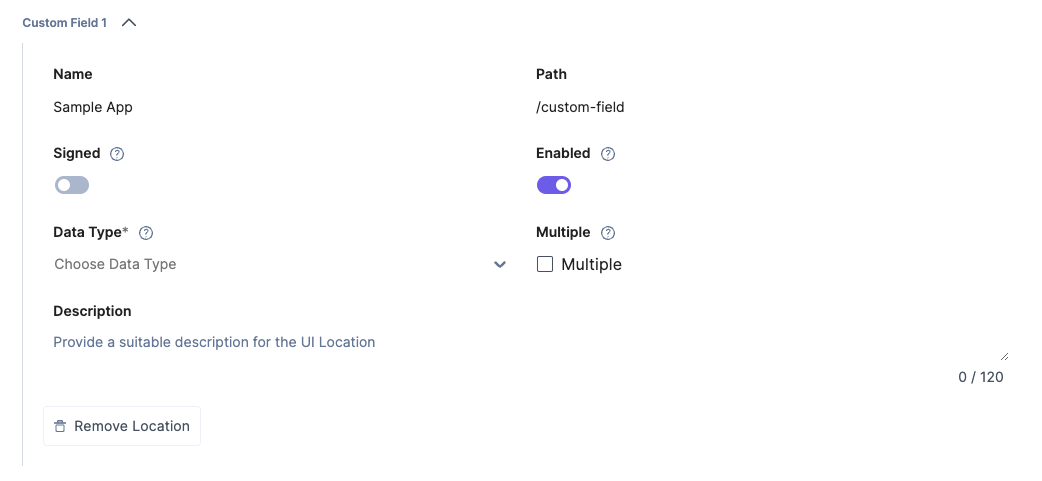
Custom Field
Name: Sample App
Path: /custom-field
Data Type: JSON
Multiple: checked
Enabled: on
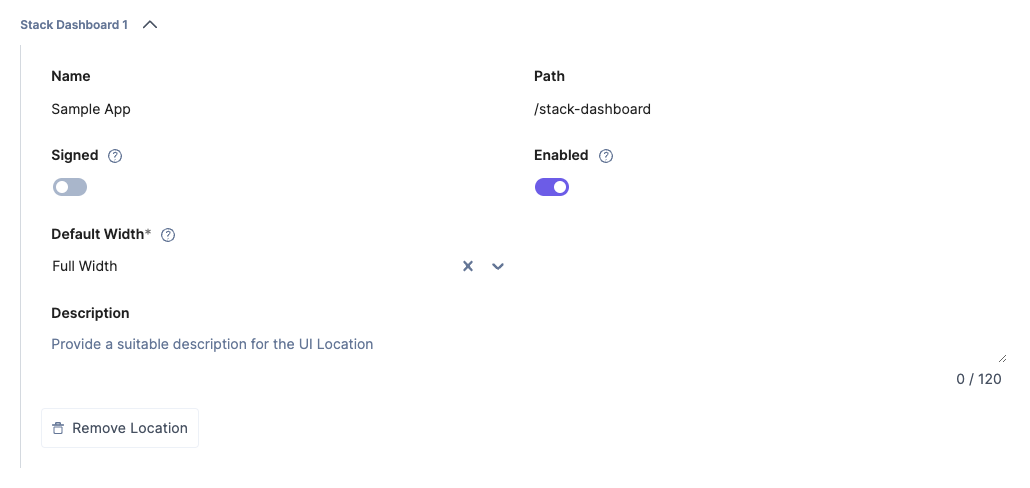
Stack Dashboard
Name: Sample App
Path: /stack-dashboard
Default Width: Full Width
Enabled: on
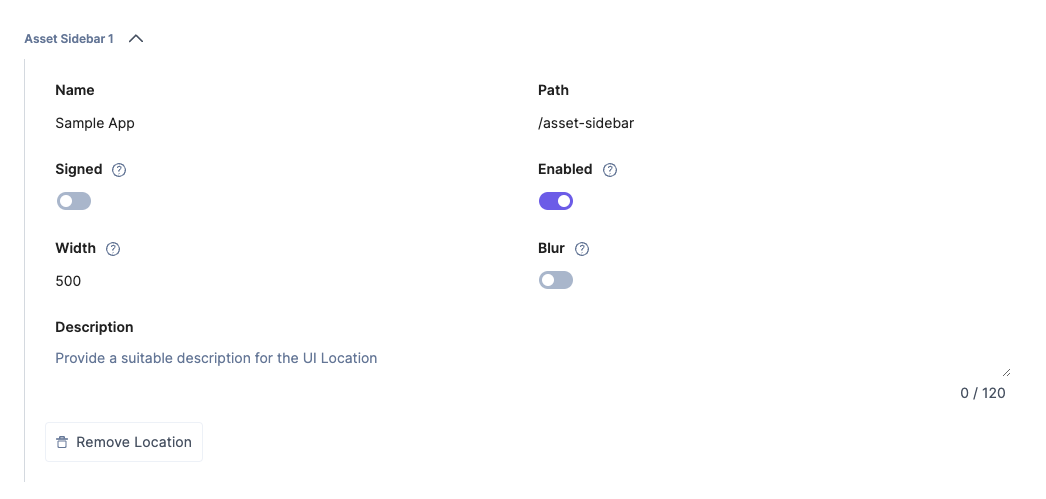
Asset Sidebar
Name: Sample App
Path: /asset-sidebar
Enabled: on
Width: 500
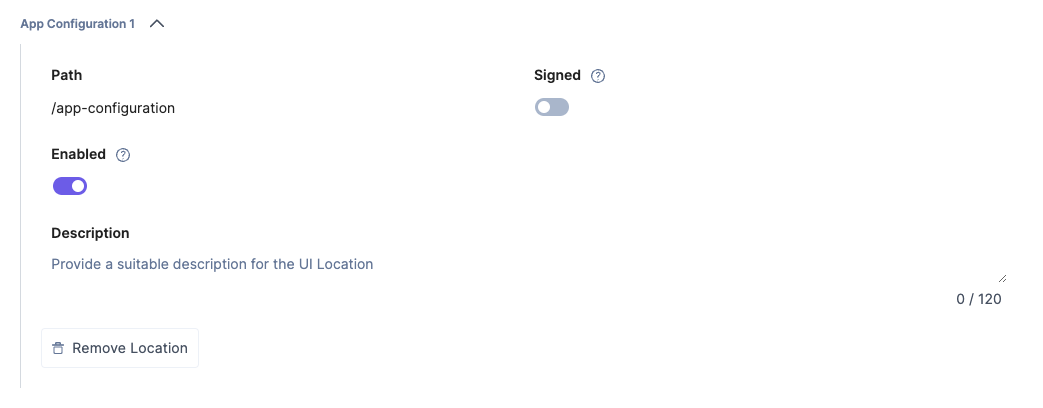
App Configuration
Path: /app-configuration
Enabled: on
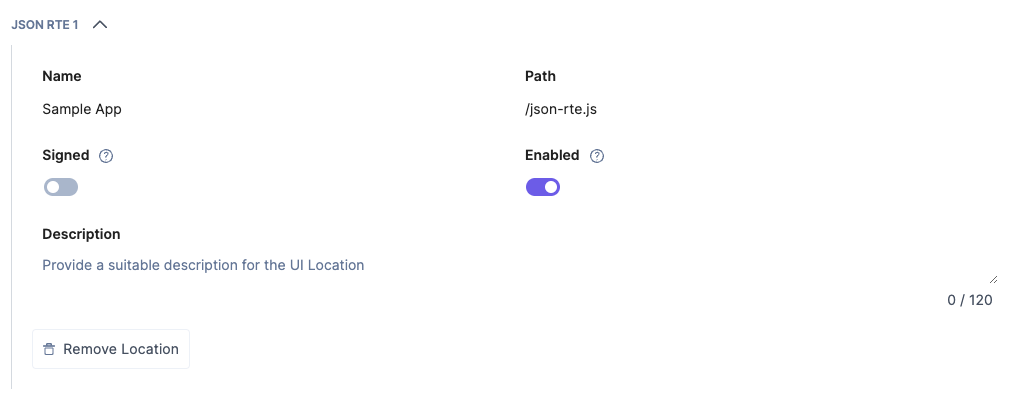
JSON RTE
Name: Sample App
Path: /json-rte.js
Enabled: on
Entry Sidebar
Name: Sample App
Description: Example JSON RTE
Path: /entry-sidebar
Enabled: on

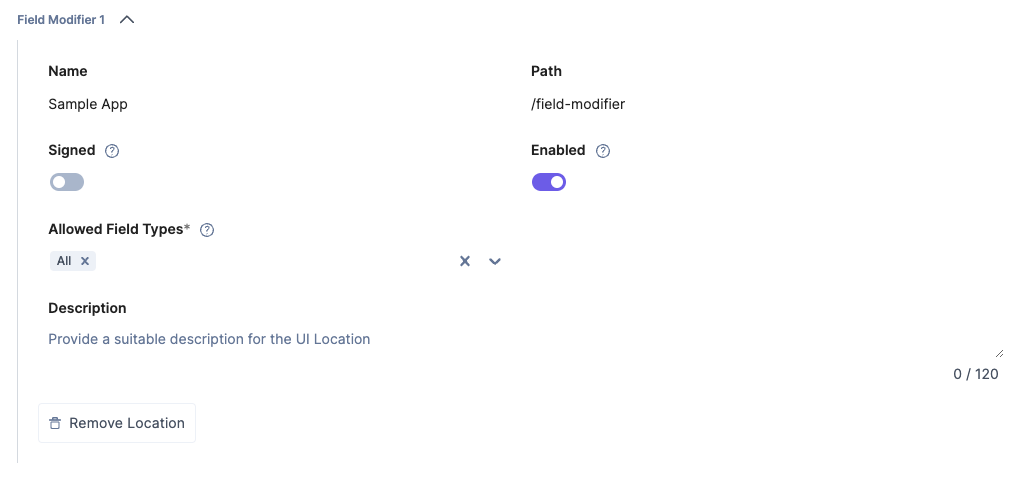
Field Modifier
Name: Sample App
Path: /field-modifier
Allowed Field Types: All
Enabled: on
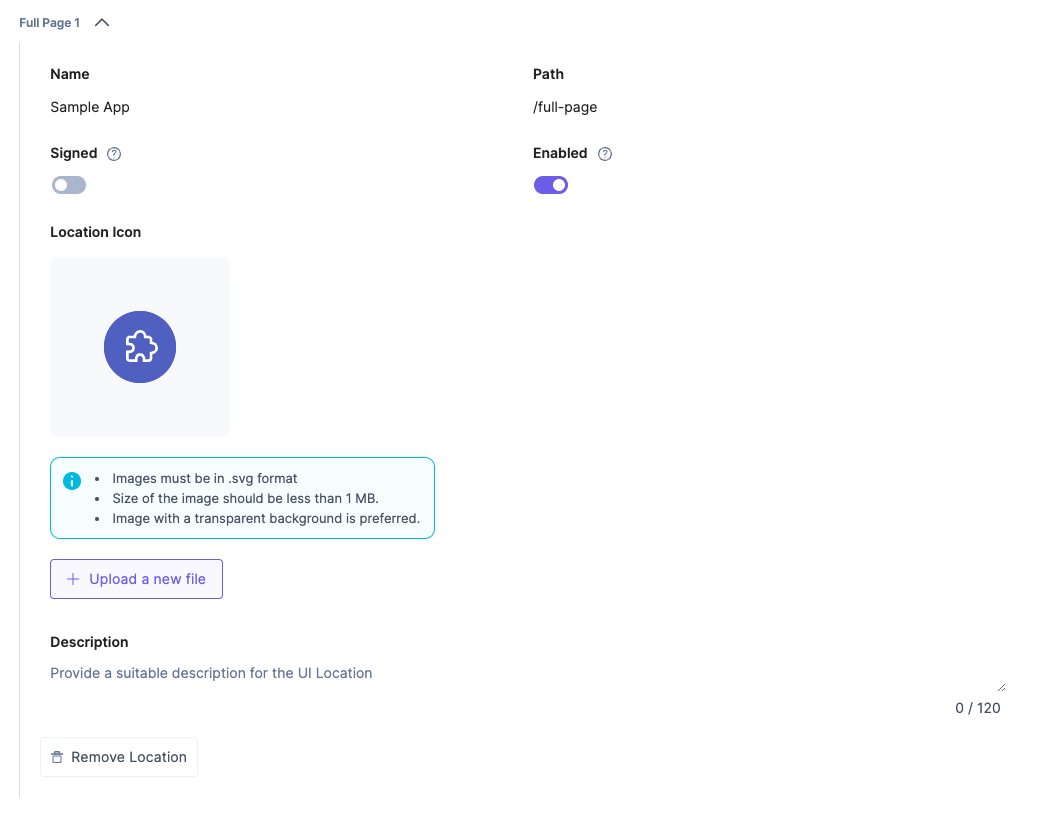
Full Page
Name: Full Page Example
Path: /full-page
Enabled: on
For full page integrations, this location supports the ability to upload an icon. This icon is then displayed in the main left navigation icon list.
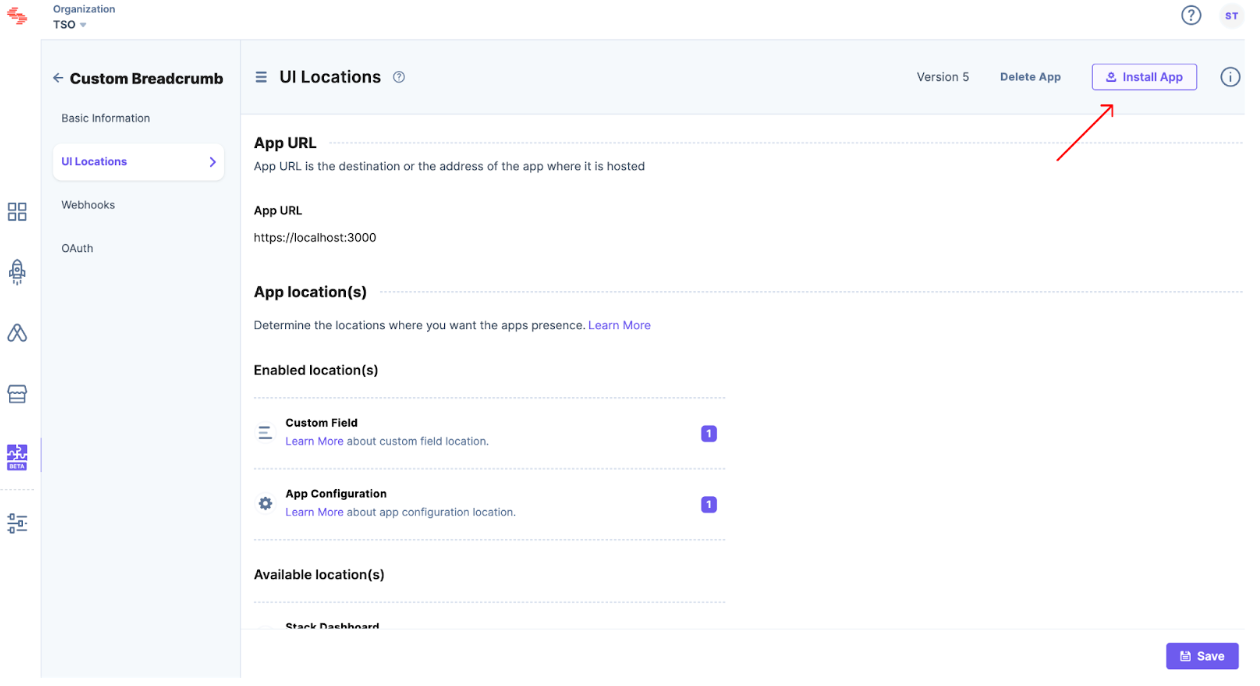
Make sure that all the locations have been added and that you clicked "Save" for each of them. You should see the following in your Enabled Location(s) list:

11. Next you will install this application on a Stack. To do so, click the “Install” button on the top right corner of the screen.
12. Next, Select the stack where you want to install the app and click the Install button.
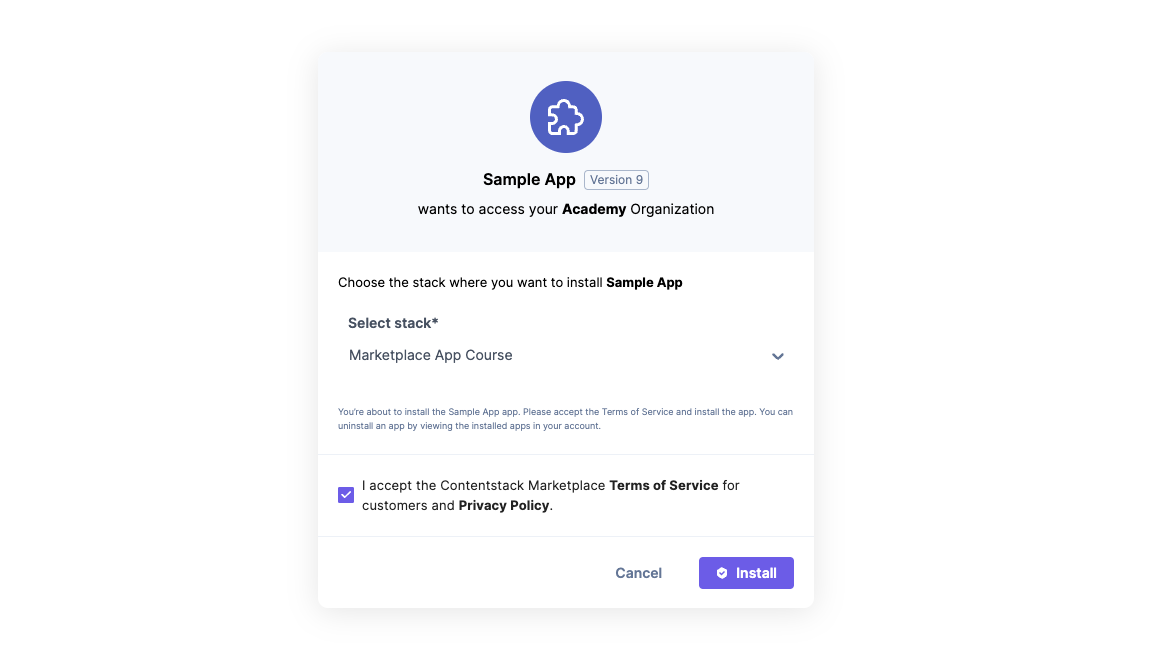
Note: make sue you accept the Terms of Service, and click Install.
13. You will be redirected to the configuration page of the app. This is the App configuration location we registered earlier. At this time, no configuration needs to be provided here, but for a real world marketplace app, this is where developers would provide input fields and configure their application. For now you will see an empty configuration screen like this:
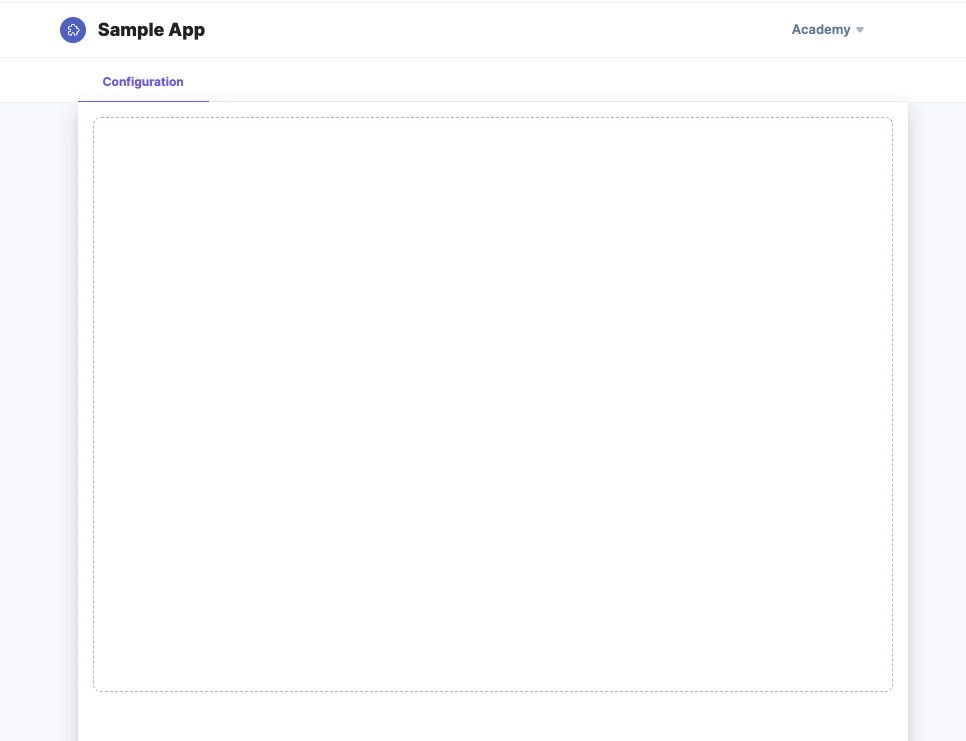
14. Click Save at the bottom right corner.
15. Next, click the Open Stack button.
Congratulations! You registered and installed your first Marketplace App using Automation Hub.
In the following modules you will learn how to modify the logic inside the different locations and add your own ui elements and functionality.
We will provide example code and will guide you step by step.
Additionally, here are some screenshots of examples of configuration screens for different apps available in Contentstack’s marketplace: