

Import and Manage New Designs
Note: Studio is currently available in limited Beta. To request access and participate in the feedback program, contact our support team.
Importing and managing new designs in Studio enables designers and developers to convert Figma layouts into Studio-compatible components.
This process enables designers and developers to convert Figma designs into Studio-compatible JSON that can be pasted directly into the Studio canvas or used to generate UI code within their project codebase.
This guide demonstrates two methods for bringing new designs into Studio:
- Importing designs using the Studio Figma Plugin.
- Generating and registering code components using the Studio CLI.
Prerequisites
Before you begin, ensure you have the following:
- Access to Studio.
- Node.js is installed on your local machine.
- Studio Figma Plugin is installed in your Figma account.
- Contentstack CLI package and the Studio CLI plugin are installed.
- (Optional) Studio React SDK setup in your project if you plan to generate JavaScript components.
- Admin or Developer permissions to modify the composition structure.
Import Designs Using the Studio Figma Plugin
The Studio Figma Plugin converts Figma designs into Studio-compatible JSON, which can be pasted directly into the Studio Canvas. The plugin only converts the design visuals. To generate functional logic, refer to the “Generate UI Code Using the Studio CLI” section.
To integrate Figma designs with Studio, open your Figma file and perform the following steps:
- From the Figma menu, click Actions, search for Contentstack Studio, and select it.
- A login modal appears where you can:
- Select the region.
- Authorize the connection.
- Authenticate in the browser when redirected.
- Select the organization to complete authorization.
- After authorization, return to Figma. The plugin displays the list of projects linked to your organization in Studio. Select the Studio project and click Proceed.
- Select a frame or component, or hold Shift and click to select multiple items. Alternatively, drag a selection box across the canvas to select multiple frames.
Tip: If you use a custom design system, map your pre-built components and design tokens in Figma before generation. This avoids duplicate components and ensures consistency across the design system.
- Click Generate Design. The plugin converts the selected design into Studio-compatible JSON.
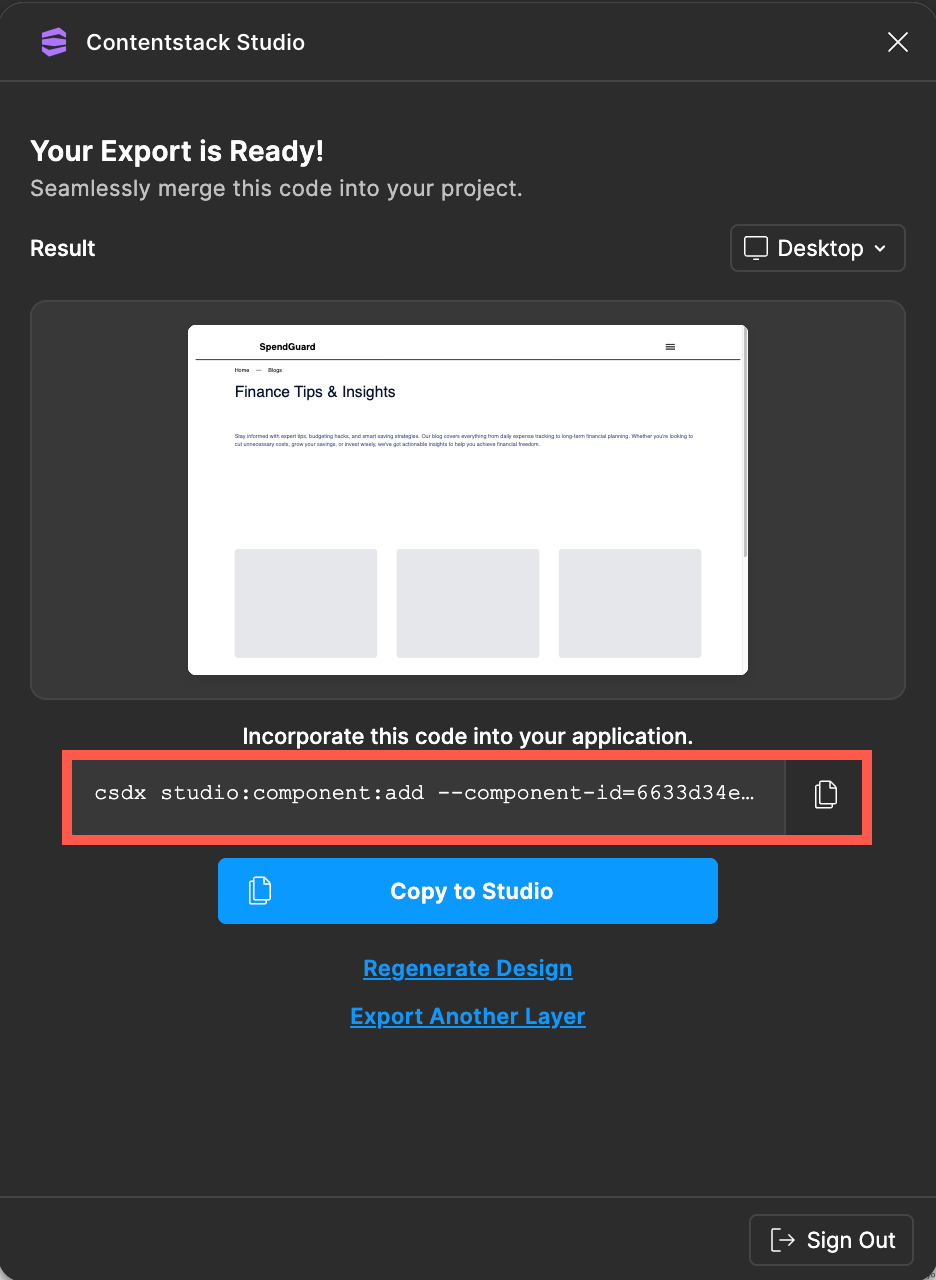
- After generation, two options appear:
- Copy to Studio
Copies the generated component as Composition JSON to the clipboard for use in the Studio Canvas.
Use this when:
- The design is final and can be used as-is.
- You want to visualize or prototype layouts directly inside Studio.
- No custom logic or code-level modifications are required.
- Copy CLI Command
Generates a CLI command that will import the design into the local project and register it automatically with Studio.
Use this when:
- The design must be generated as code.
- The component will become part of the project’s design system.
- The component requires logic, customization, or future maintenance in the codebase.
- Copy to Studio
- Click Copy to Studio to copy the JSON.
- Open the Studio Canvas and paste the copied design. The design appears immediately in Studio as a usable component.
The Figma Plugin simplifies importing visual layouts and is ideal for non-developers and content creators who want to build or update UI quickly.
Generate UI Code Using the Studio CLI
The Studio CLI is designed for developers who want to generate JavaScript or TypeScript components with customizable behavior. This method imports the design into the project and registers it automatically in Studio.
To integrate Figma designs using Studio CLI, open your Figma file and perform the following steps:
- In the Figma Plugin, copy the CLI command displayed under Copy CLI Command.
- Ensure the local project is already configured with the Studio CLI and matches the selected Studio project.
- Open the terminal and run the copied command:
csdx studio:component:add --component-id=<component-id> - A prompt appears: Describe your component.
- Enter a description to modify the generated design (for example, “Add a button below the image,” or “Change the background color”).
- Leave the input blank to generate the default component.
- The CLI analyzes the project automatically:
- Detects the framework and language (for example, React and TypeScript).
- Generates UI component code accordingly.
- The CLI creates:
- A component file (for example, FinancialImageLayout.tsx).
- A registerComponents file to register the component in Studio.
Note: The number of generated files varies depending on the size and complexity of the design.
- If prompted with Would you like to make changes to the generated component?
- Enter Yes to modify the generated code with an additional prompt.
- Enter No to continue without changes.
- When generation completes, the files appear in the project folder.
Verify the Registered Component in Studio
- Return to Studio.
- In the Components tab, expand Registered Components.
- Locate the newly created component (for example, “Financial Image Layout”).
- Drag and drop the component onto the Studio Canvas to view the generated UI.
The Studio CLI handles component registration automatically, so no manual import or registration steps are required.
Map Components to Figma Plugin
Mapping helps the Figma Plugin reuse existing components registered to Studio when exporting new designs. This avoids duplicate components and ensures consistency across the design system.
To map components to the Figma plugin:
- Go to the Component Mapping tab to view the detected Figma components and corresponding code components.
- Click Auto Map to match design layers to code components automatically.
Note: The mapping is based on component name, description, and properties. Layers without a matching component remain unmapped and can be linked manually.
- Review and adjust mappings before export to ensure accuracy.
This step ensures future design exports and code generation remain accurate and aligned with the existing component library.
Register Design Tokens with Studio
Studio supports bringing design tokens from Figma into the codebase and keeping them synchronized.
Using the Figma Plugin
The Studio Figma Plugin is ideal for designers who want to export design tokens directly from Figma.
- Designers can export color, typography, spacing, and component-level tokens.
- These tokens are automatically registered in the Studio project.
- Registered tokens become available inside the Studio Canvas for component styling.
Using the Studio CLI
The Studio CLI allows developers to manage design tokens directly from their codebase.
It supports two major workflows:
- Import tokens exported from the Figma Plugin
- Open the Design Tokens tab in the Figma plugin and copy the provided command for your design token set.
- Run the copied command in your terminal:
csdx studio:design-token:add --design-token-id=<design-token-id> - The CLI generates and registers design token files directly to your project.
Auto-generating design tokens from existing project files
The CLI can analyze your project files (JS/TS, CSS, global.css) to automatically extract design tokens and generate a token definition file that can be registered in Studio.
Additional Resource: To learn more about importing design tokens from project files refer to the Import Design Tokens from Project Files Using Studio CLI document.
End-to-End Workflow
- Use the Studio plugin in Figma to generate code for selected components.
- Copy the generated components and paste them into the Studio editing canvas, or use the command to modify component functionality and register them through the CLI.
- Once registered, drag and drop the components from the Registered Components tab in Studio.
More articles in "Key Use Cases"
