Shopify
Note: This documentation uses the legacy approach with extensions. We have launched Shopify as a Marketplace App. For more information on Shopify, please refer to the Shopify App Installation Guide.
Shopify custom field extension in your stack lets you fetch the products or collections of your Shopify store and display them on your entry page via a field. While creating entries, you can select one or more listed products or collections as an input value for this field.
Prerequisites
This step-by-step guide explains how to create a Shopify custom field extension for your content types in Contentstack. The steps performed are as follows:
- Generate Access Token in Shopify
- Add the “Shopify” custom field extension to your stack
- Use your custom field
Generate Access Token in Shopify
In order to use this extension, you will first need to retrieve the storefront API access token of your Shopify store. To do so, log in to your Shopify store, and perform the following steps:
- On the Admin portal page, click on Apps from the left navigation menu.
- Then, navigate to the bottom of the Apps page and click on the Develop app for your store link.
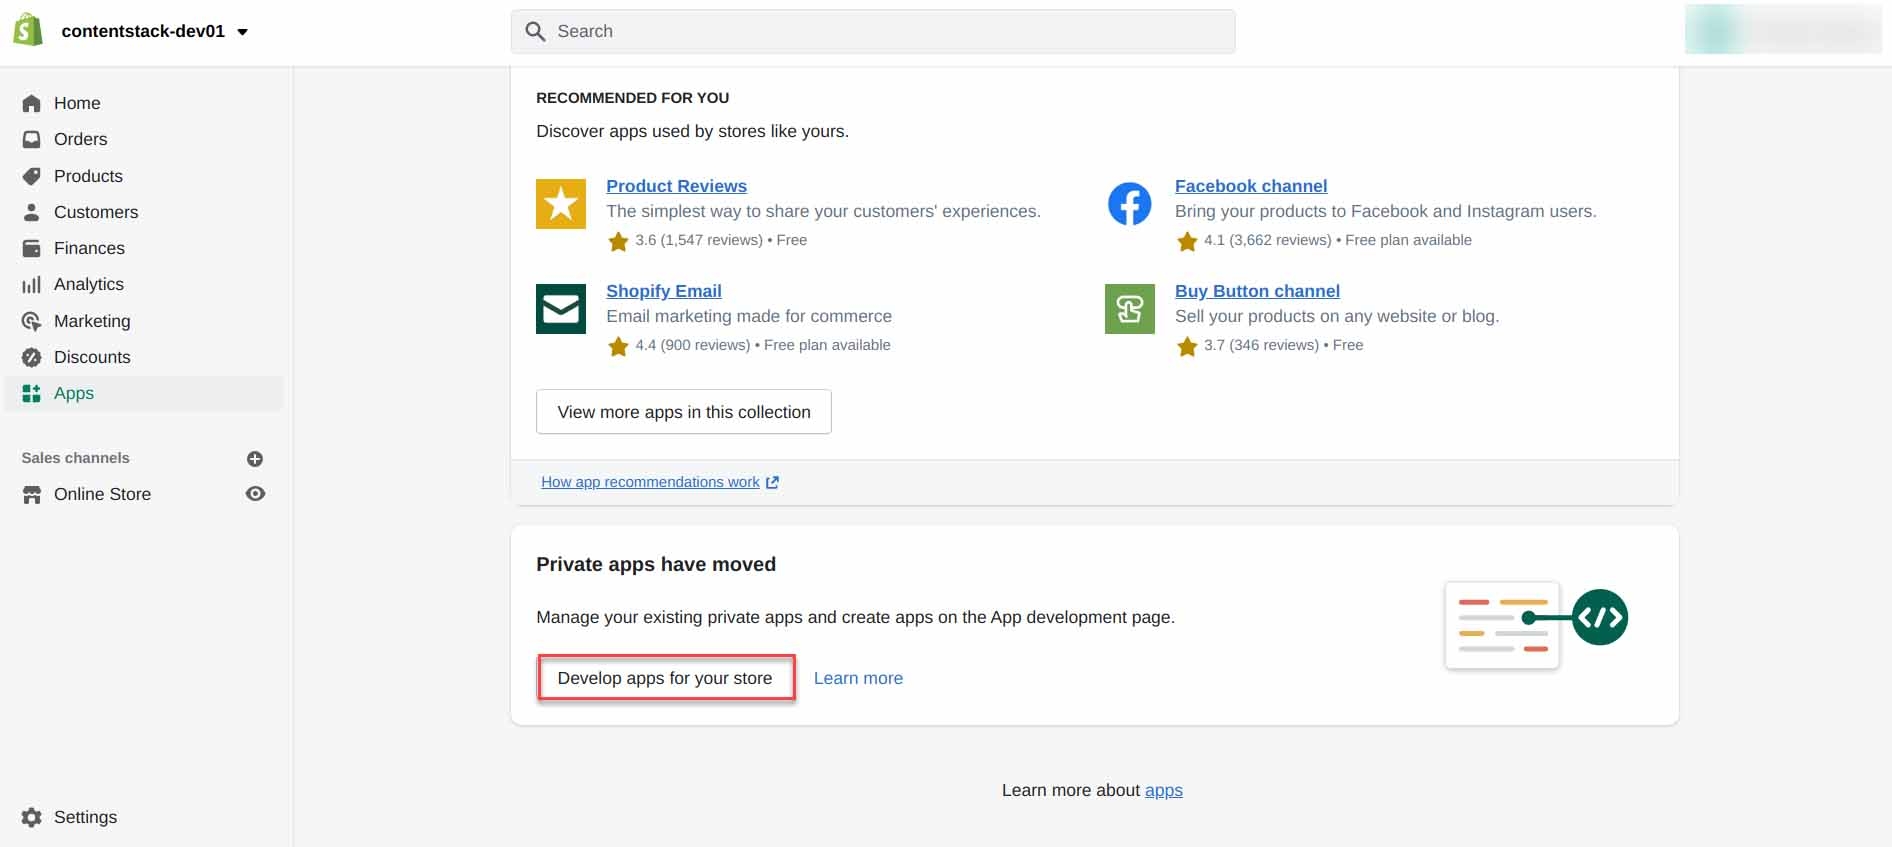
- On the App Development page. click on Create an app. Mention your App name and select the App developer, then click on the Create app button.

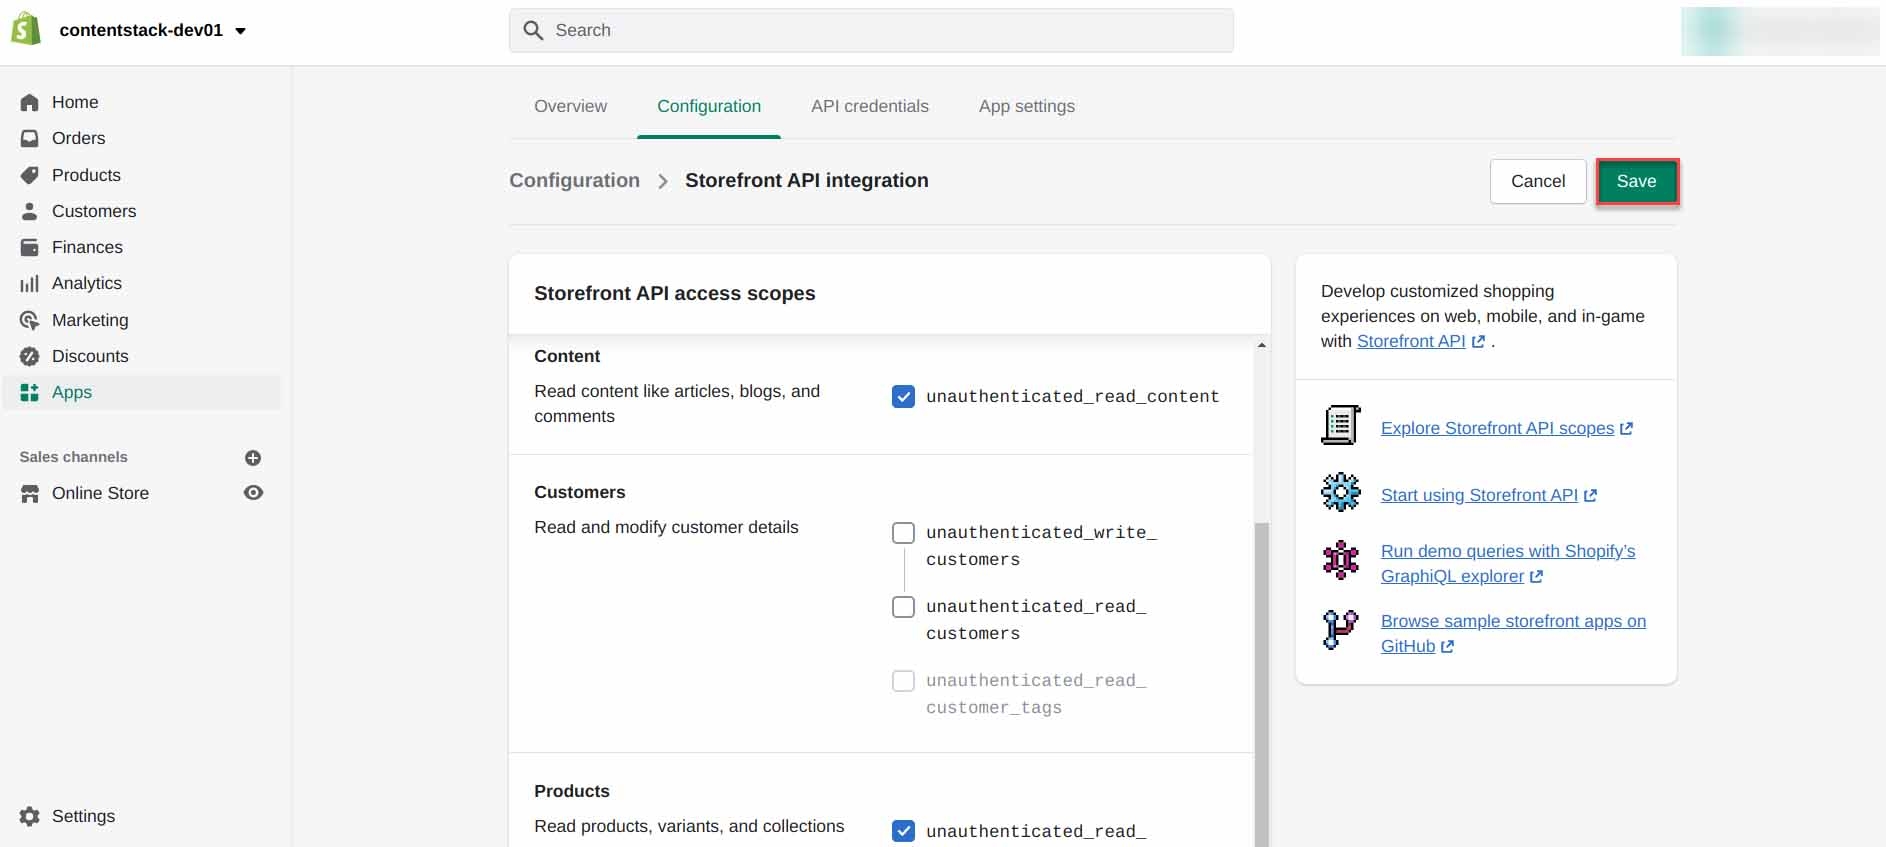
- On the next screen, navigate to the Configuration section and Configure the Storefront API integration for your app.
- Now, select access scopes for your Storefront API and Save your configuration.
- Finally, click on the Install app button, confirm your installation and proceed to get the Storefront API access token.
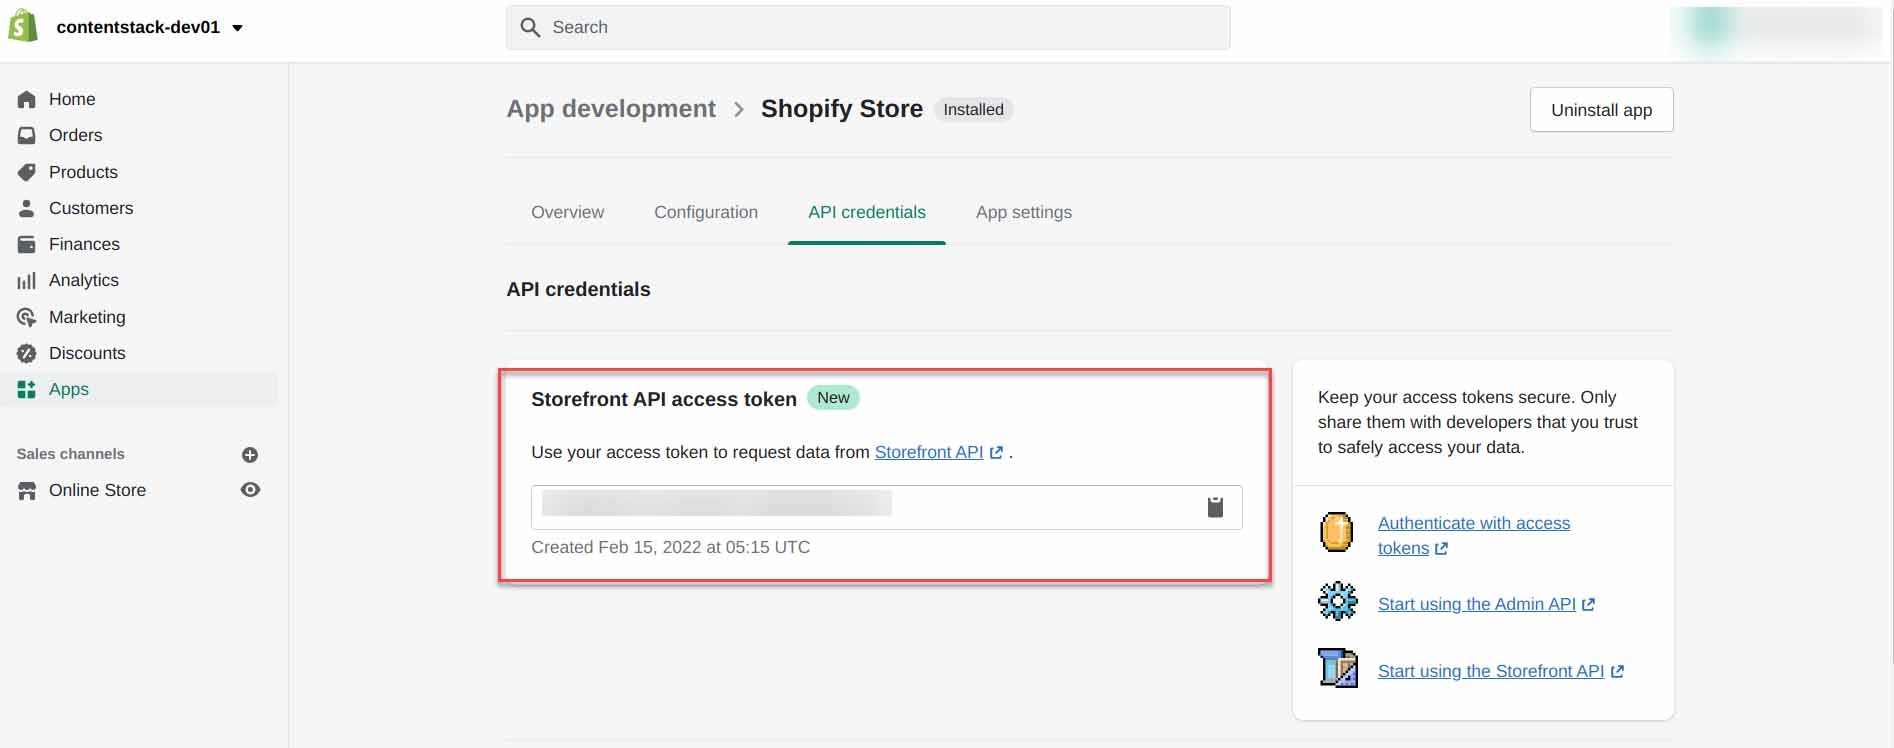
The Storefront API access token is required to connect your store with Contentstack so make a note of this access token to be used in the next step.
Add the “Shopify” custom field extension to your stack
To use your Shopify’s store product(s) or collection(s) in an entry, you need to create an extension by going to your stack and performing the following steps:
- If Extensions are part of your plan, contact our Support team to get the code for the extension. The support team will provide you with the source code that contains the following files:
- redirect.html: Upload this file as an asset in your stack by referring to the Create/Upload Assets guide. After uploading this file, make a note of the asset URL. To view the asset URL, open the asset and copy the File URL.
- index.html: We will upload the code in this file in the extension source code field of our extension in the next step.
- Navigate to the “Settings” icon on the left navigation panel, and select Extensions. You can also use the shortcut keys “alt + X” for Windows OS users, and “option + X” for Mac OS users to access the extensions menu.
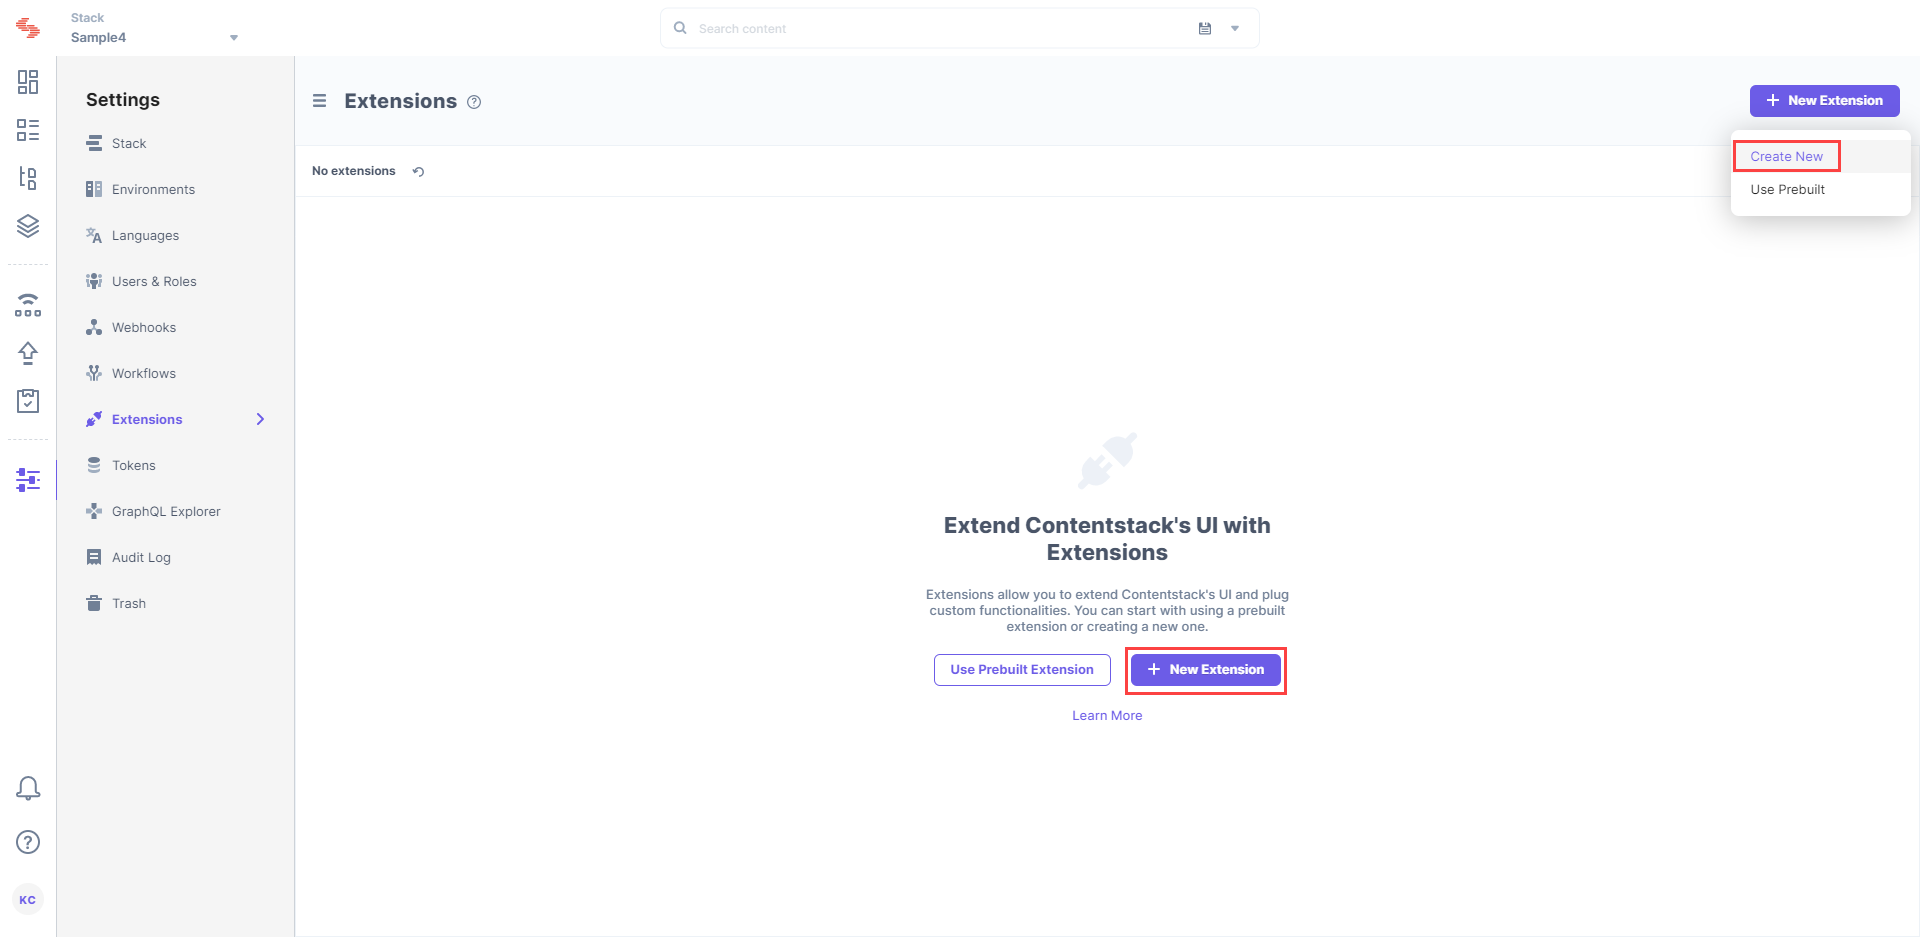
- On the Extensions page, click on the + New Extension button, and select Create new. If you have not added any extensions in the stack yet, click on the + New Extension link as shown below.
- In the Select Extension Type window, select Custom Field.

- On the Create New Extension page, enter values in the fields as given below:
- Title (required): Provide a suitable title, for example, “Shopify,” for your custom field. This title will be visible when you select the extension in the custom field in your content type.
- Field Data Type (required): Select the data type in which the input data of the field should be saved in Contentstack. In this case, select JSON.
- Multiple (optional): Leave this field unchecked.
- Hosting method (required): Select Hosted by Contentstack as the hosting method for this content type.
- Extension Source Code (required): Enter the downloaded extension source code here. Add the code of the index.html file here.
- Config Parameter (required): To configure your Shopify account in this extension, you need to provide the following details:
- domain: the URL of your application. For example, “yourshopname.myshopify.com” without https.
- storefrontAccessToken: Access token of the Shopify Storefront API generated in Step 1
- type: Specify whether you want to fetch either product or collection on the entry page.
If you specify the type as "product", you will be able to fetch and add individual product(s) in an entry.
If you specify the type as "collection" on the entry page, you will be able to fetch and add the collection(s) present in your Shopify account.Tip: To fetch both products and collections in an entry, we recommend you create two extensions: one for products and another one for collections. Then, on the content type editor page, you can add two custom fields and select the extensions accordingly.
- saveFullResponse: If we keep the value of this parameter to "true" then the entire product/collection JSON response will be saved in the entry. If we keep it false then only product/collection IDs will be saved in the entry response. So you can set this parameter as per your requirement.
- autoReload: If you want to reload the JSON data of the product in your entry's response then keep the value of this parameter to "true." Upon refreshing the entry page, it will automatically update the selected product data from Shopify whenever you open the entry page and save it when the entry is saved..
- redirectUrl: The URL of the redirect.html file, which you have uploaded as an asset in the stack.
{
    "domain": "<<domain_of_your_store>>",
    "storefrontAccessToken": "<<access_token_of_your_store>>",
    "type": "<<product or collection>>",
    "saveFullResponse": true,
    "autoReload": true,
    "redirectUrl": "<<URL of the asset file>>"
}
- Save the custom field.
Now, let’s understand how you can start using this custom field in your content type.
- If Extensions are part of your plan, contact our Support team to get the code for the extension. The support team will provide you with the source code that contains the following files:
Use your custom field
Once you have added a custom field, you can use it in your content type like any other field. To add a custom field in your content type, perform the following steps:
- Create a content type and add the Custom field to it.
- Under Select Extension, select the “Shopify” field that you created and set the other properties. You can add other fields as per requirements.
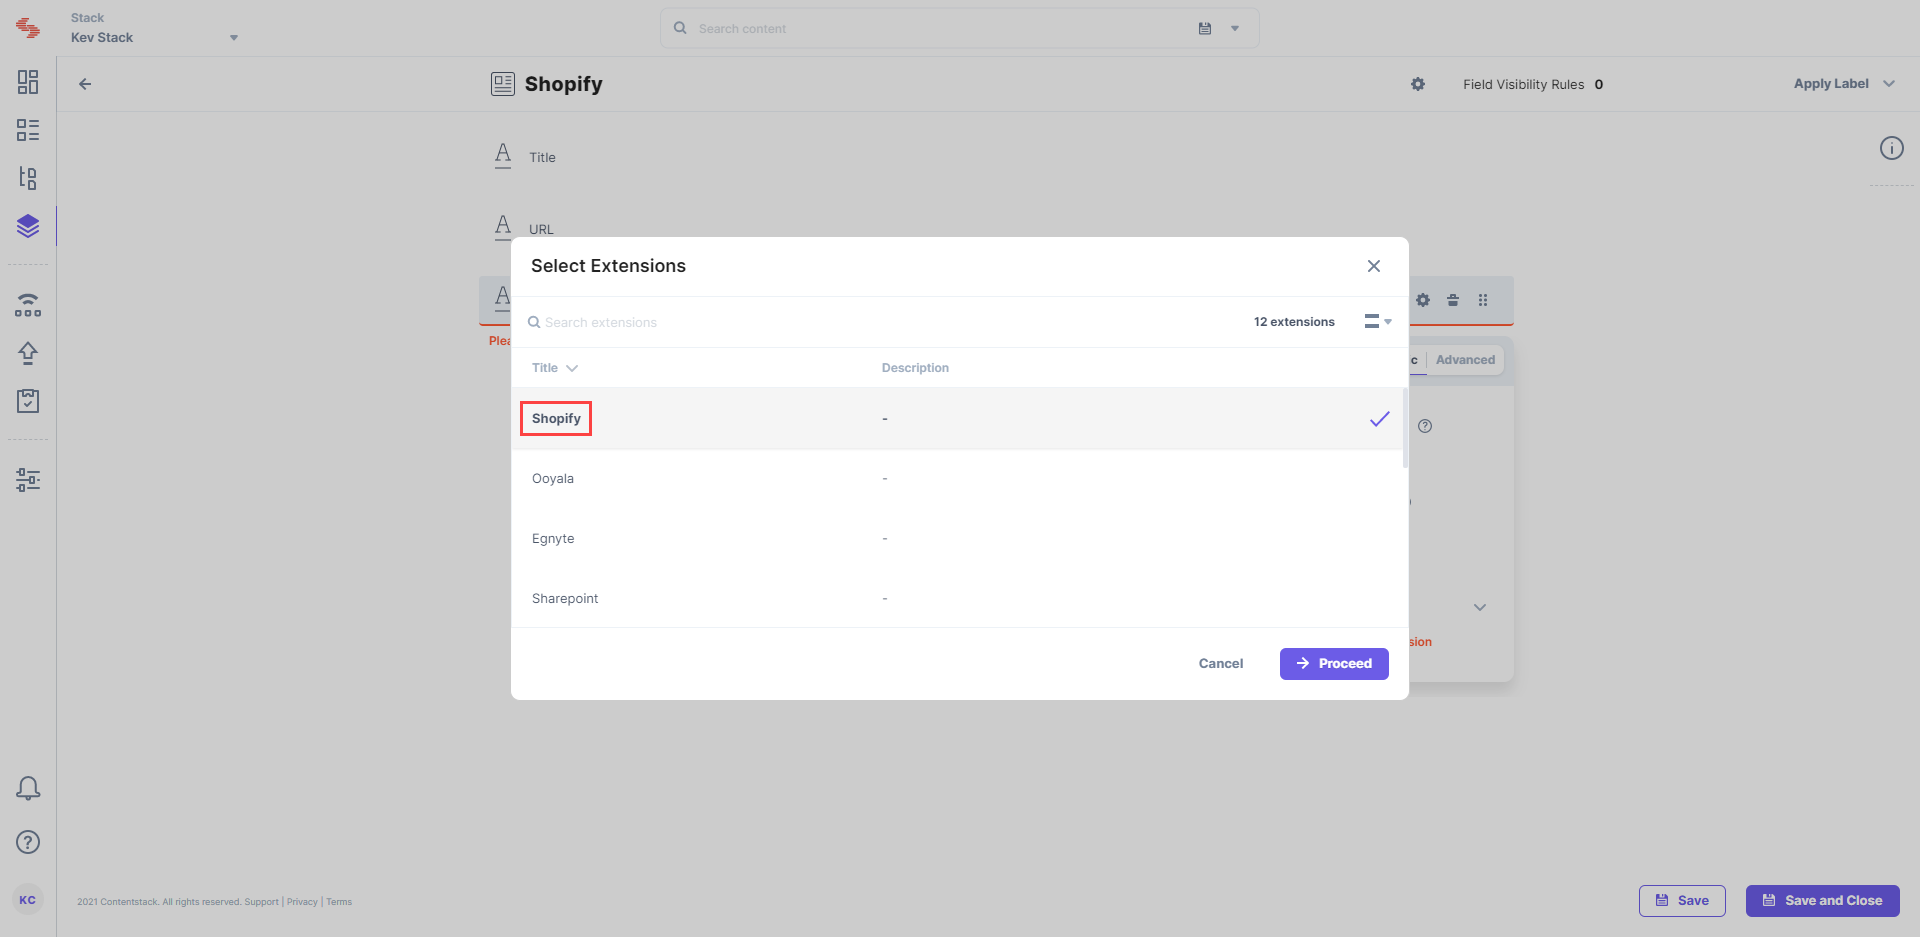
- Finally, click on either Save or Save and Close to save your changes.
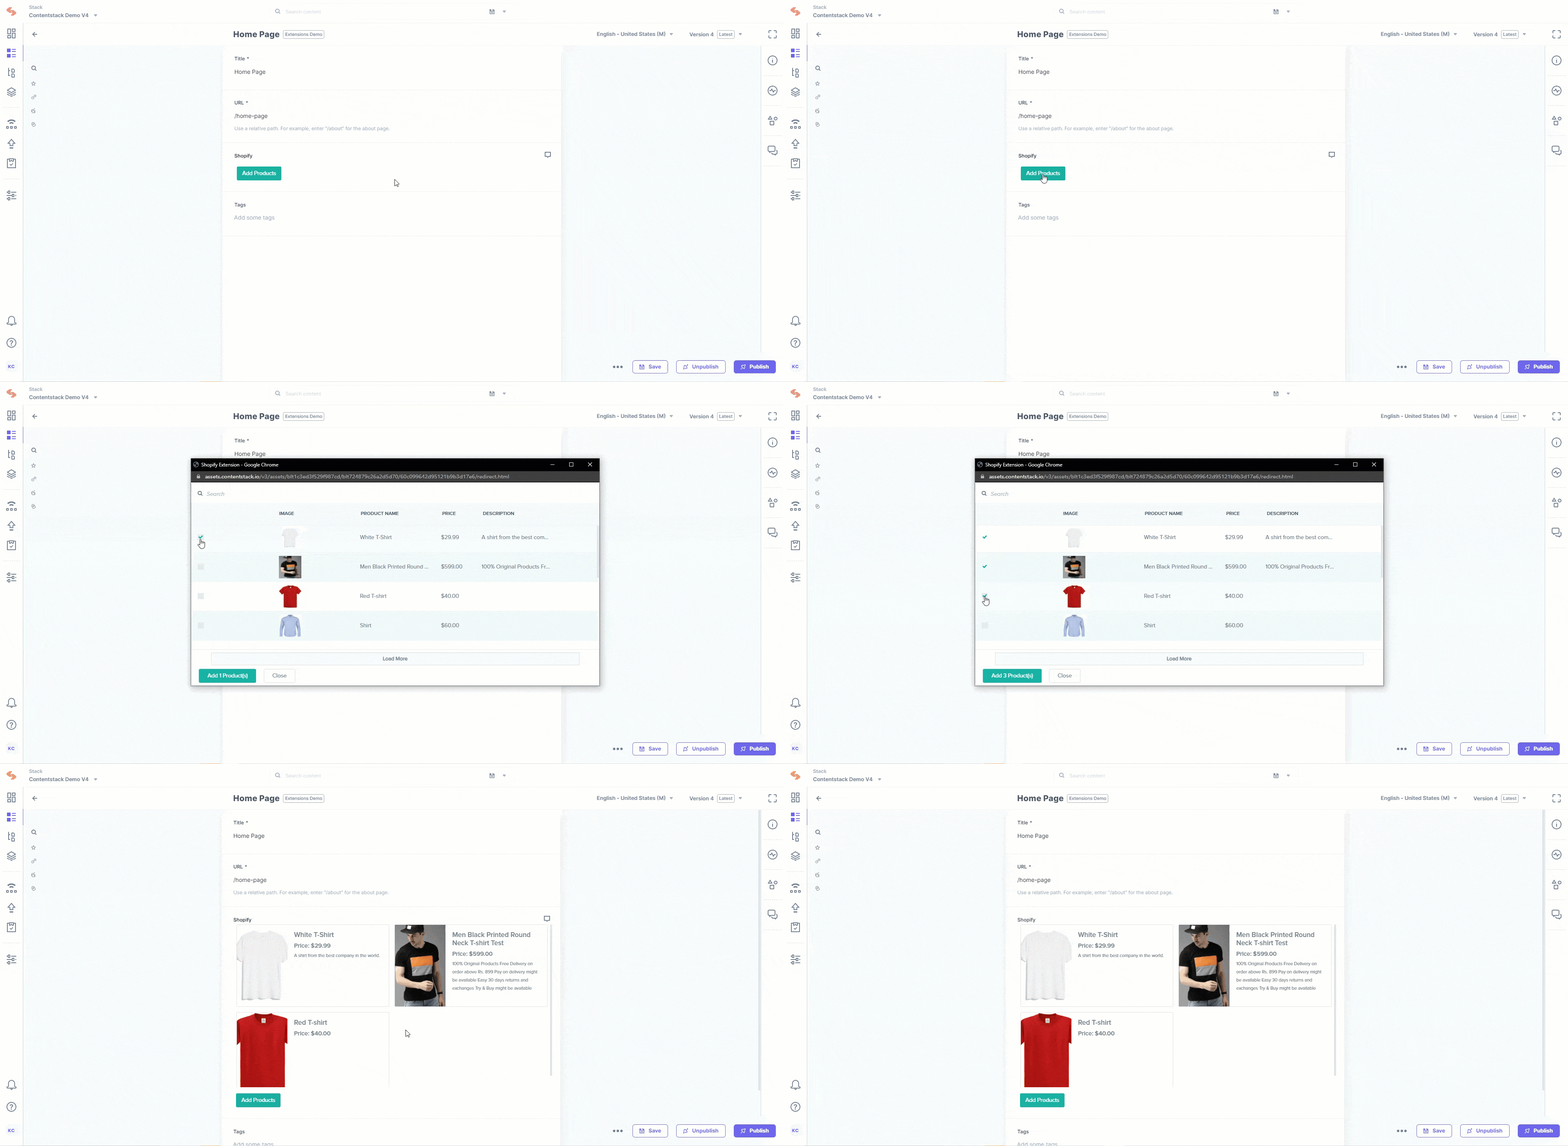
- Next, create an entry for this content type, and you will see the Shopify field in action, based on the type you define in the Config Parameters section of the extension.
Additional Resource: You can also refer to our wide collection of e-Commerce sample apps built using Ruby on Rails and DataSync.
