

Group
Use the Group field to organize multiple fields into a reusable unit for easier content modeling. Enable Multiple to add multiple instances while creating entries.
For example, when creating a banner, you may need a background image, text, and a link to a detail page. You can create a Group field and add the File, Multi Line Textbox, and Link fields to achieve this.
You can update the following properties of a Group field at any time:
Note: You can now show a Group field as a separate tab in the entry editor for easier navigation. Enable the Show as Tab option under Advanced settings to display the Group field as a dedicated tab. Learn more in Show as Tab.
After you add the Group field to your content type, the Group field appears on the entry page.
Real World Scenarios of Using Group Fields
Here are some common use cases for Group fields in Contentstack.
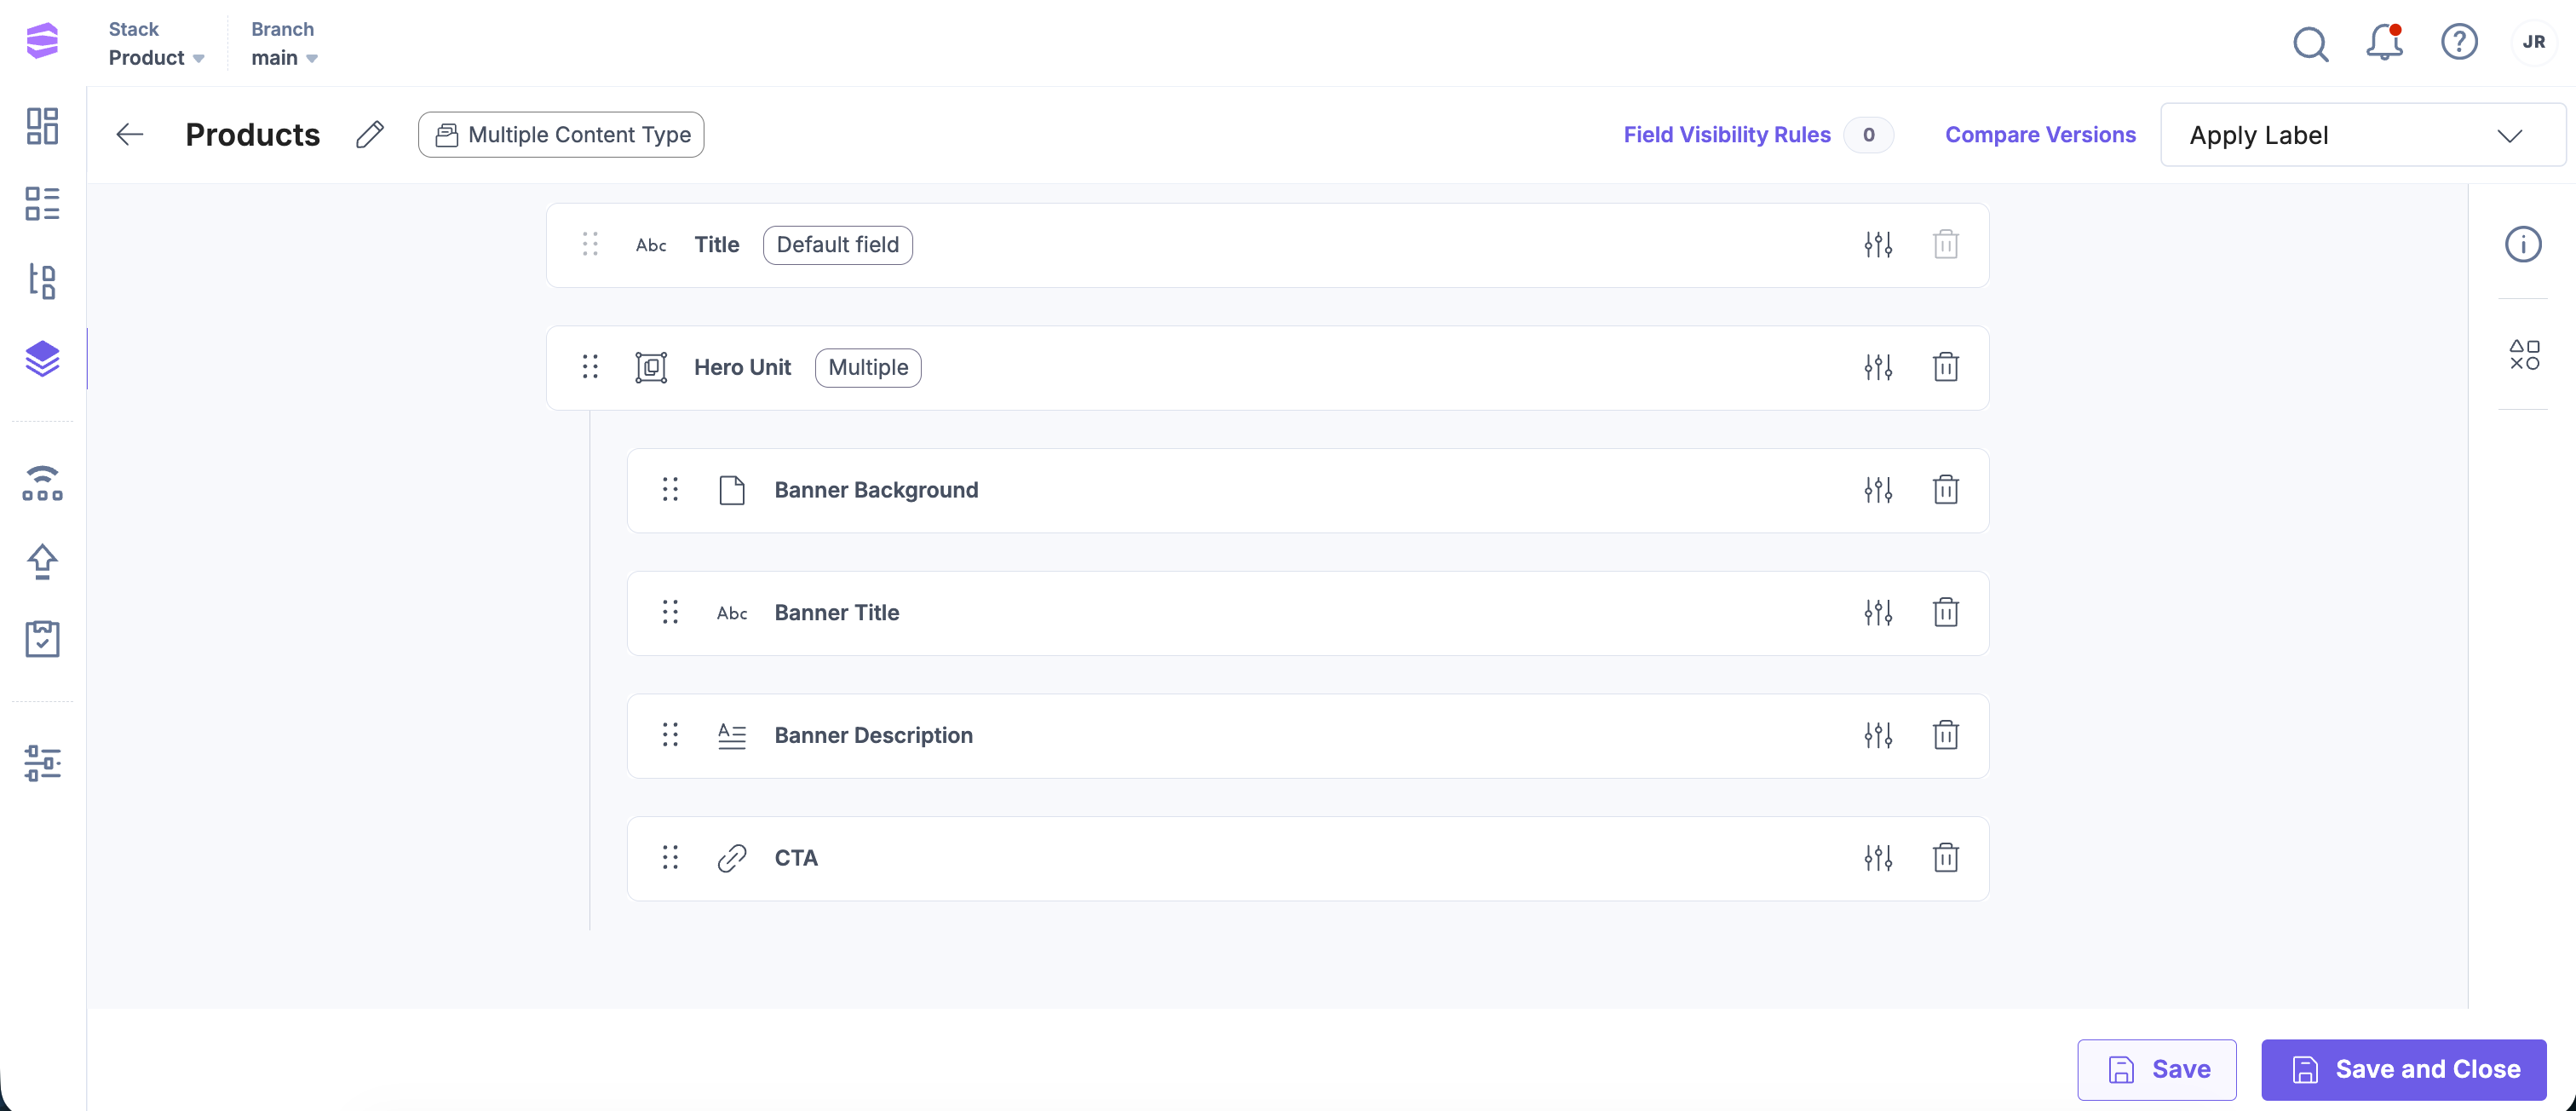
Example 1: Banner or Header of a Website
A website banner or header often uses multiple fields to display content. You can group these fields into a single Group field for easier management.
To create a banner using a Group field, log in to your Contentstack account, and perform the following steps:
- Go to your stack and click the “Content Models” icon.
- Insert a Group field and name it Hero Unit.
- Configure additional properties. If your webpage requires multiple banners, enable the Multiple option under Advanced.
- Add the following fields inside the Group field:
- File: Image for the banner background.
- Single Line Textbox: Title of the banner.
- Multi Line Textbox: Description for the banner.
- Link: A call-to-action link.
- Click Save and Close to save your content type.
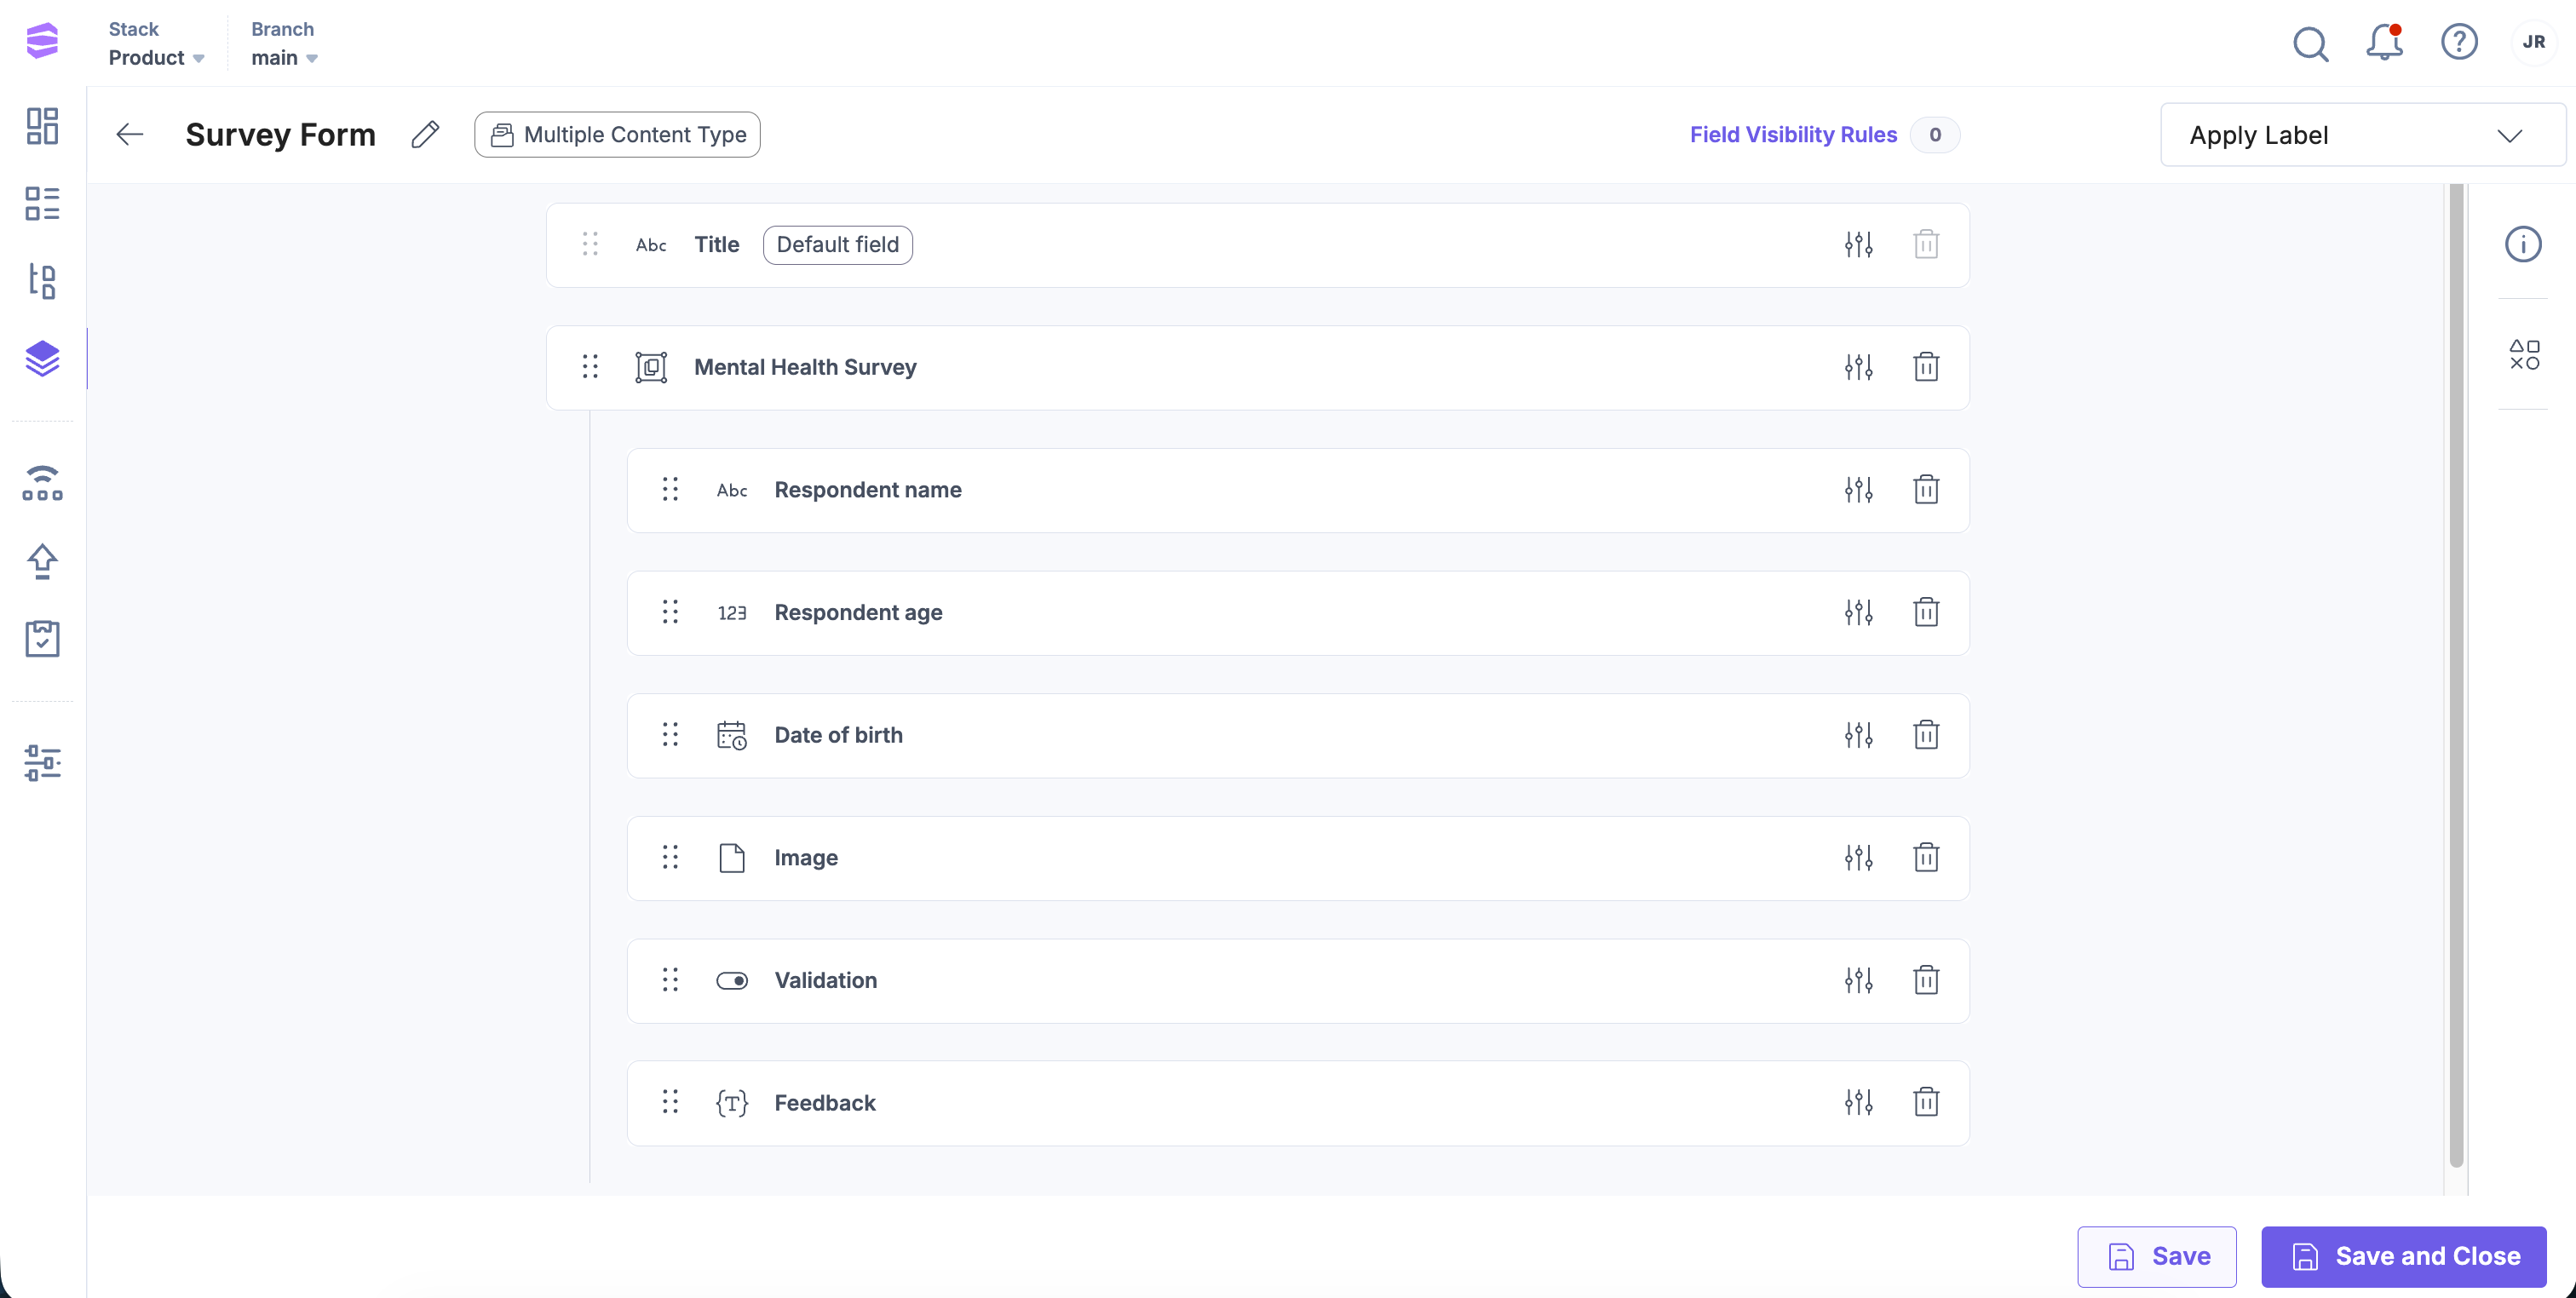
Example 2: Survey Form
Group fields can organize related fields into survey or questionnaire sections. They are also useful for creating polls, quizzes, or rating forms.
For example, to create a Mental Health Survey form, log in to your Contentstack account, and perform the following steps:
- Go to your stack and click the “Content Models” icon.
- Insert a Group field and name it Mental Health Survey.
- Configure additional properties. To allow multiple surveys, enable the Multiple option under Advanced.
- Add the following fields inside the Group field:
- Single Line Textbox: Respondent name
- Number: Respondent age
- Date: Date of birth
- File: Upload files or images
- Boolean: Checkbox for confirmation or validation
- Rich Text Editor: Feedback or detailed responses
- Click Save and Close to save your content type.
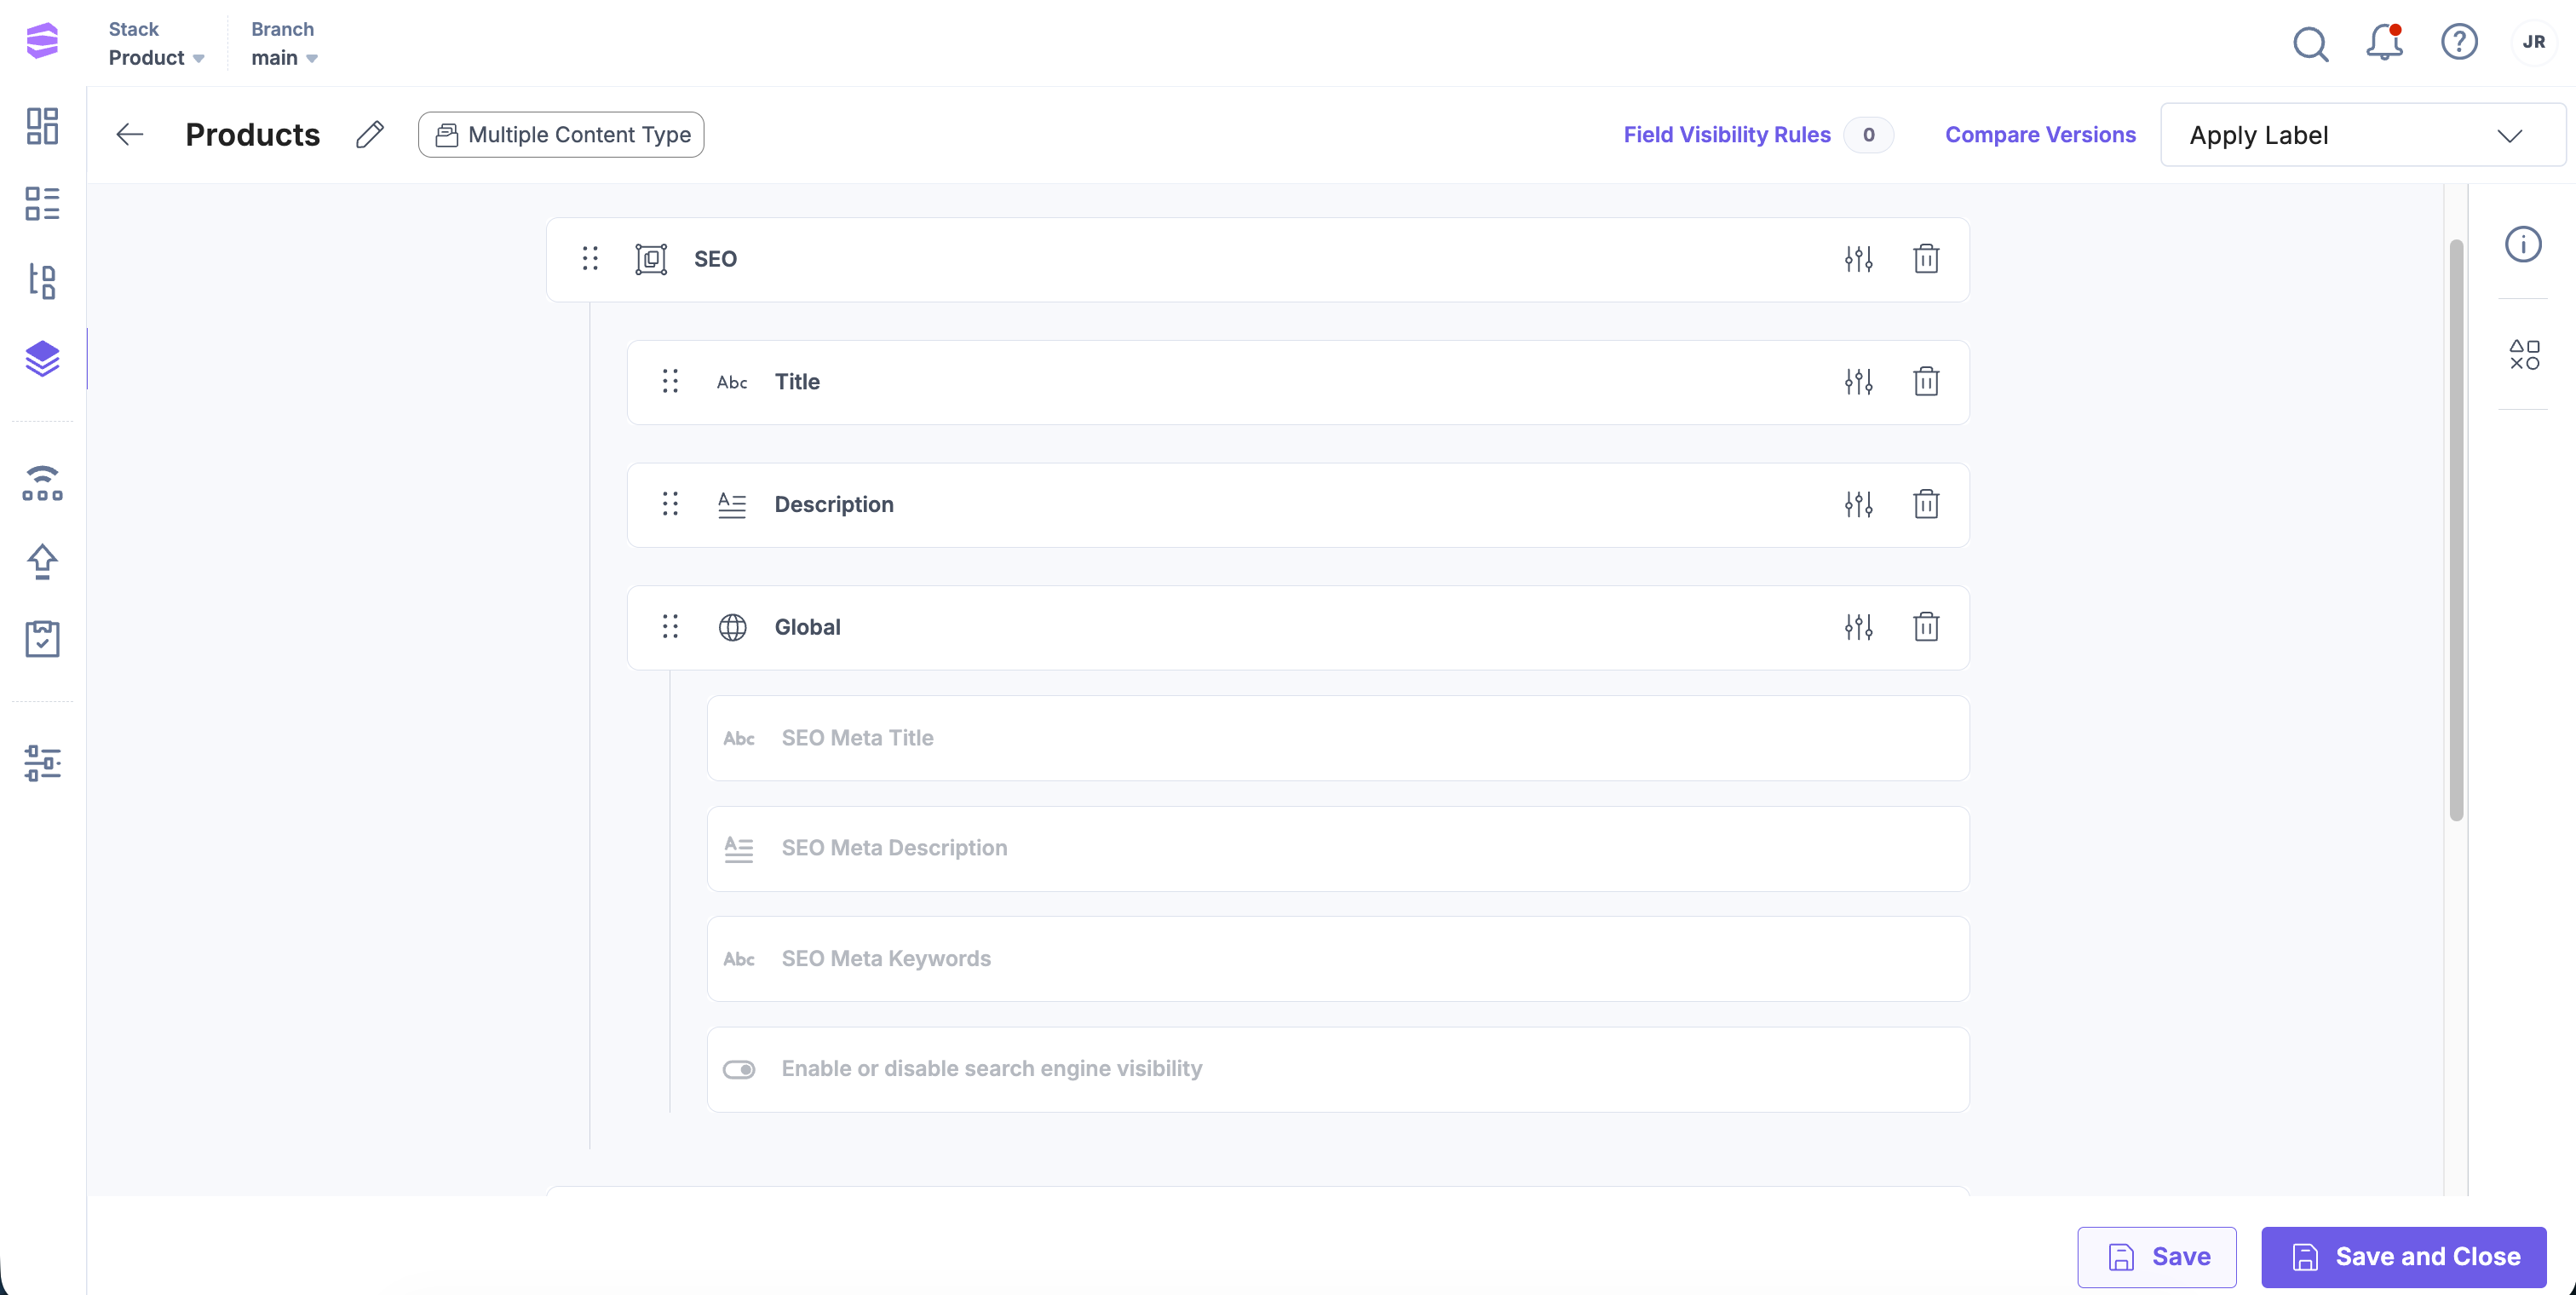
Example 3: Global Field Within a Group Field
You can also add Global fields inside Group fields. Global fields are reusable across multiple content types, while Group fields allow repeated iterations within a content type. Combining the two increases flexibility and reusability.
To create a Group field that fetches SEO data from a Global field, log in to your Contentstack account, and perform the following steps:
- Go to your stack and click the “Content Models” icon.
- Create a Global field named SEO.
- Inside the Global field, add the following:
- Single Line Textbox: SEO meta title
- Multi Line Textbox: SEO meta description
- Single Line Textbox: SEO meta keywords
- Boolean: Enable or disable search engine visibility
- Go to your content type and add a Group field named SEO.
- Inside the Group field, add the following:
- Single Line Textbox: Title of the Group field.
- Multi Line Textbox: Meta description.
- Global Field: Reference the SEO Global field.
- Click Save and Close to save your content type.
Copy Field Values Across Groups
Content managers can copy the values of an instance within a Group field and paste them into:
- Another instance in the same entry.
- An instance in the same Group field in a different entry.
This simplifies content duplication and speeds up entry creation.
To copy and paste field values across group fields, log in to your Contentstack account and perform the following steps:
- In the Group field, select the instance, click the vertical ellipsis, and select Copy Field Values.
- In the target entry or instance, click the vertical ellipsis again and select Paste Field Values.
Note: The target instance must match the same instance’s name and structure as the source.
- To extend functionality, learn how to add Global fields to Group fields.
- To control visibility of fields, see Field Visibility Rules.
- Before editing existing content types, review the Content Type Change Management guide to avoid data loss.
More articles in "Fields"
