Aprimo
The Aprimo connector lets you update and fetch asset details stored in Aprimo.
Set up Aprimo Connector
The Aprimo connector lets you perform the following actions:
Let’s look at each of them in detail.
Edit a Record
This action lets you update the attributes such as Asset ID, Title, Description, Asset Status etc. of an asset/record stored in Aprimo.
- Click Configure Action Step from the left navigation panel.
- Click Action Step to configure third-party services.
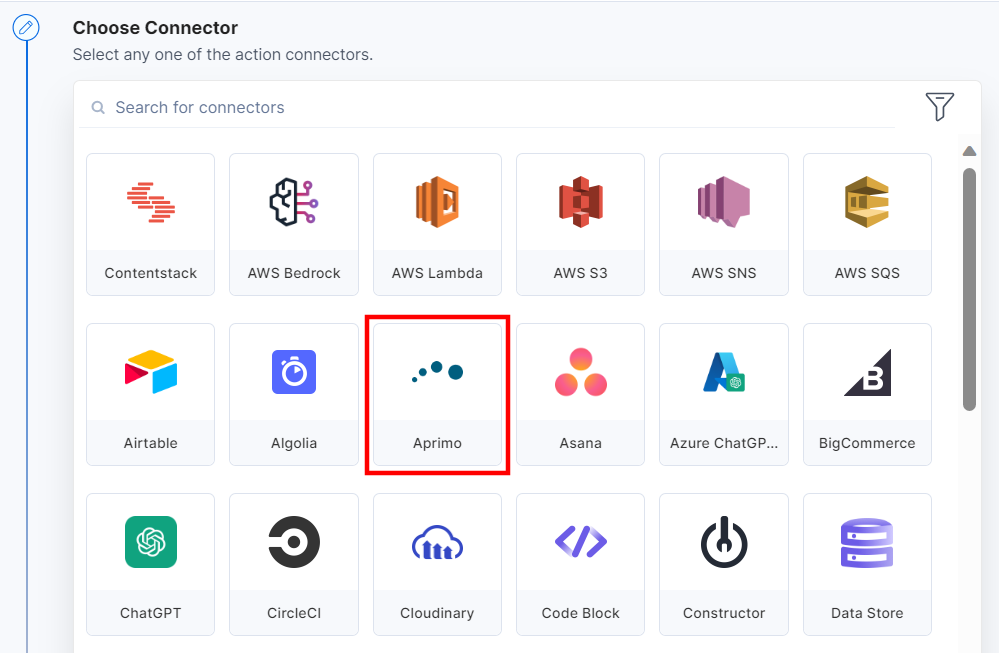
- Within the Configure Action Step, click the Aprimo connector.
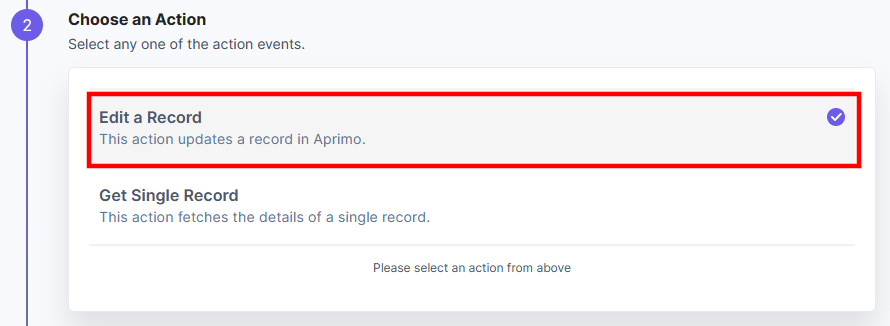
- Under Choose an Action tab, select the Edit a Record action.
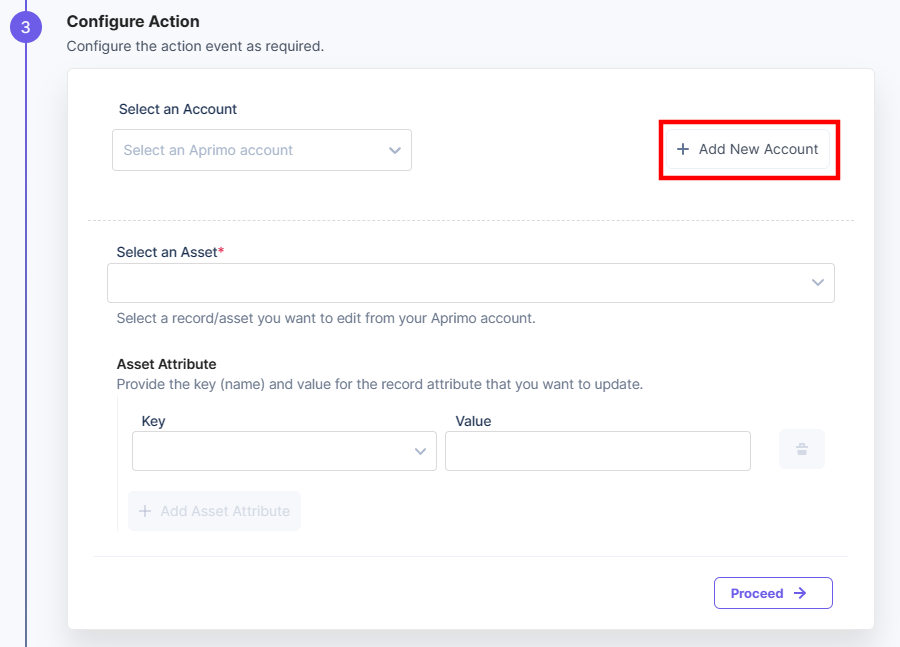
- Click the + Add New Account button to add your Aprimo account.
- In the Authorize pop-up window, provide the Title, Aprimo URL, Client ID, and Client Secret.
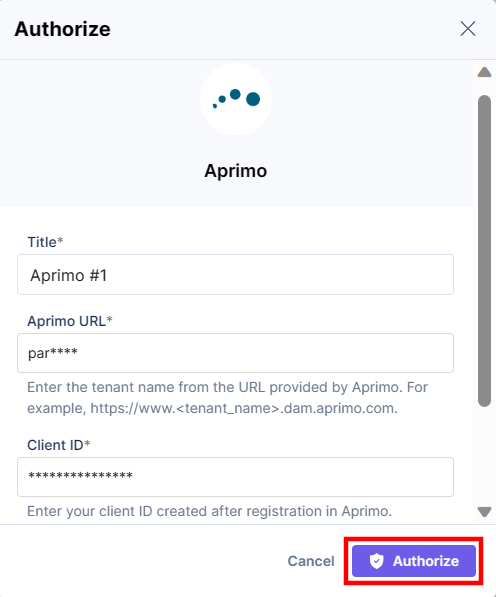
To generate Client ID and Client Secret, log in to the Aprimo dashboard and perform the following steps:
- Click the Administration tab in the left navigation panel
- Click Integration in the left navigation panel and then click Registrations.
- Click the New icon present on the right side of the page.
- Provide the required details and then click the Save icon.
- You will be able to see the Client ID. Below is the list of Redirect URLs for different Contentstack Regions.
- US (North America, or NA)
Redirect URL:
https://automations-api.contentstack.com/userauths/auth/callback - Azure NA
Redirect URL:
https://azure-na-app.contentstack.com/automationsapi/userauths/auth/callback - Europe (EU)
Redirect URL:
https://eu-prod-automations-api.contentstack.com/userauths/auth/callback
Note: It is mandatory to select the OAuth Flow Type as Client Credential. The credentials are activated after 15 minutes so you can use them to authorize your Aprimo account.
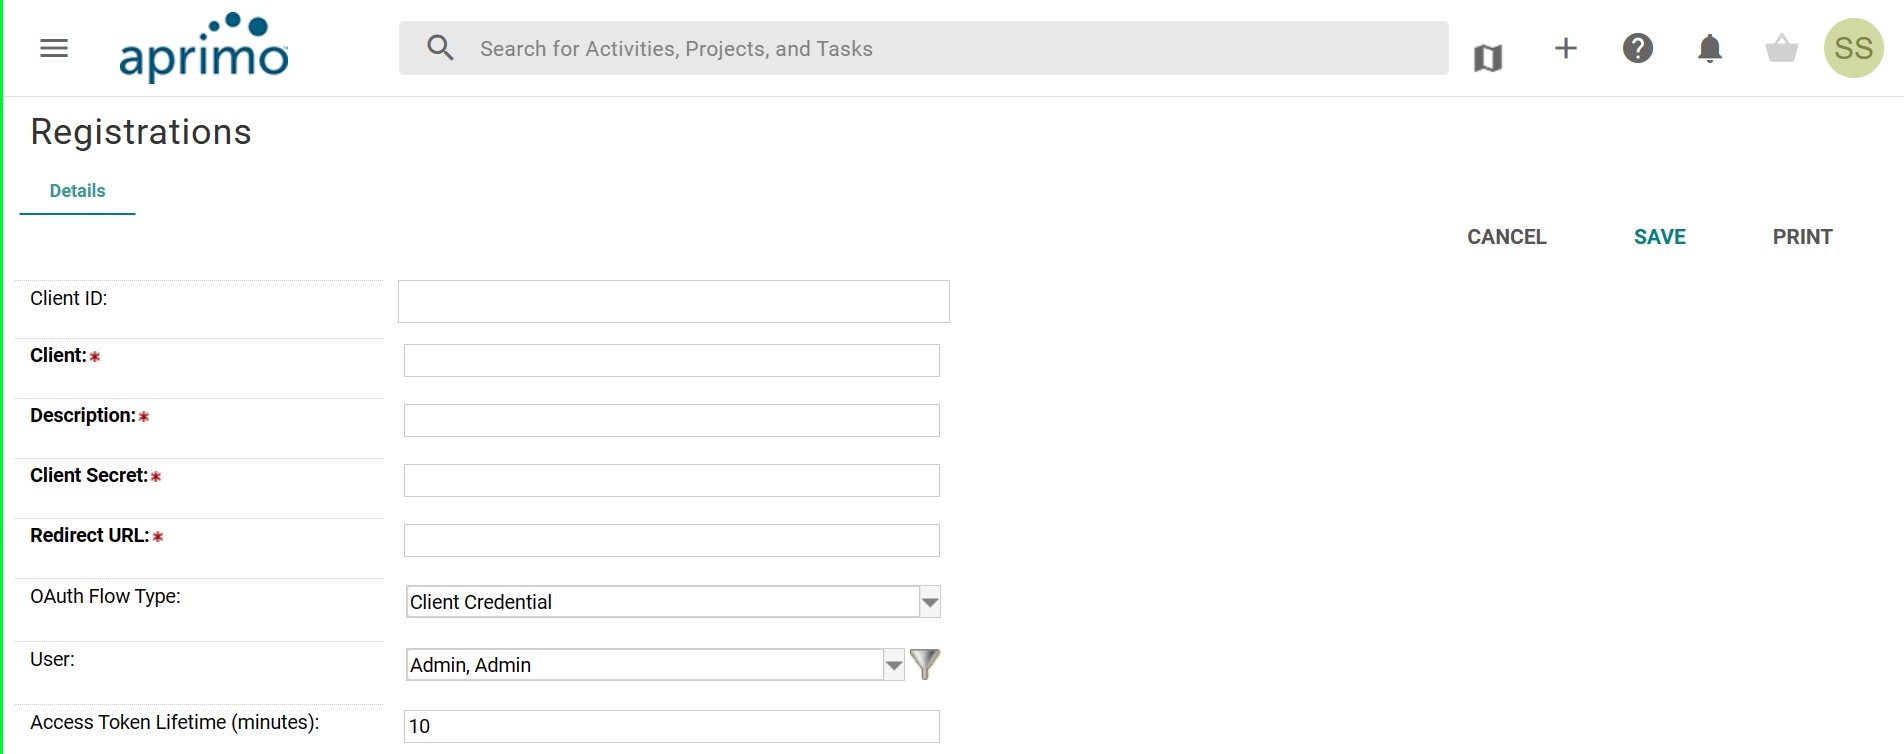
- US (North America, or NA)
- Enter an Account Name and then click Save.
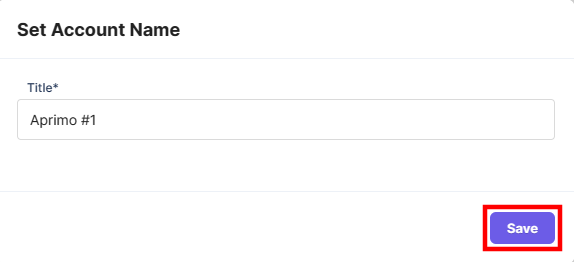
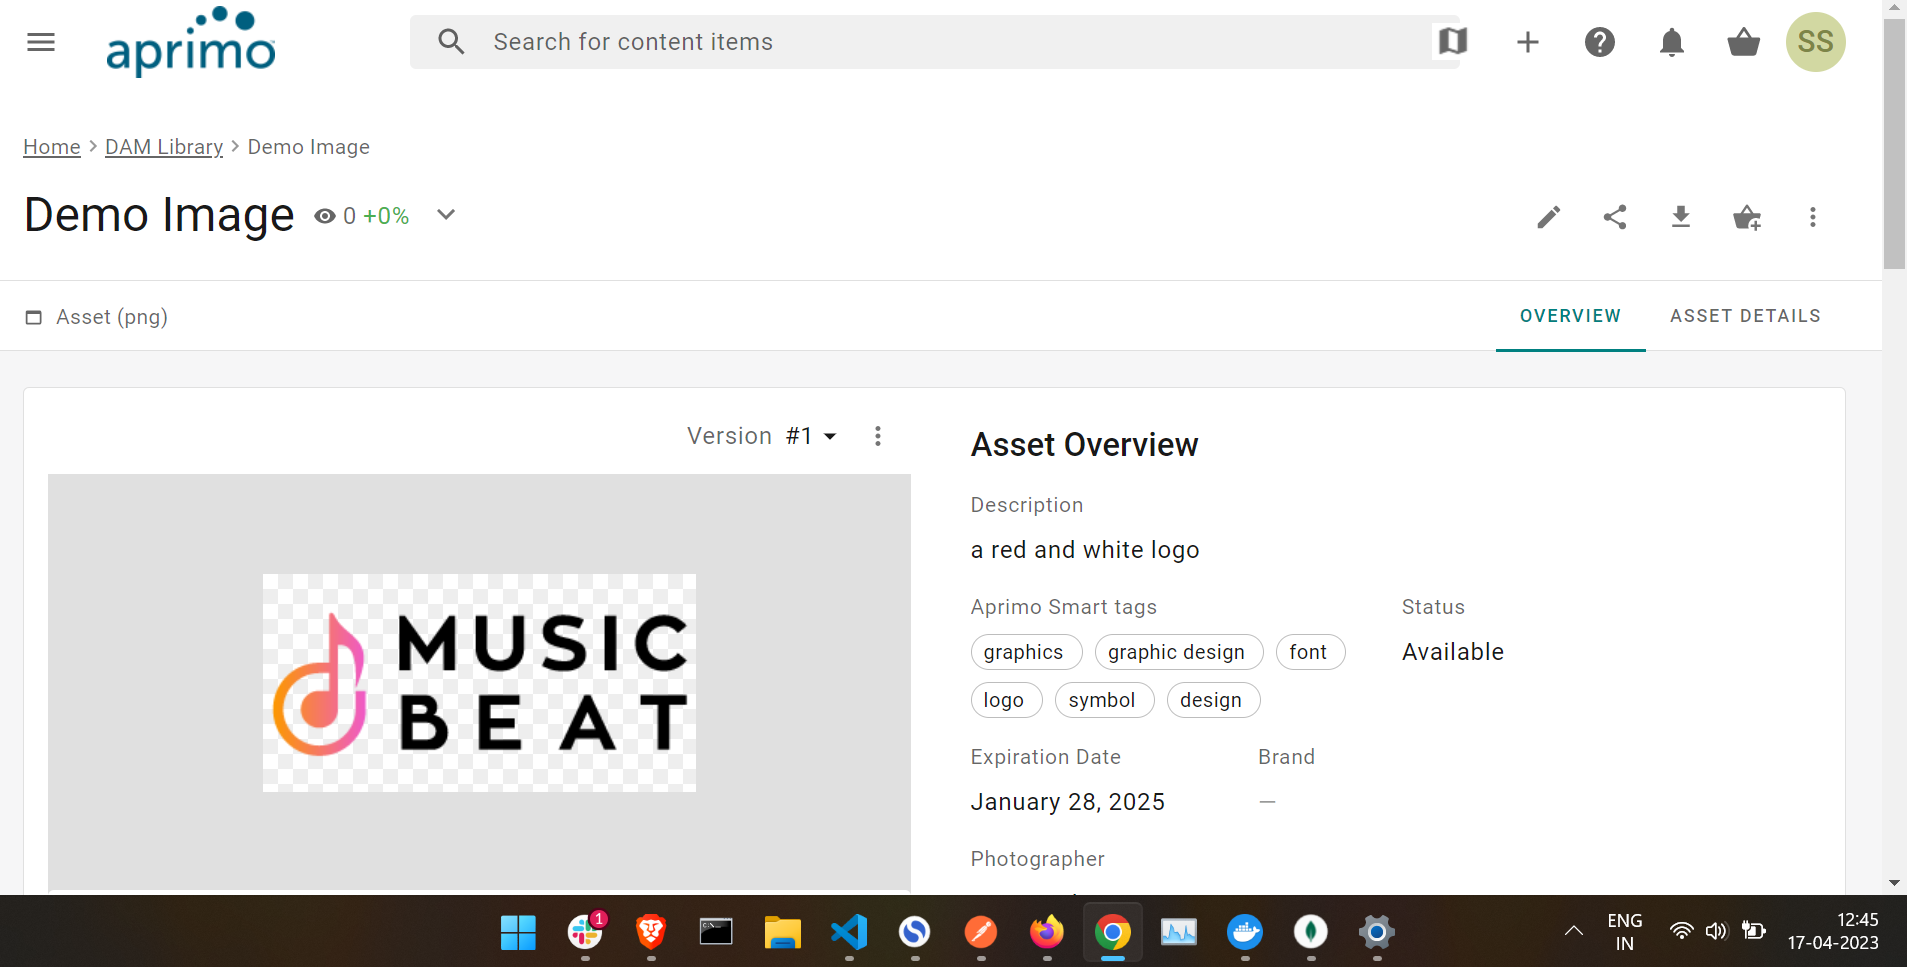
- Select an Asset which you want to update from the Lookup dropdown.
Note: Contentstack Marketplace offers an Aprimo app for its users, so they can fetch the assets/images into their Contentstack CMS entry. With the Aprimo connector, you can fetch the asset id from the Aprimo entry and you can edit the asset attributes.
- In the Asset Attribute field, provide the name of the attribute in the Key field and the value that you want to update in the Value field.
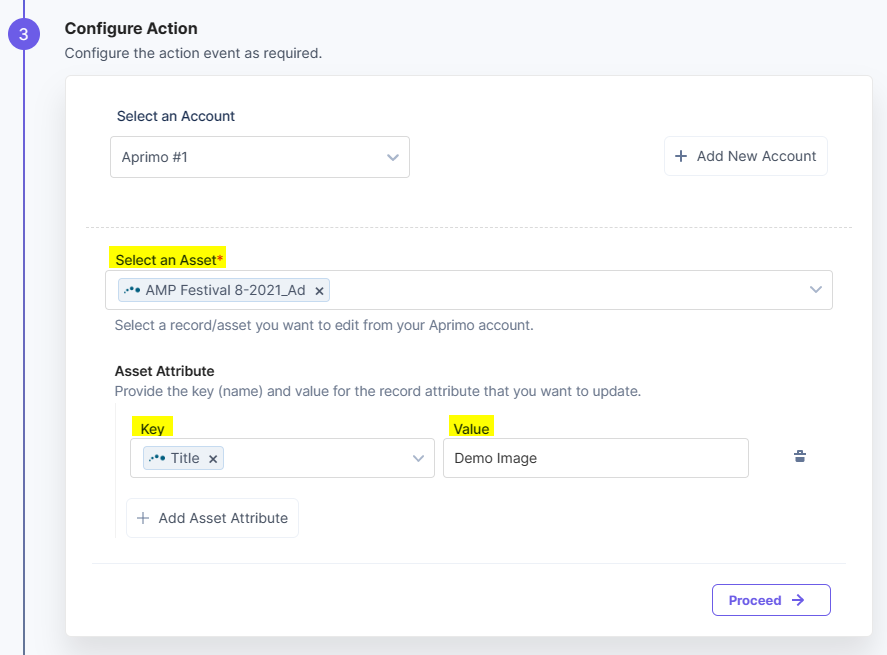
- Click the Proceed button.
- Click the Test Action button to test the configured action.

- Once set, click the Save and Exit button.
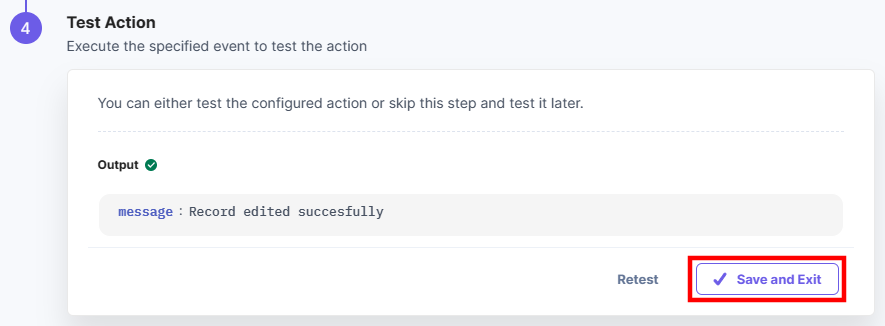
- Navigate to the Aprimo dashboard to view the changes on the selected asset/record.
Get Single Record
This action lets you fetch the asset details from your Aprimo dashboard.
- Within the Configure Action Step, click the Aprimo connector.
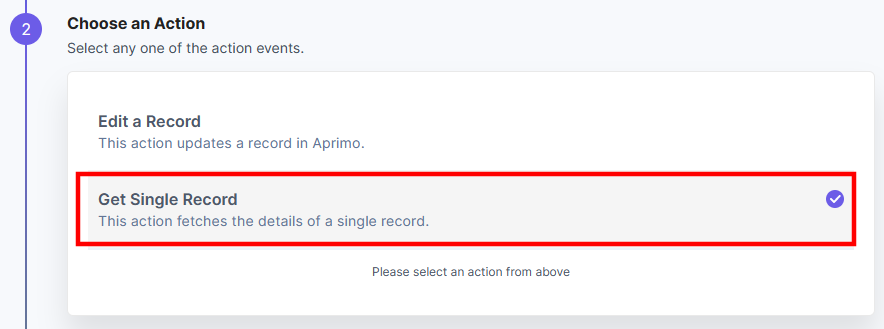
- Select the Get Single Record action.
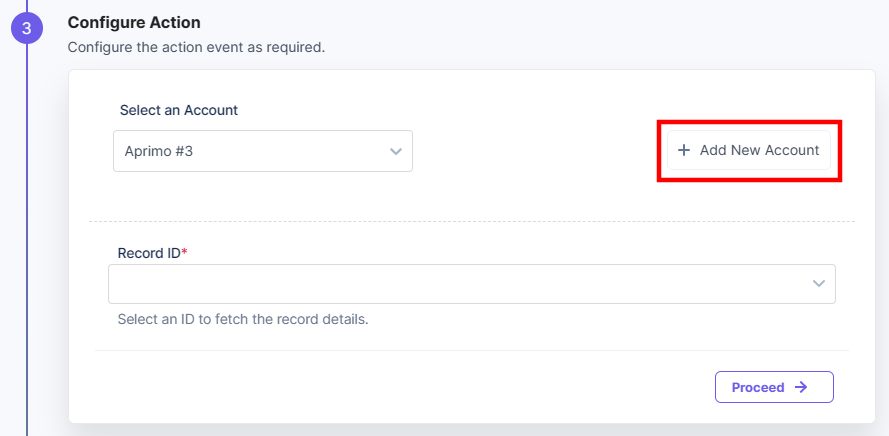
- Click the + Add New Account button to add your Aprimo account.
- In the Authorize pop-up window, provide the Title, Aprimo URL, Client ID, and Client Secret.

To generate Client ID and Client Secret, log in to the Aprimo dashboard and perform the following steps:
- Click the Administration tab in the left navigation panel
- Click Integration in the left navigation panel and then click Registrations.
- Click the New icon present on the right side of the page.
- Provide the required details and then click the Save icon.
- You will be able to see the Client ID. Below is the list of Redirect URLs for different Contentstack Regions.
- US (North America, or NA)
Redirect URL:
https://automations-api.contentstack.com/userauths/auth/callback - Azure NA
Redirect URL:
https://azure-na-app.contentstack.com/automationsapi/userauths/auth/callback - Europe (EU)
Redirect URL:
https://eu-prod-automations-api.contentstack.com/userauths/auth/callback
Note: It is mandatory to select the OAuth Flow Type as Client Credential. The credentials are activated after 15 minutes so you can use them to authorize your Aprimo account.

- US (North America, or NA)
- Enter an Account Name and then click Save.

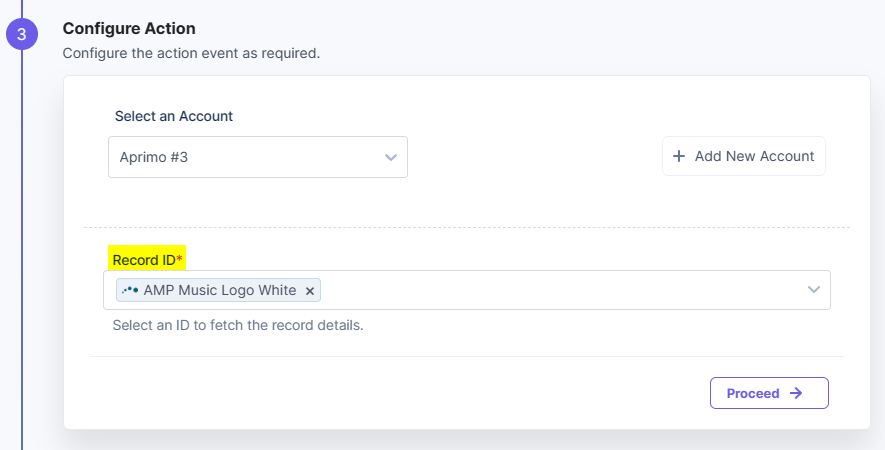
- Select the Record ID to fetch the asset details from the Lookup dropdown.
- Click the Proceed button.
- Click the Test Action button to test the configured action.

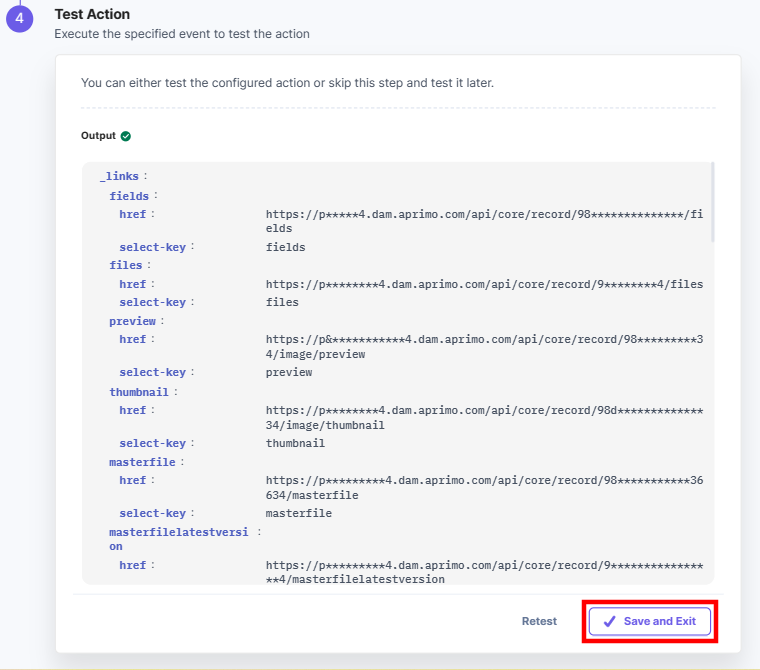
- Once set, click the Save and Exit button.
Note: Aprimo does not support the Firefox browser, hence you cannot run this connector on Firefox.
This sets up the Aprimo action connector.
