

Change Git Repository for a Project
When you rename, transfer, or replace a repository, you can update the linked repository in Launch without recreating the project or losing your configuration.
Contentstack Launch allows you to change the GitHub repository linked to an existing project. This enables you to connect a Launch project to a different GitHub repository while retaining the same project settings, deployment configuration, environment variables, custom domains, and deployment history.
You may need to change the project repository in the following scenarios:
- Migrating a project to a new GitHub repository
- Replacing an existing repository with a new production repository
- Reconnecting a repository after the GitHub repository name has changed
- Updating the project after the repository has been transferred to another GitHub organization or account
- Replacing a deleted repository with a newly created repository while retaining the same Launch project configuration
Prerequisites
Before changing the project repository, ensure the following conditions are met:
- Only users with Owner or Admin access in the organization can change the connected GitHub repository for a project.
- The new GitHub repository exists and your GitHub account can access it.
- Your GitHub account is already connected to Launch, or you are prepared to connect it during the process.
- You must have Owner or Admin access in the organization that owns the target GitHub repository.
Changing GitHub Repository for an Existing Launch Project
- On the Launch landing page, click the project card to open the required project.
- Click Settings in the top panel. Under General, click the Current Repository dropdown in the Git Connection card.
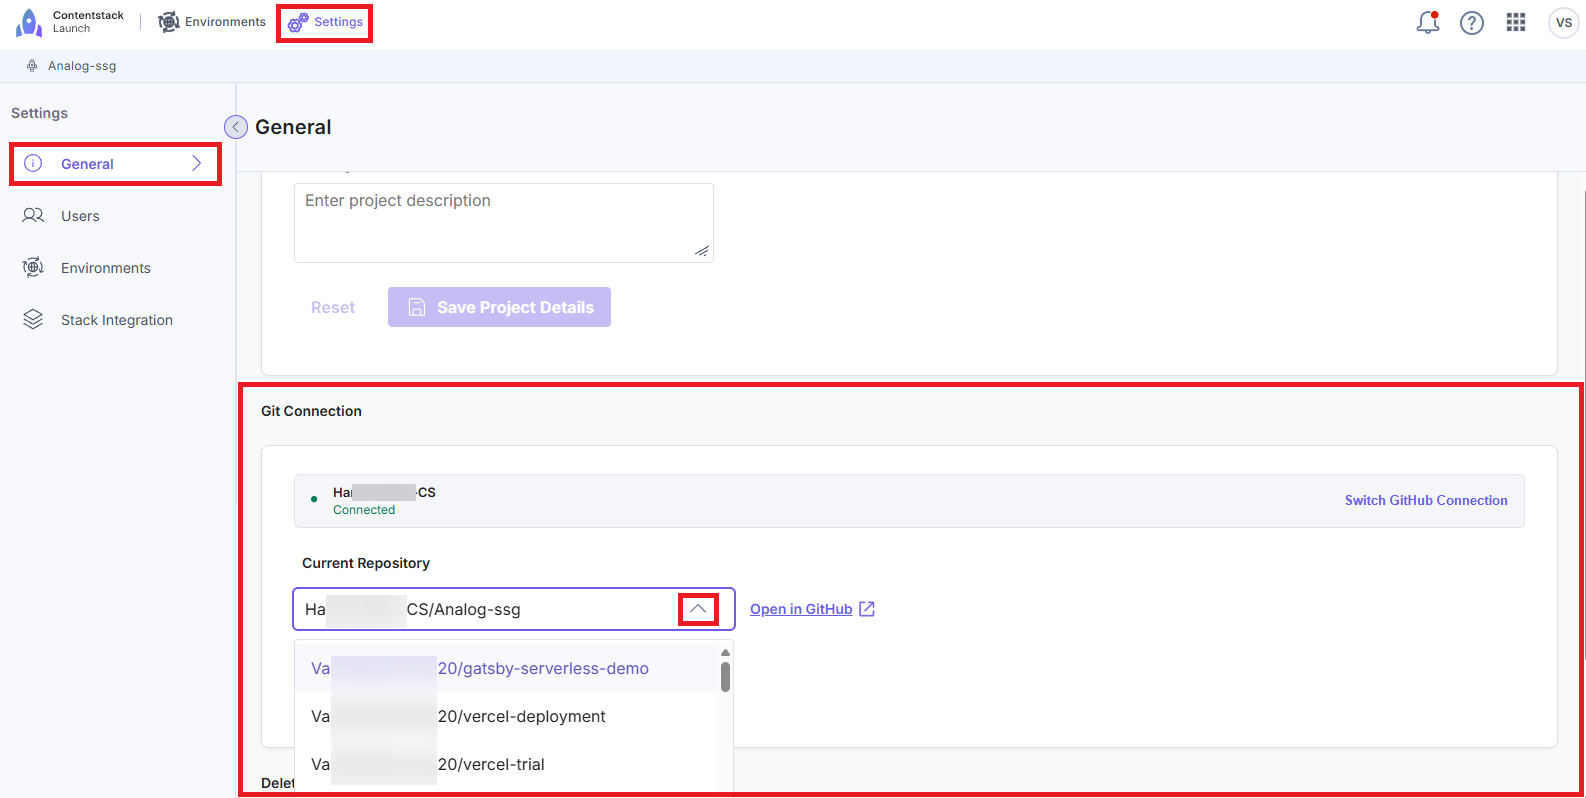
Note: If you need to switch to a different GitHub account or organization, click Switch GitHub Connection in the Git Connection card and select the required GitHub account.
- Select the new GitHub repository to connect to the project.
- Click Save Changes to apply the repository update.
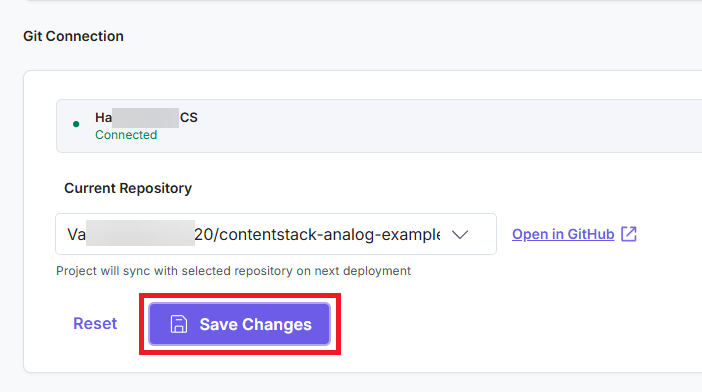
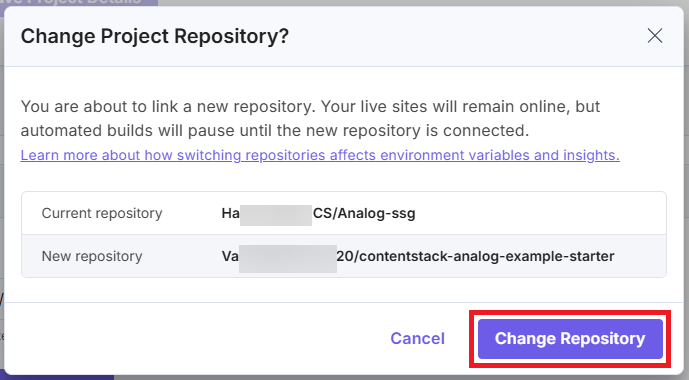
To discard the change and revert to the previously connected repository, click Reset. - In the Change Project Repository? confirmation modal, review the current and new repository details and click Change Repository to confirm.
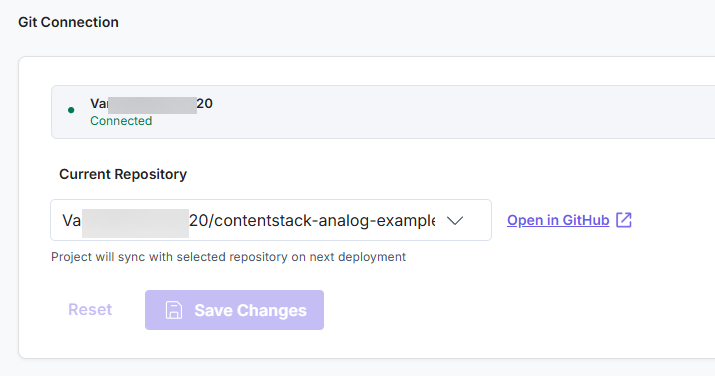
- After the transfer is complete, the Git Connection section displays the updated repository.
Additional Resource: To repair GitHub connection, refer to the Repair GitHub Connection for Projects document.
- If the newly connected repository uses a different framework or project structure, go to the Environments section and update the deployment commands under Deployments and the environment variables under Environment Variables accordingly.
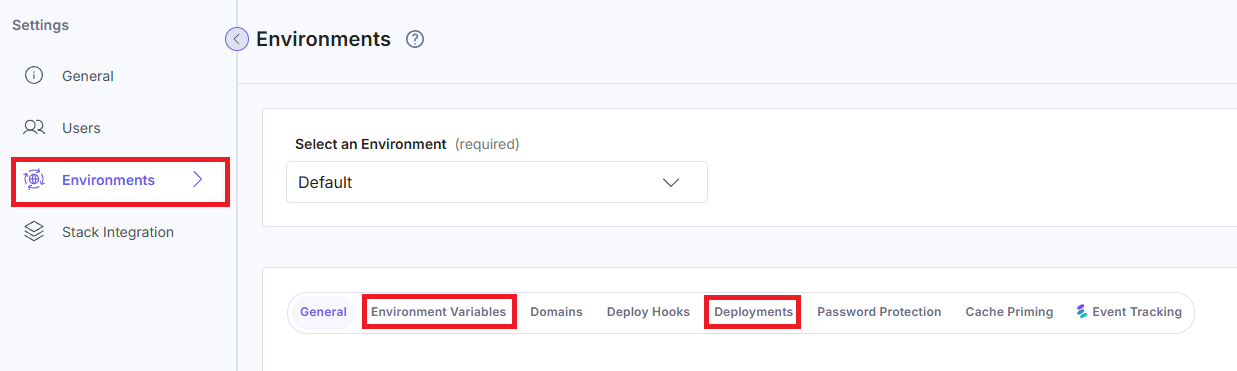
- Click Environments in the top panel, select your deployment, and click Redeploy to deploy the project with the required commit.
Once the deployment is successful, your project goes live with the newly connected repository.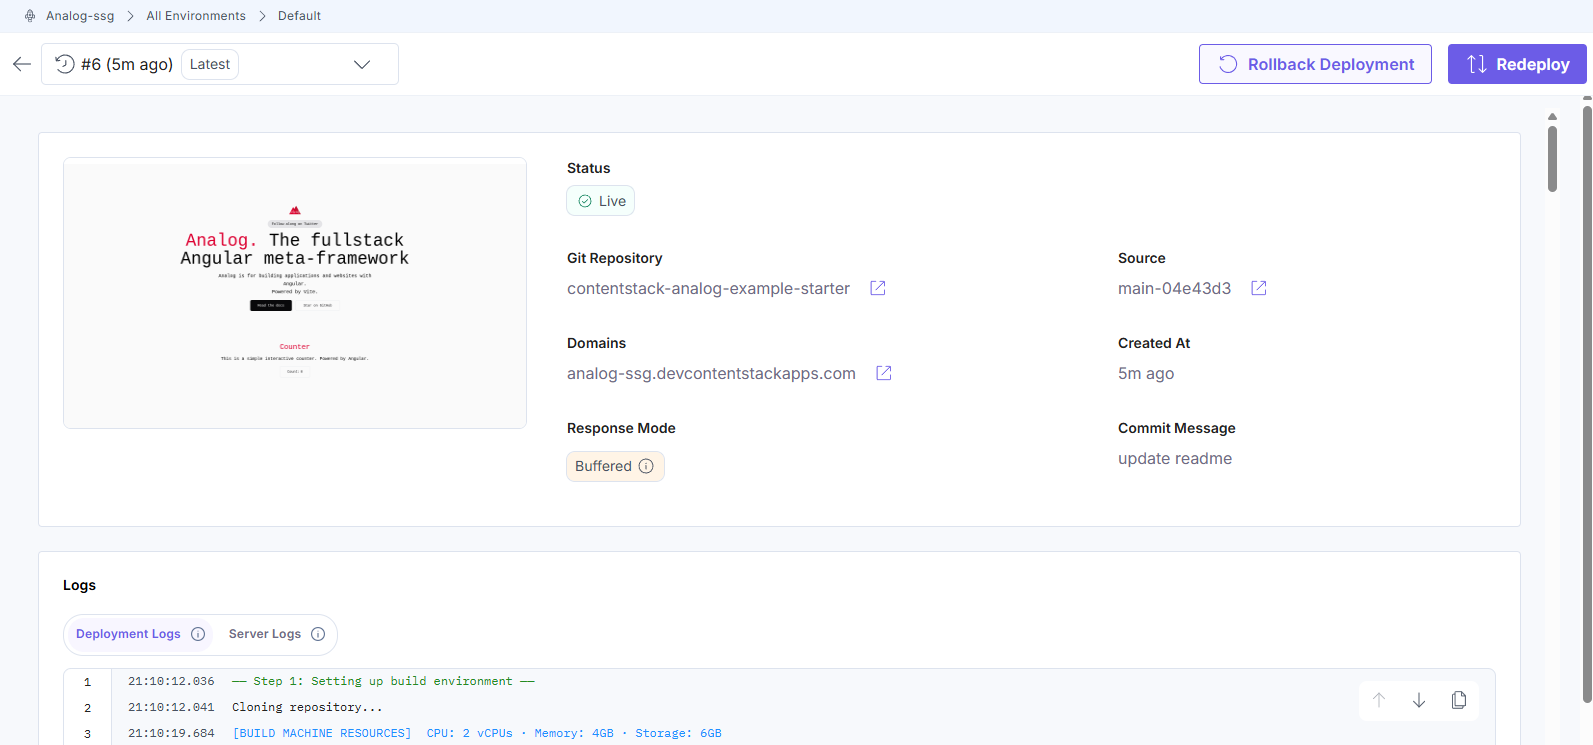
Troubleshooting
If issues occur during or after the repository transfer, check the following:
- Ensure the connected GitHub account has access to the required repository in the GitHub organization settings.
- Verify that the GitHub account is properly connected to Launch. If required, repair the GitHub connection.
- If the repository was recently transferred to another GitHub organization, reinstall the GitHub App in the new organization.
- Verify that the build command and output directory match the structure of the newly connected repository.
- Ensure all required environment variables for the new codebase are configured in the Launch environment settings.
More articles in "Launch How to Guides"
