

Set Up Live Preview for Your Stack
Contentstack's Live Preview feature allows you to view real-time content updates while editing entries, ensuring a smooth editing experience and reducing publishing errors.
To enable Live Preview for your stack, log in to your Contentstack Account and perform the following steps:
- Go to your stack and click the “Settings” icon in the left navigation panel.
- Navigate to Environments and select an existing environment or create a new one.
- Add the Base URL for each locale to ensure accurate content previews, then Save your changes.
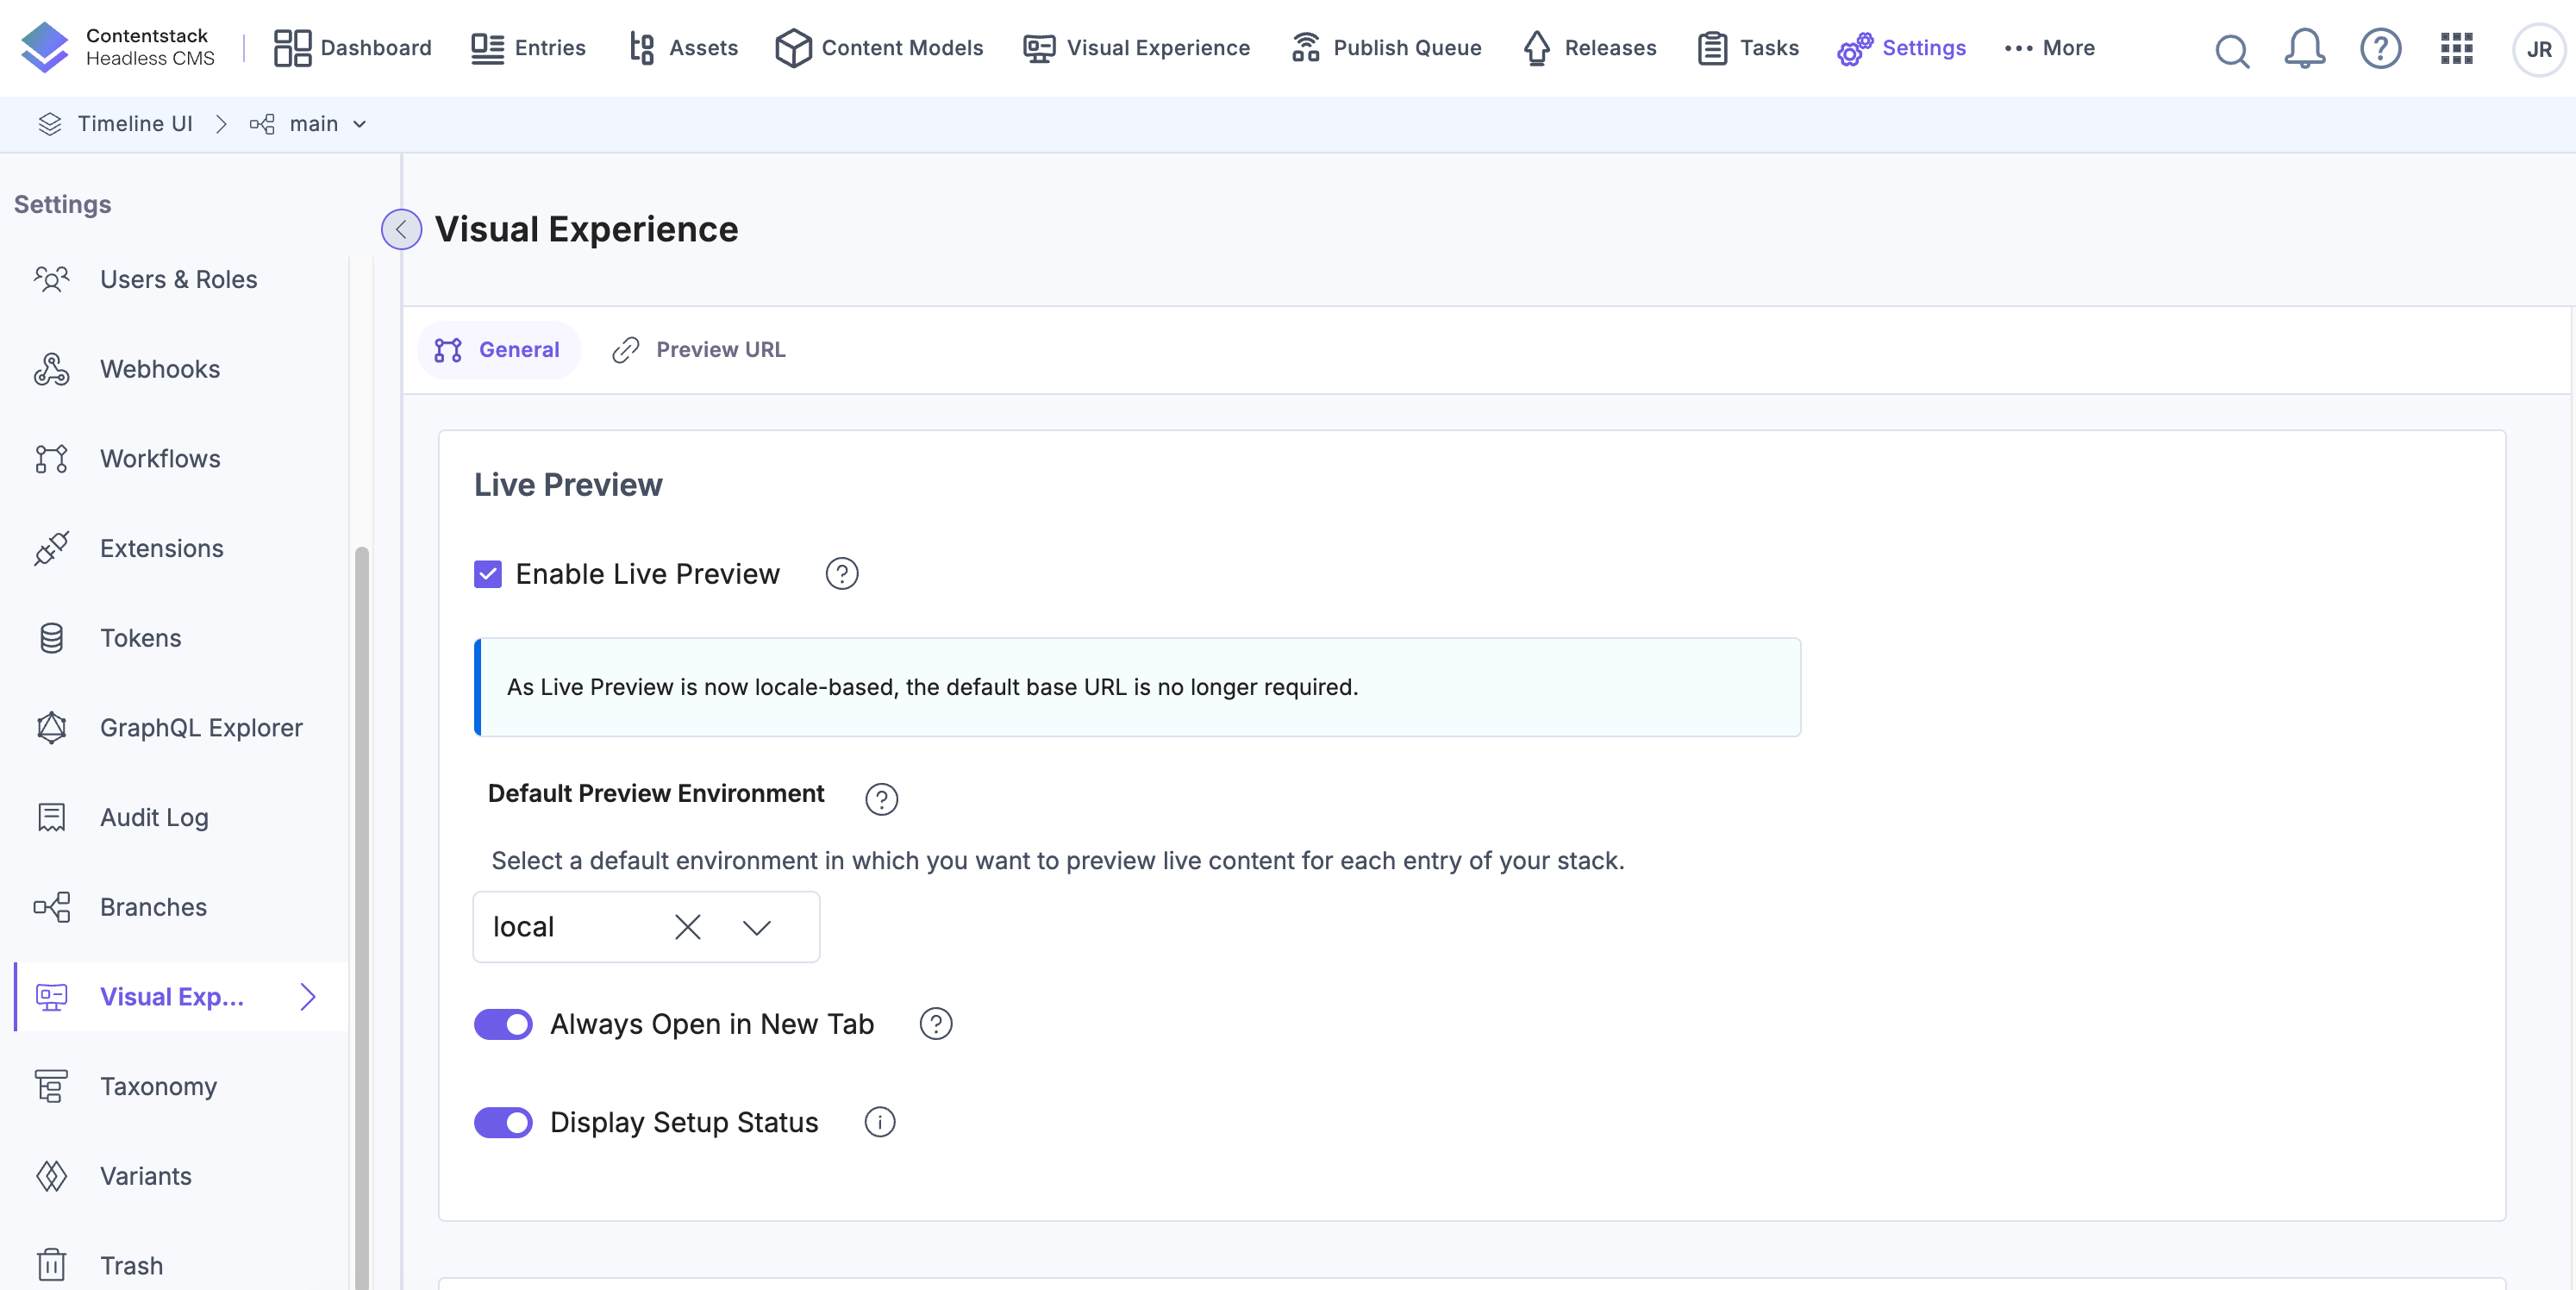
- Next, navigate to Visual Experience from the Settings menu and select the Enable Live Preview checkbox.
- Select the Default Preview Environment.
Additional Resource: By default, Live Preview generates preview URLs using the Base URL configured for an environment and the URL value defined in an entry. This approach works well for simple routing setups. For more complex website structures, use Custom Preview URLs to define dynamic, pattern-based preview URLs.
Enable the Display Setup Status toggle to display the configuration status.
- Enable the Always Open in New Tab toggle to preview your website in a new browser tab.
Note: With the latest Live Preview SDK (v4.0.0 or later), the website opens outside the Contentstack iFrame. This feature is available on select plans. Contact our support team to enable it for your organization.
Once enabled, the Live Preview icon appears in the right panel of your entry editor. Clicking this icon opens a side-by-side view, allowing you to edit content while viewing real-time updates.
- Ensure the correct preview environment is selected.
- Verify the Base URL settings in Environments.
More articles in "Work with Live Preview"
