

Multi-Factor Authentication
Multi-Factor Authentication (MFA) is an essential security measure that adds an extra layer of protection to your Contentstack account. By requiring a second form of verification, typically a Time-based One-Time Password (TOTP) generated by an authenticator app, MFA reduces the risk of unauthorized access, even if your password is compromised.
We strongly recommend enabling MFA to safeguard your Contentstack account and its associated resources.
Note: Once MFA is enabled for a user, it cannot be disabled. Additionally, if your organization’s admin or owner enforces MFA, all users get prompted to set it up during their next login.
Prerequisites
- Contentstack account
- An authenticator app (for example, Google Authenticator, Authy, 1Password, or Microsoft Authenticator)
What You Will Learn
-
How to enable MFA on your account with an authenticator app.
-
How to generate and store backup codes.
-
How to reset MFA when you switch to a new device or app.
Enable MFA
To enable MFA, log in to your Contentstack account and perform the following steps:
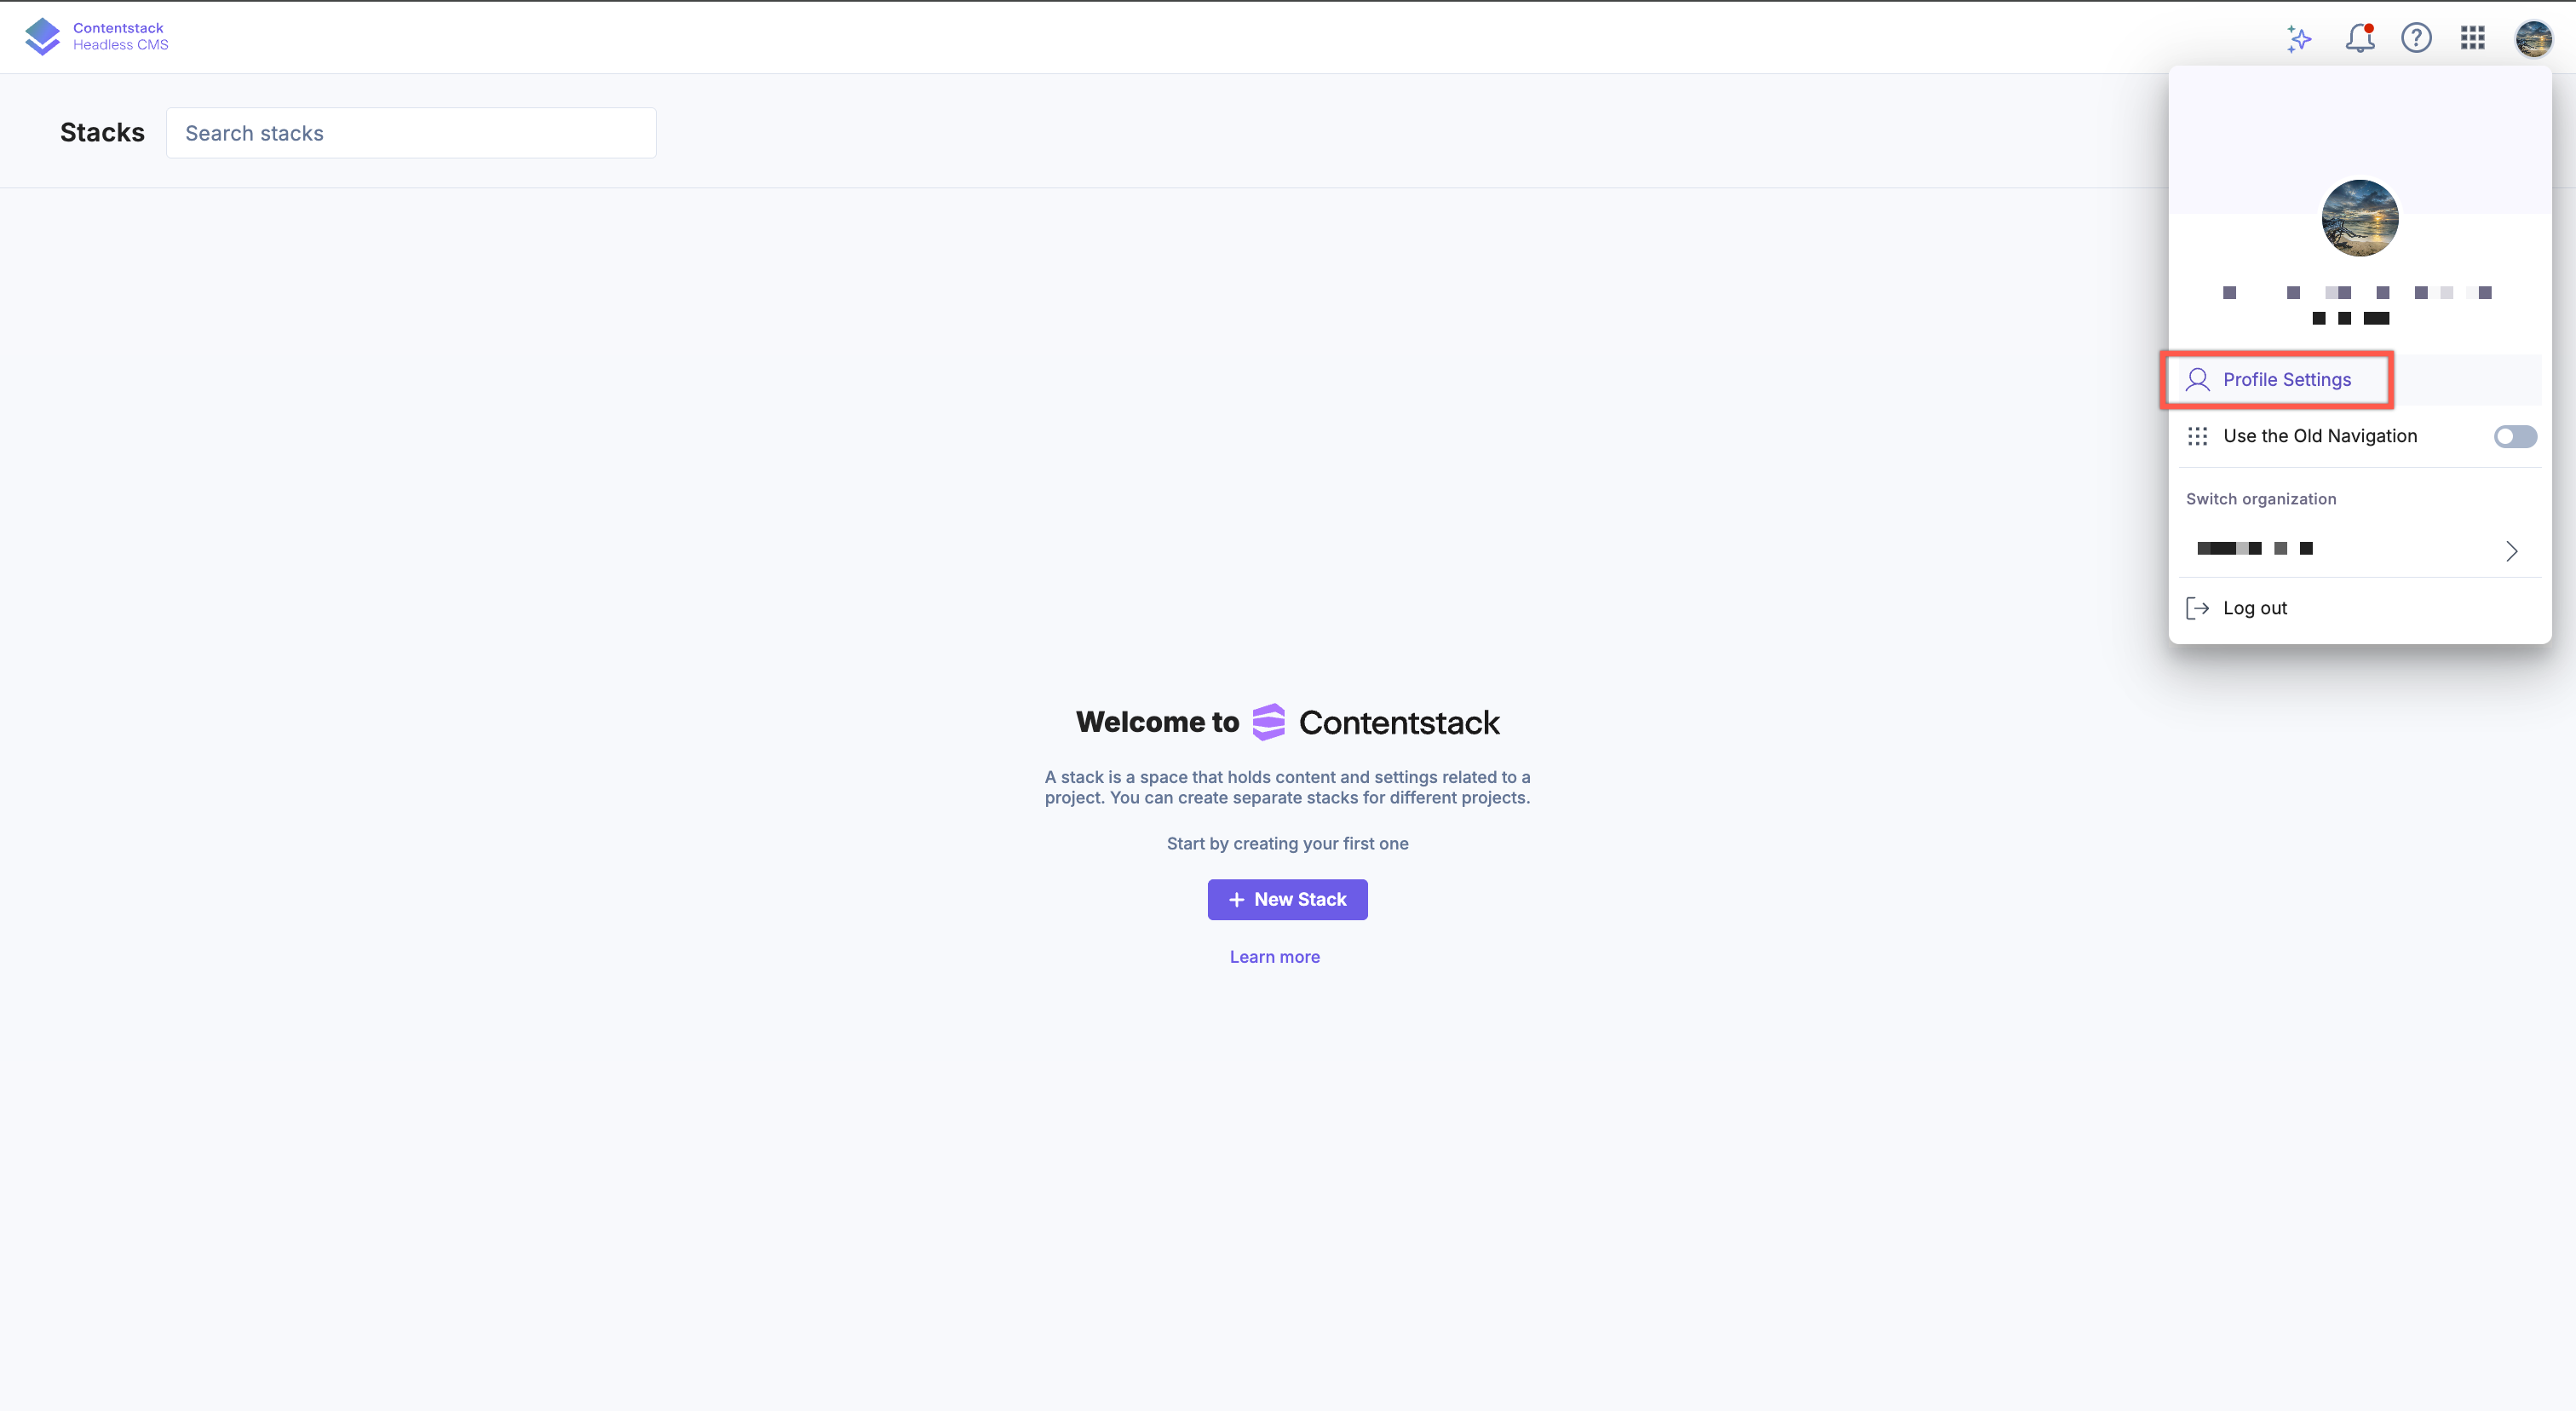
- Click the avatar icon in the top-right corner of the dashboard and select Profile Settings from the dropdown.
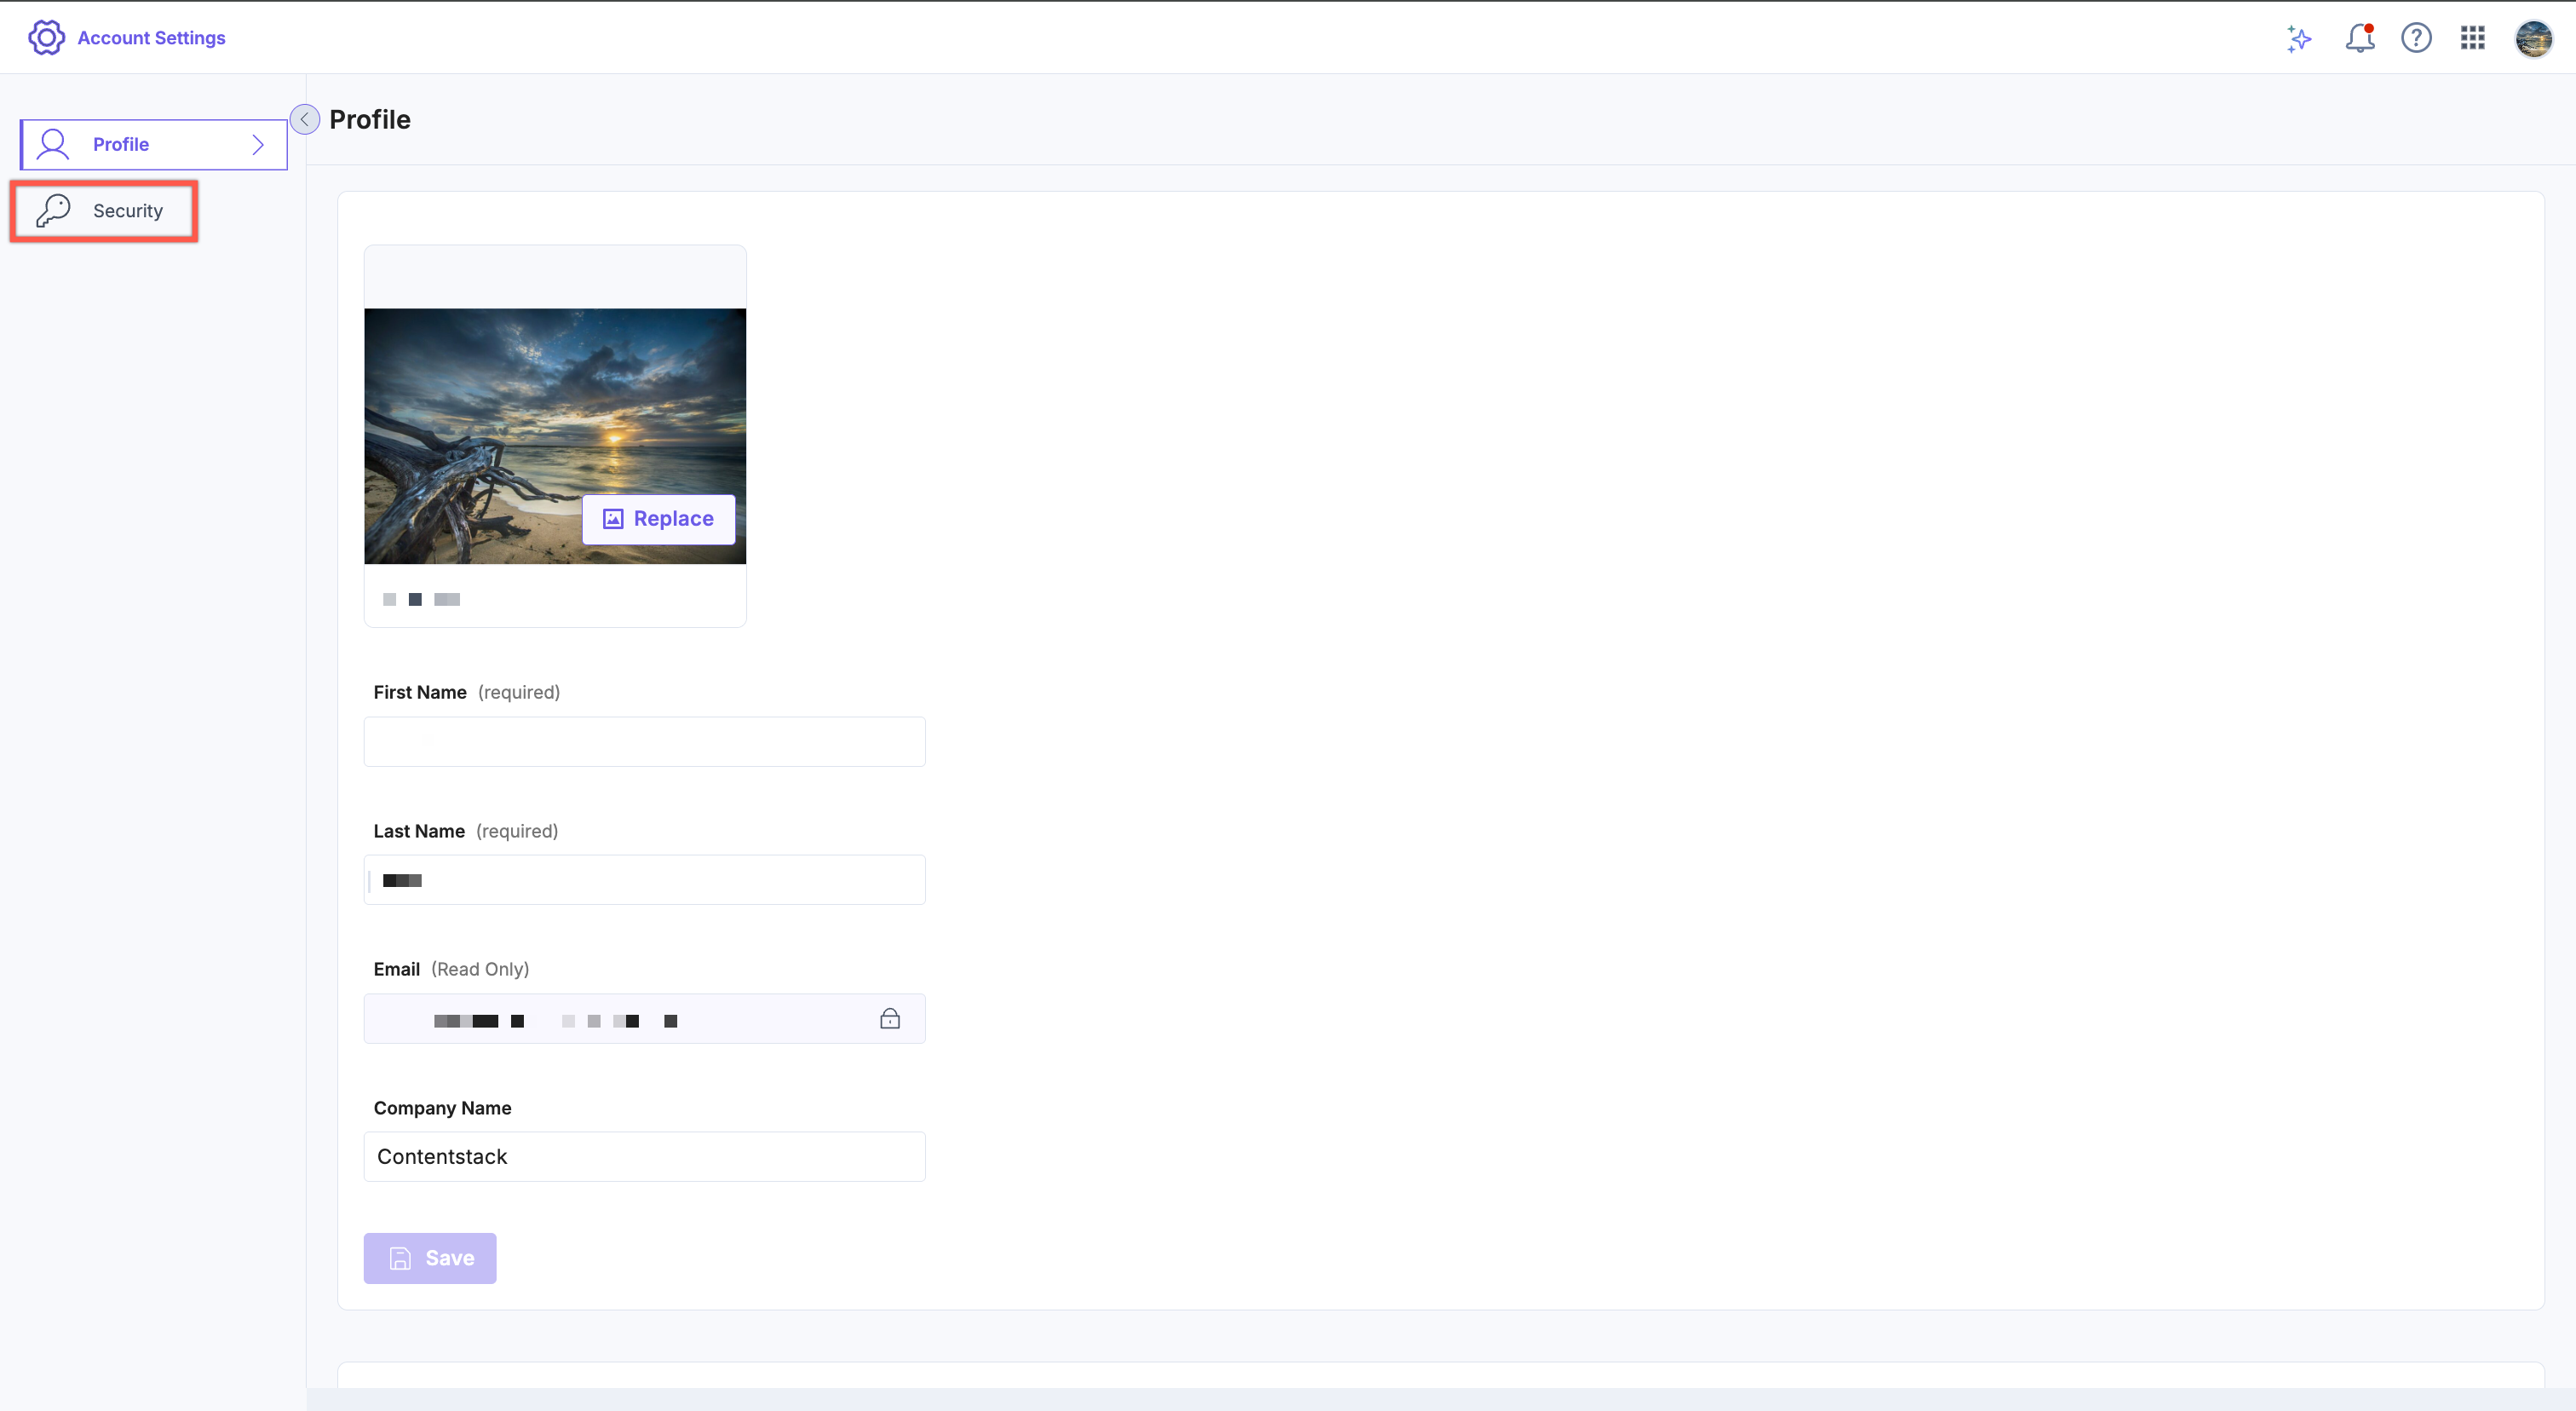
- Click the Security tab in the left navigation panel.
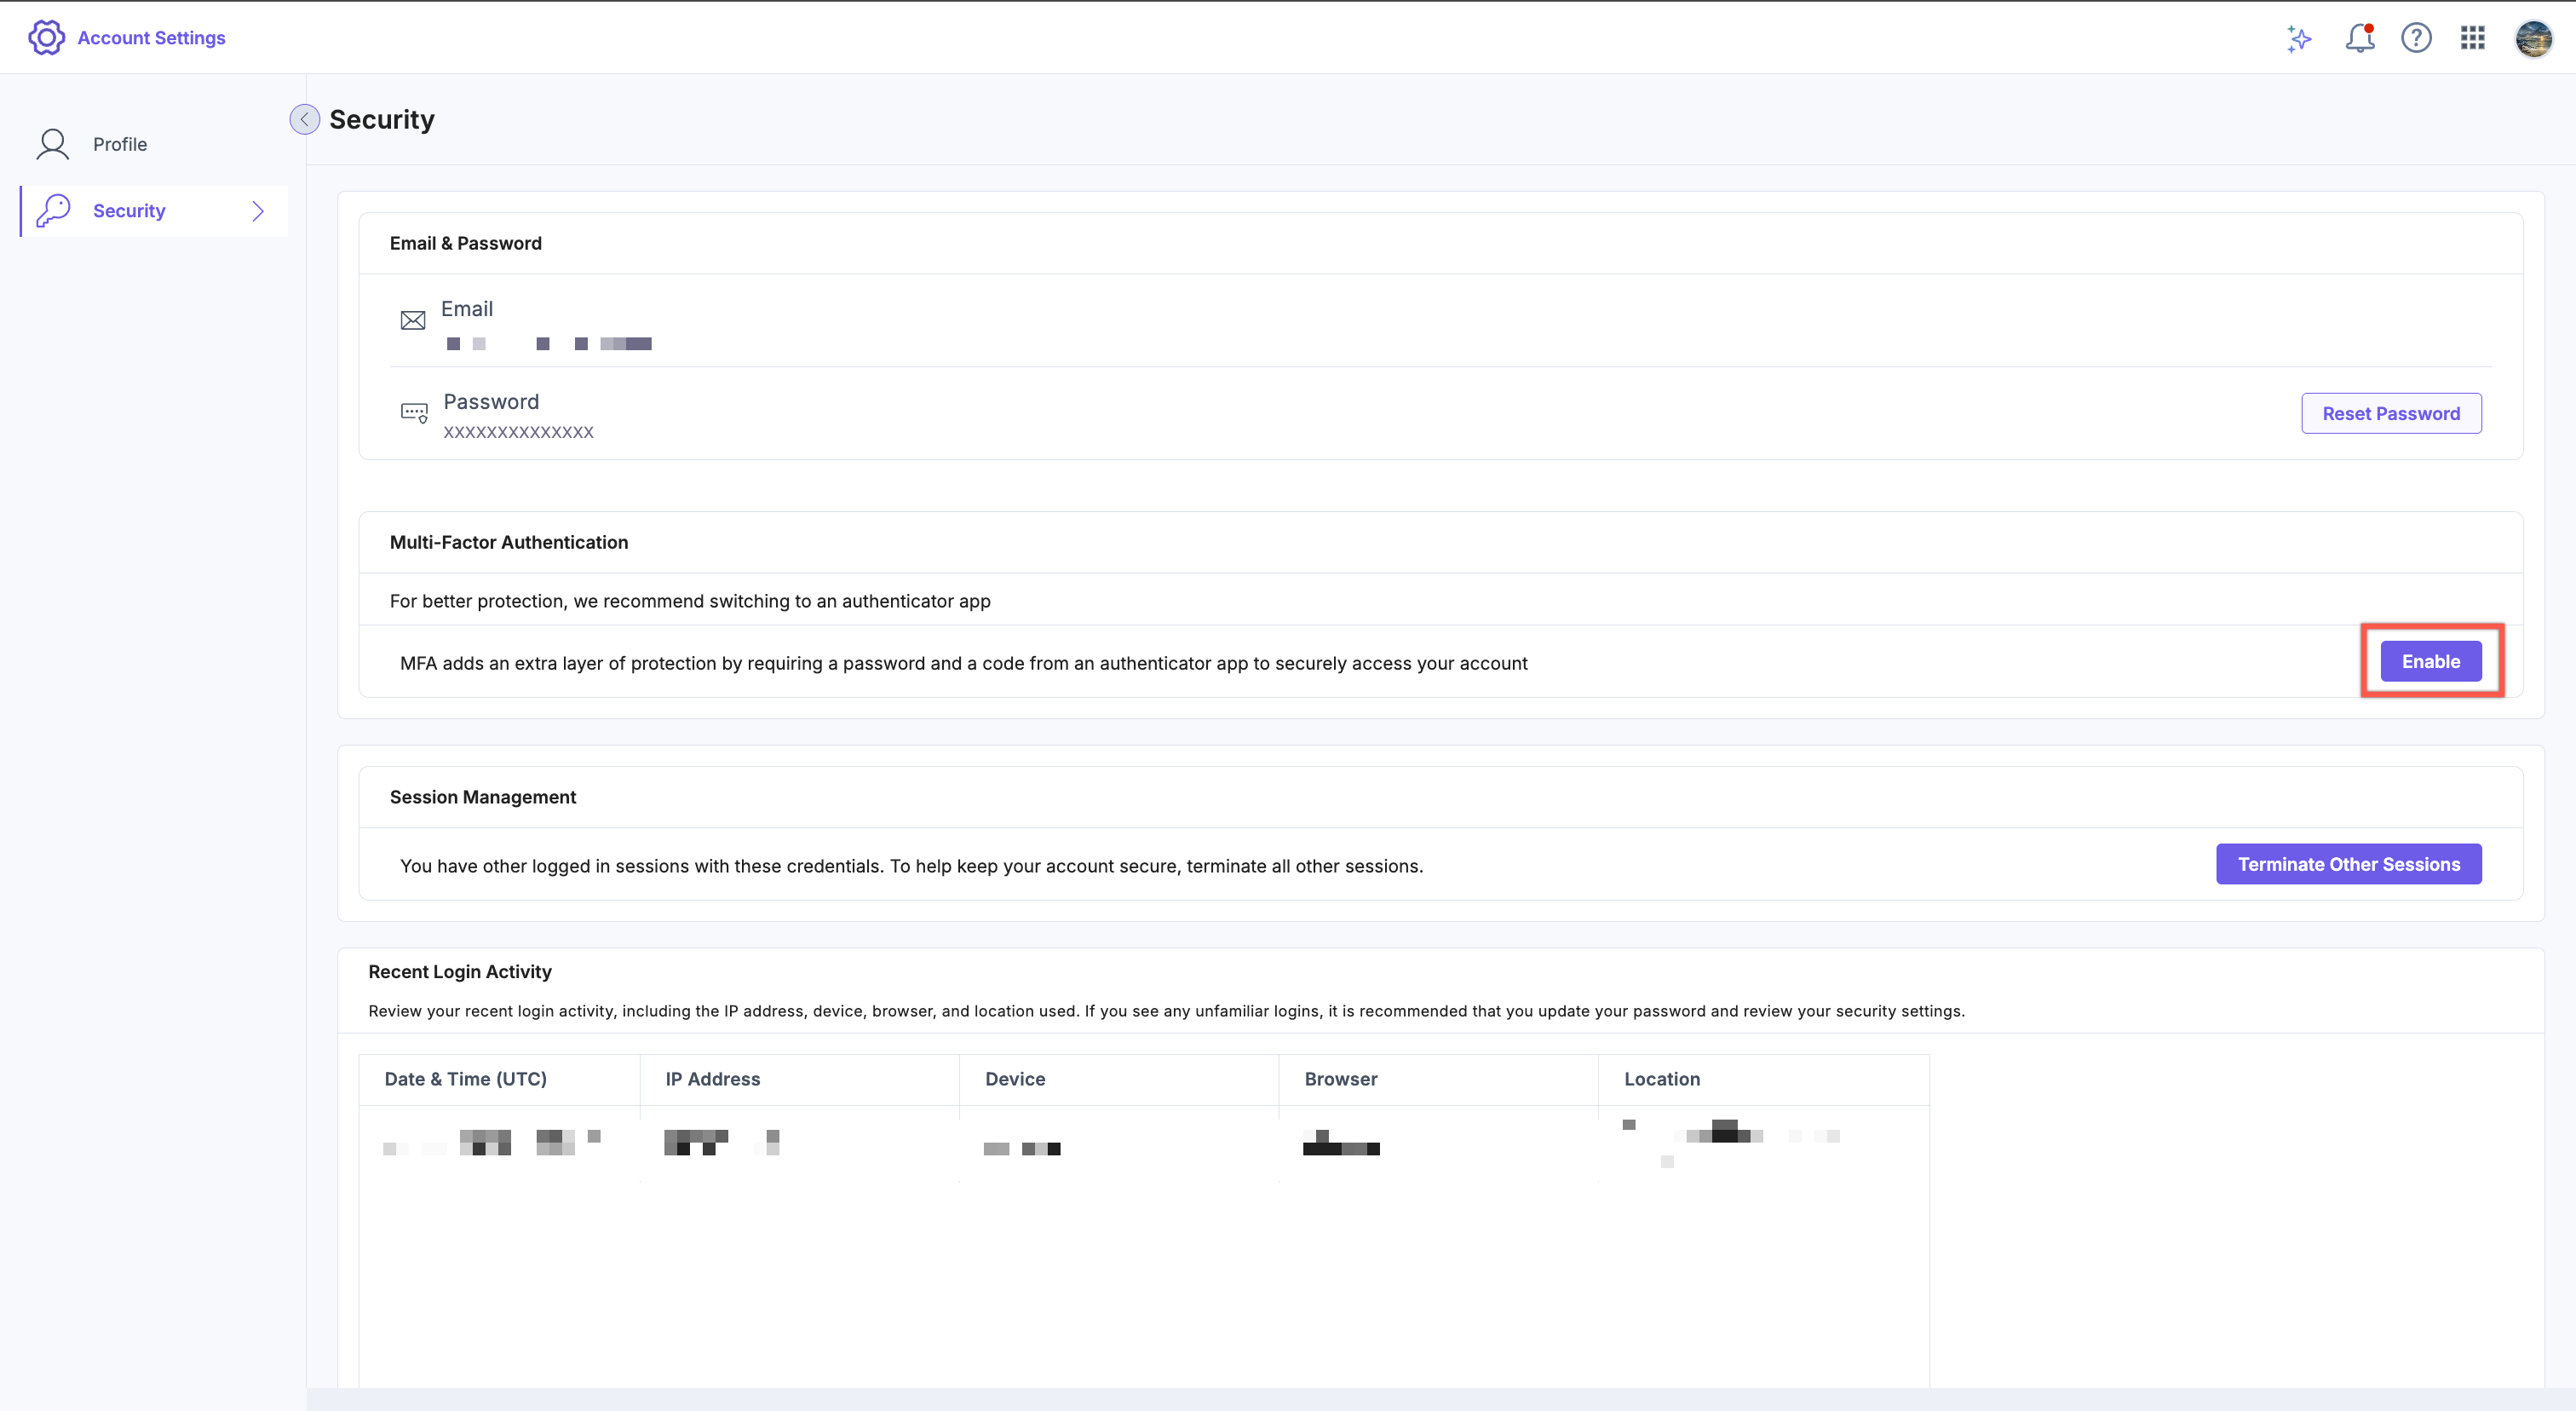
- Under Multi-Factor Authentication, click Add/Enable.
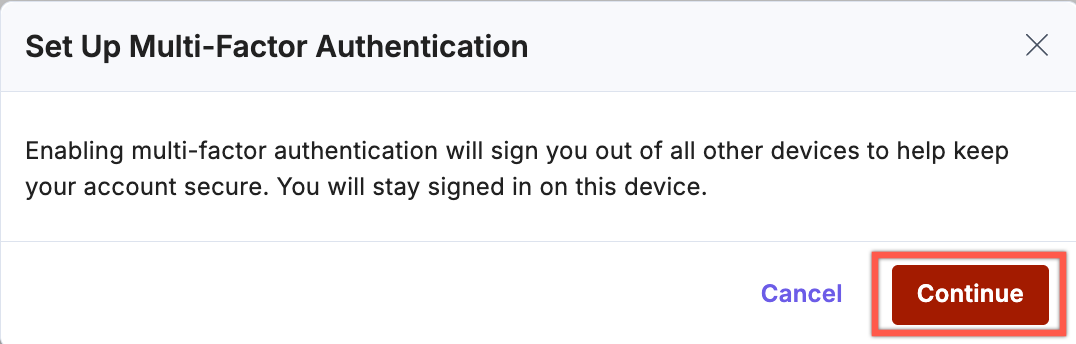
- A confirmation modal appears stating that enabling MFA signs you out of all other active sessions to help secure your account. You remain signed in to the current session. Click Continue to proceed.
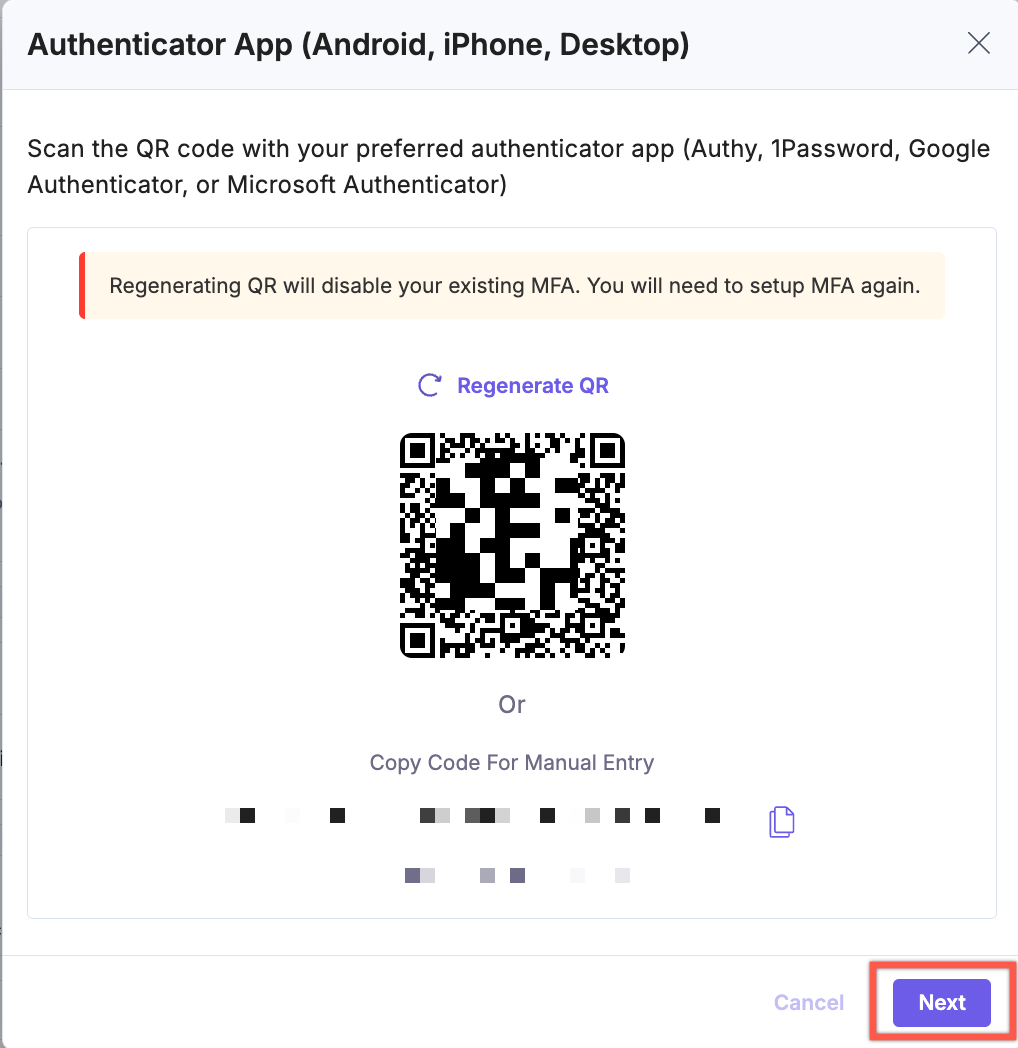
- A modal window appears with a QR code.
- Open an authenticator app (e.g., Google Authenticator, Authy, 1Password, Microsoft Authenticator, or any authenticator app).
- Scan the QR code or manually enter the code displayed under it.
- Click Next.
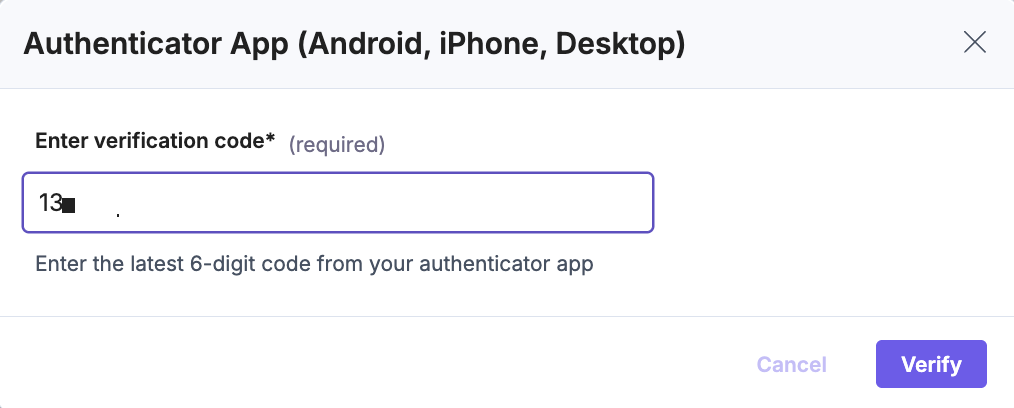
- Enter the 6-digit verification code generated on your authenticator app and click Verify to complete the setup.
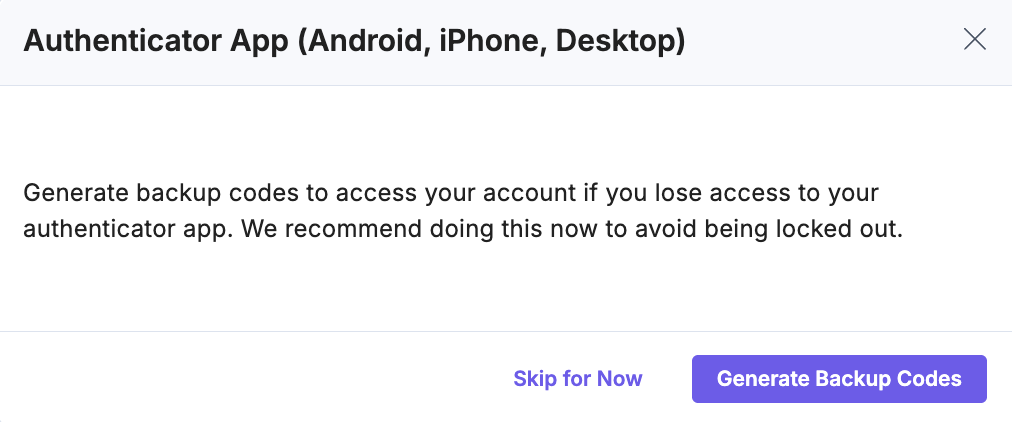
- After MFA is enabled, a prompt appears to generate backup codes.
- Click Generate Backup Codes (recommended).
- To postpone this action, click Skip for Now to do it later.
- Choose one of the following options:
- Click Copy codes to copy the codes.
- Click Download as .txt file to save them locally.
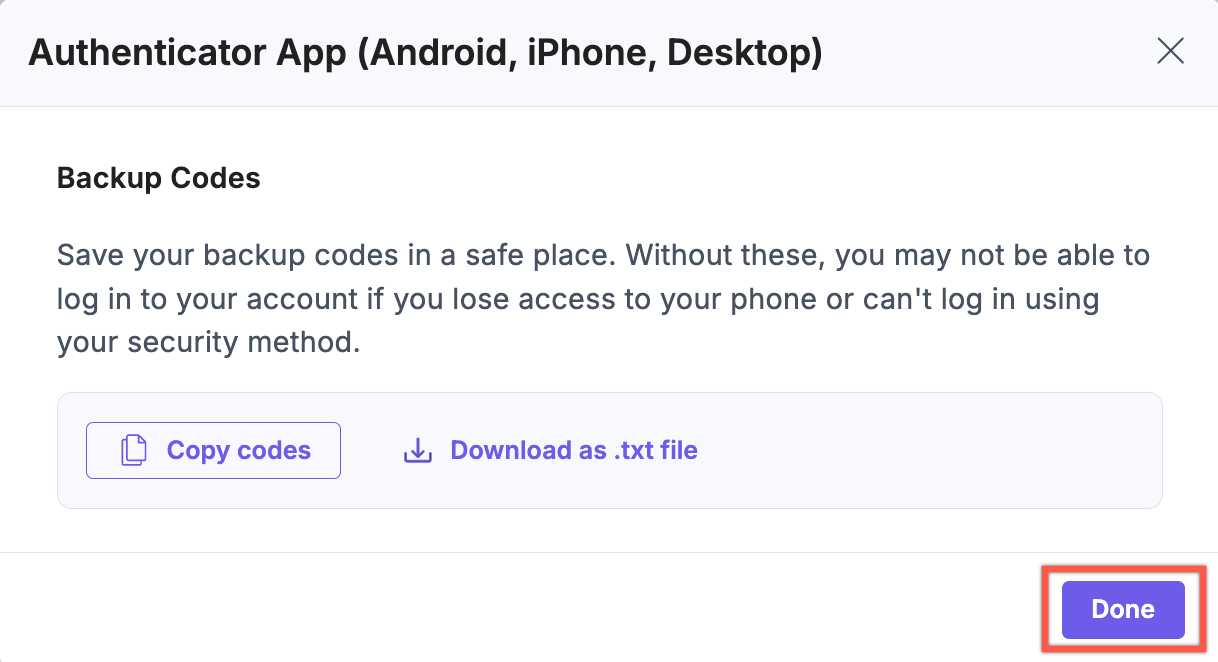
- Click Done after copying or downloading your backup codes.
- Store your backup codes in a secure location. Without them, you may not be able to access your account if your authenticator app is unavailable.
- Each backup code can be used only once. Once you have successfully entered a code to log in, it becomes immediately invalid.
Reset MFA
To reset your authentication method (e.g., switching to a new device or app):
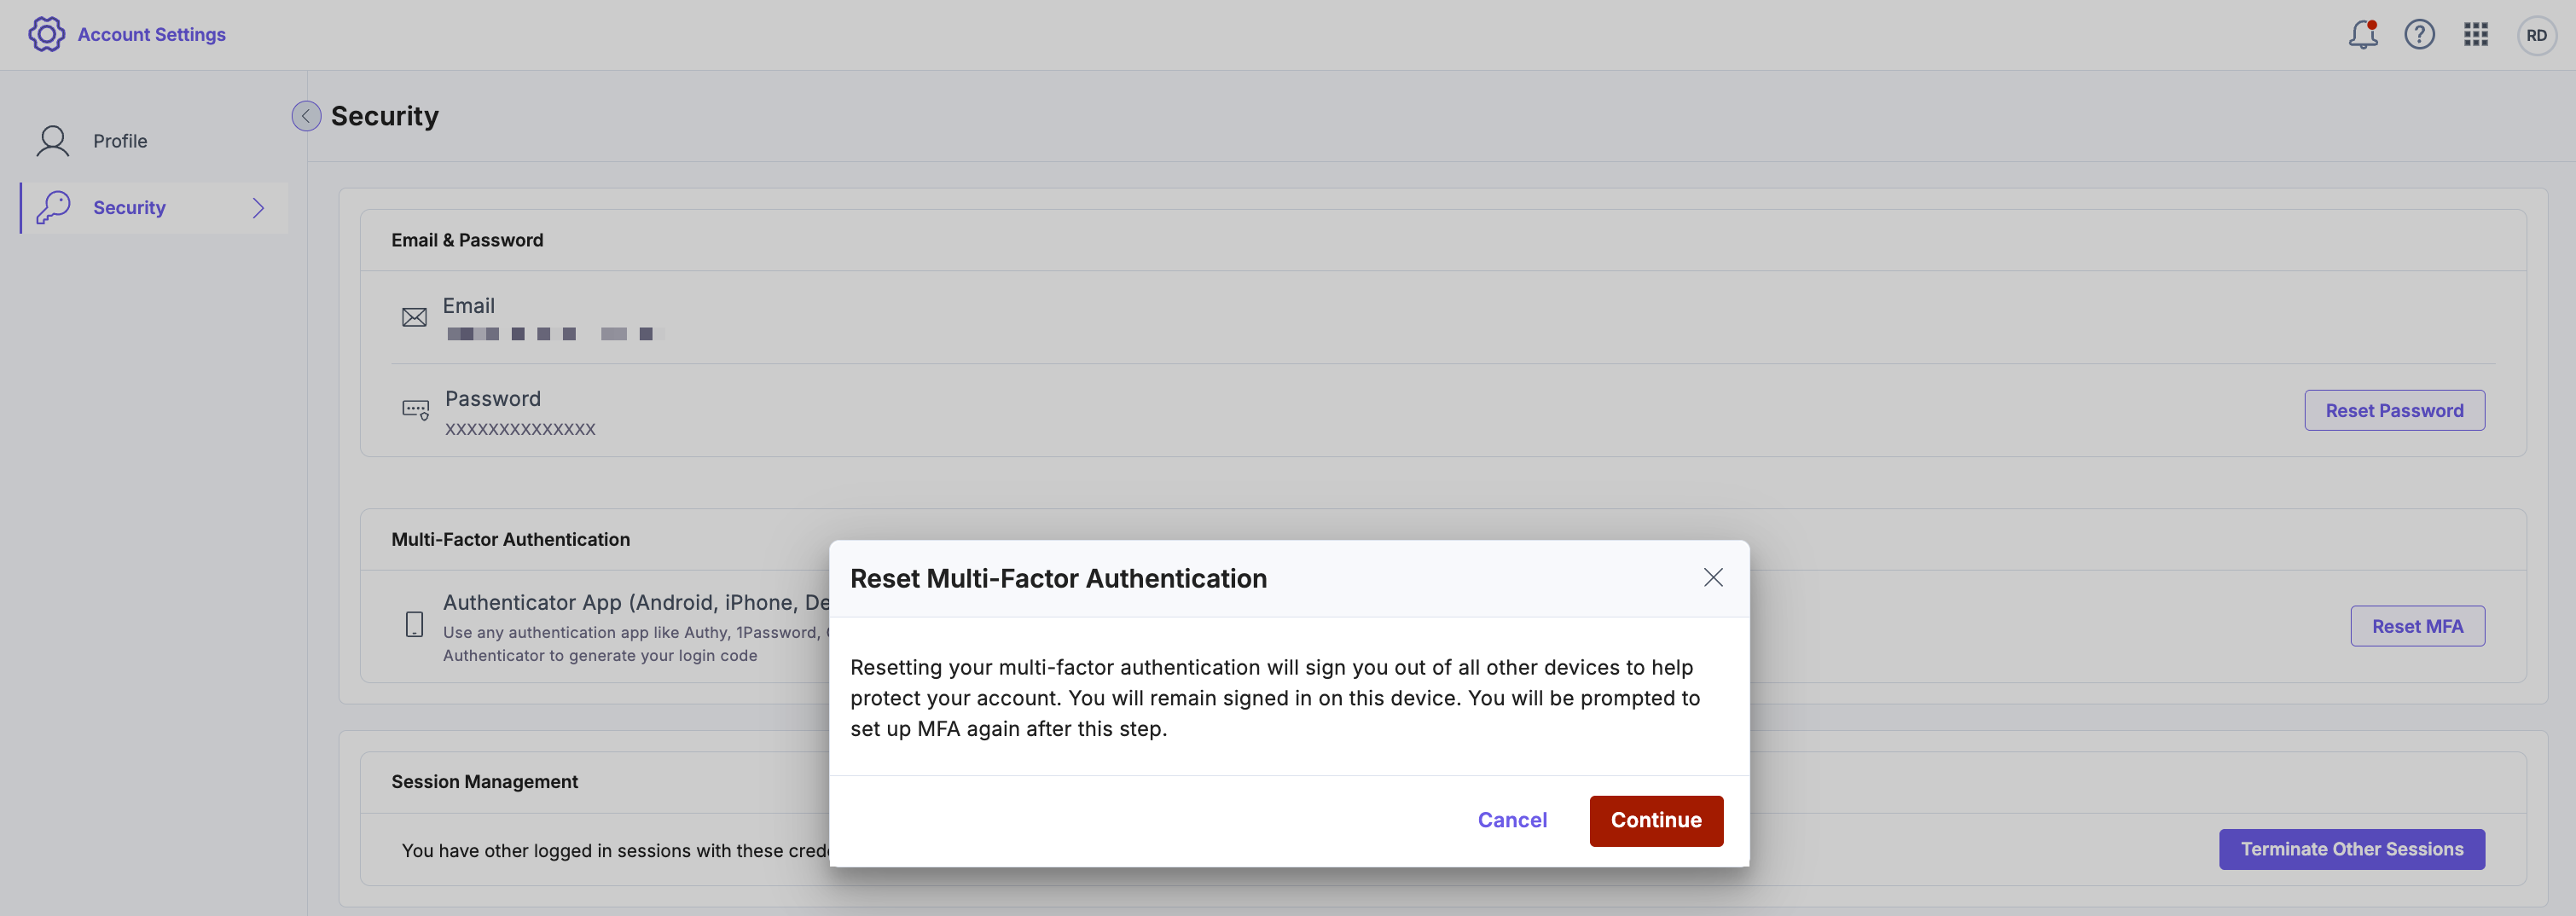
- Go to your Profile Settings | Security tab and click Reset MFA under Multi-Factor Authentication.
- A confirmation modal appears stating that enabling MFA signs you out of all other active sessions to help secure your account. You remain signed in to the current session. Click Continue to proceed.
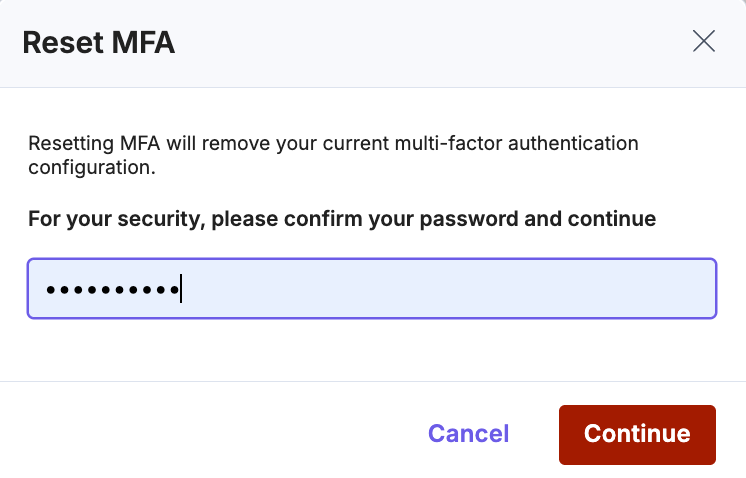
- Enter your current password when prompted and click Continue.
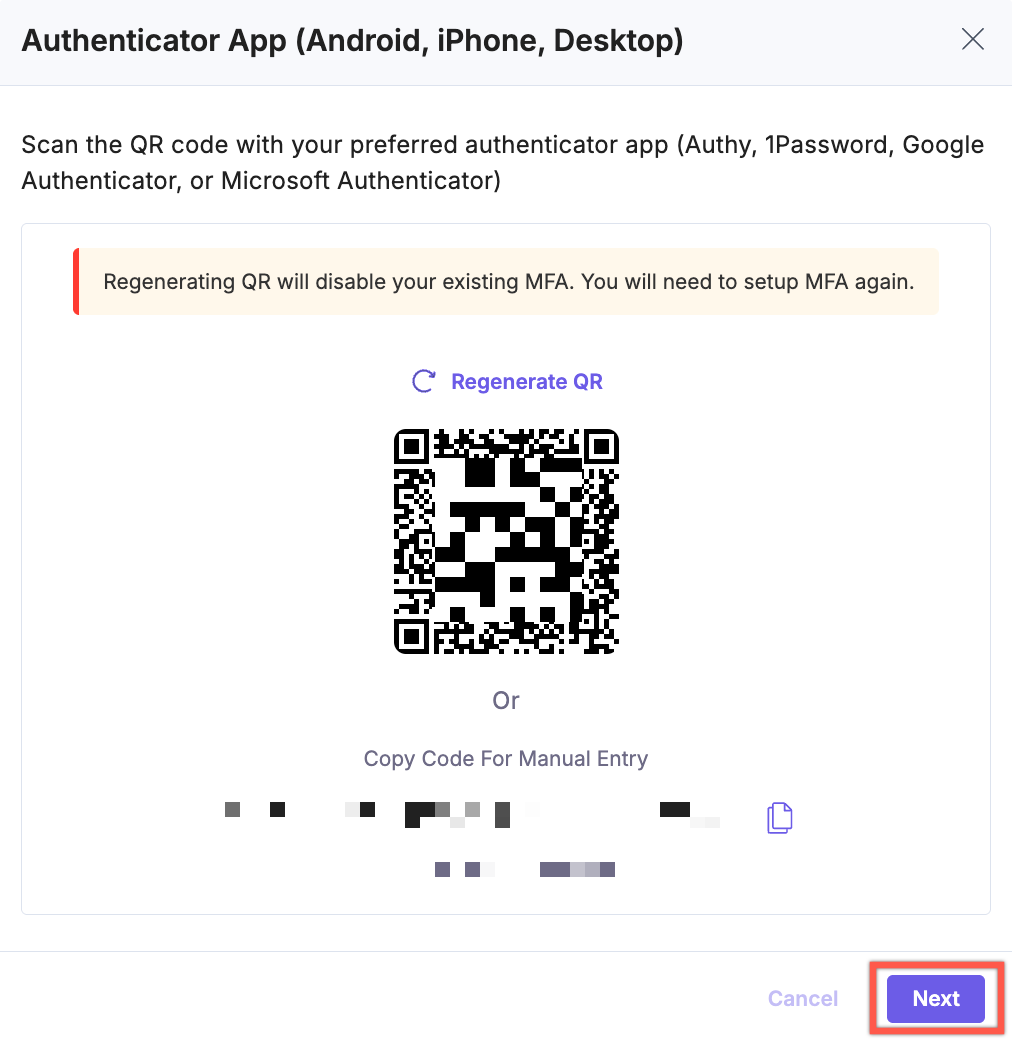
- A new QR code gets generated. Scan it using your new authenticator app or manually enter the secret key, and click Next.
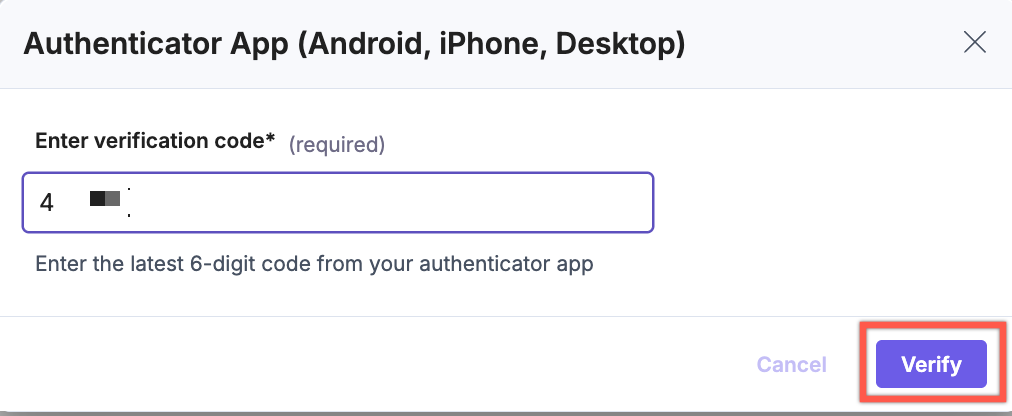
- Enter the latest 6-digit code from your app and click Verify to finalize the update.
- After MFA is enabled, a prompt appears to generate backup codes.
- Click Generate Backup Codes (recommended).
- To postpone this action, click Skip for Now to do it later.
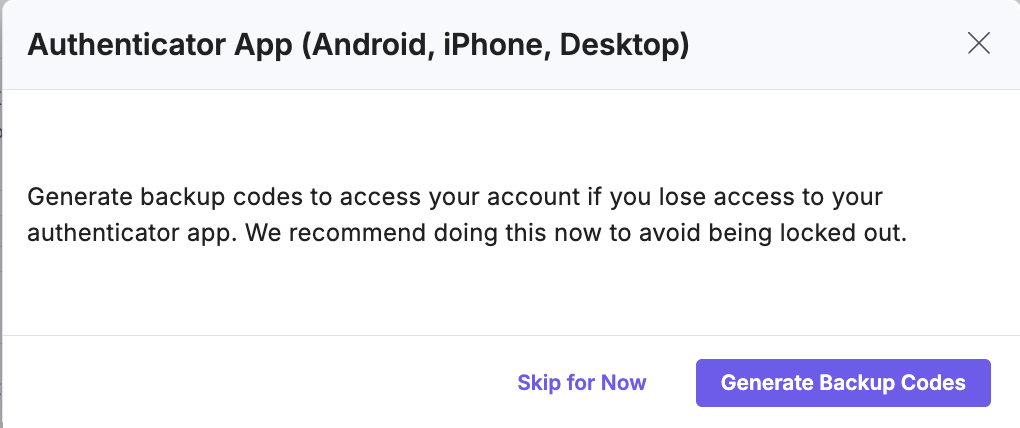
- Choose one of the following options:
- Click Copy codes to copy the codes.
- Click Download as .txt file to save them locally.
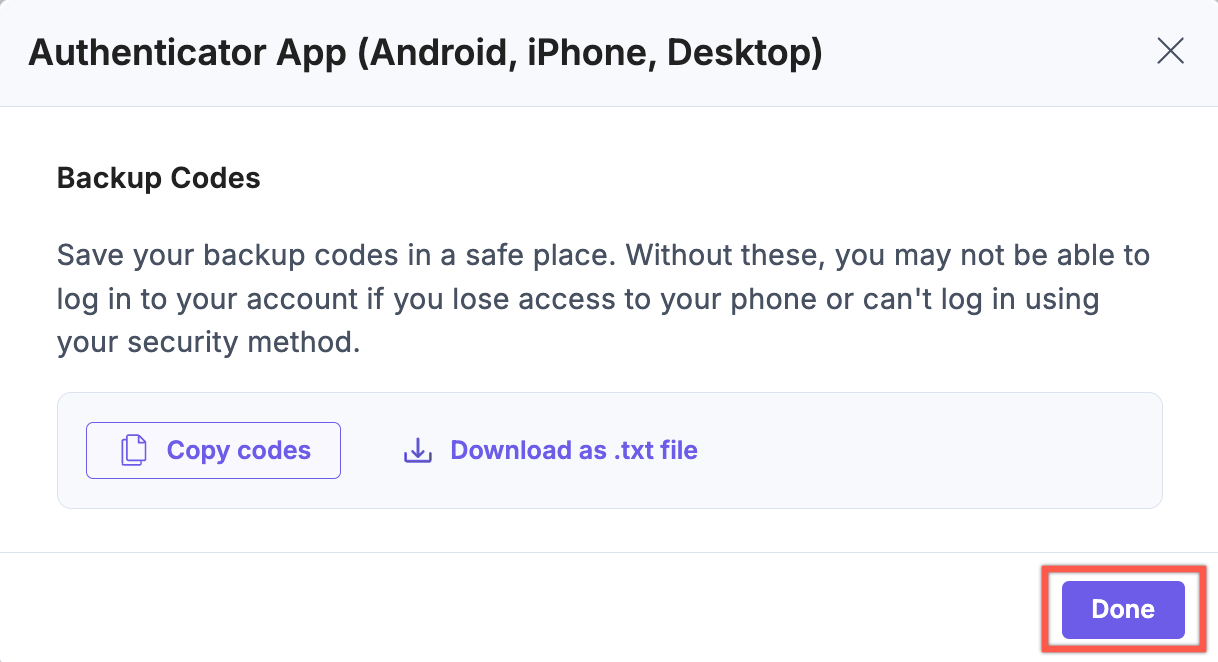
- Click Done after copying or downloading your backup codes.
Note: If you lose access to both your authenticator app and backup codes while logging in to Contentstack, reach out to our support team.
Once enabled, MFA adds an essential security layer to your account, ensuring that access requires both your password and a time-sensitive code from your authenticator app.
