

Create a Project using File Upload
Launch allows you to create a project by directly uploading a project folder or a .zip file.
This document guides you through the process of creating a project in Launch by uploading a project zip file. The zip file can be a build zip or a source code zip.
Prerequisites
- Contentstack account
- Access to Launch for your organization
Upload a file and deploy a project
Note: Only the Organization Admin/Owner has the right to create projects in a stack for Launch.
- Click the Launch option from the dashboard, as shown below.
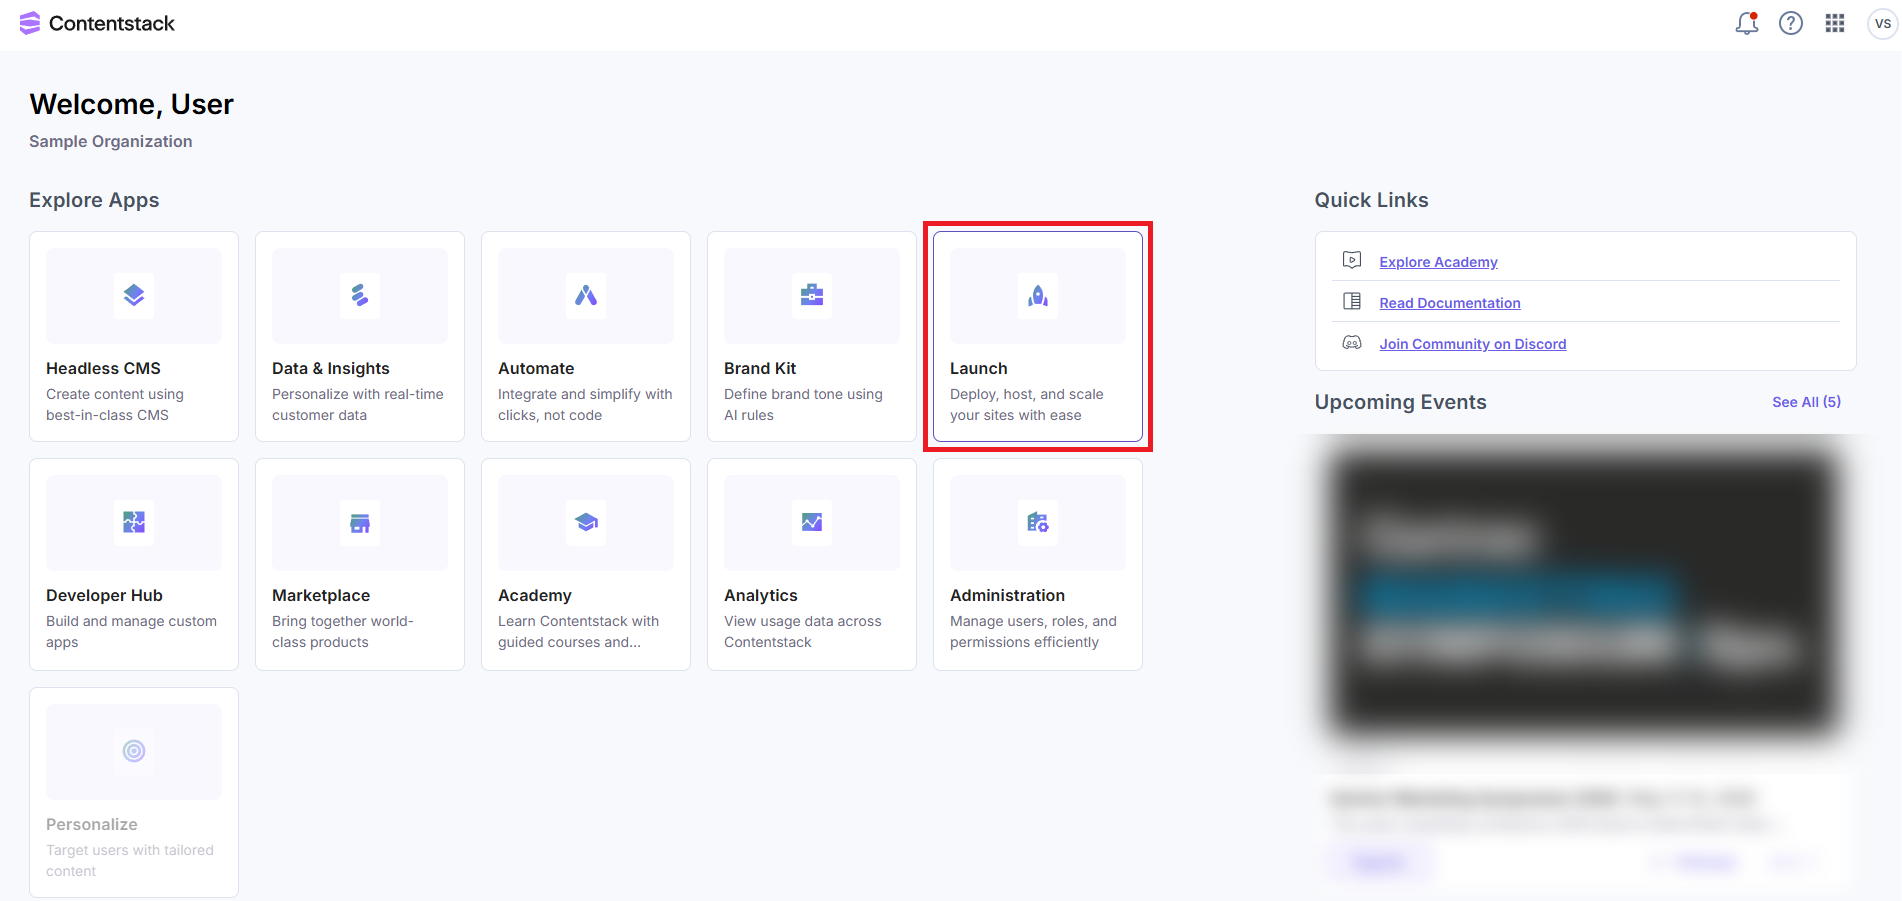
Alternatively, go to the App Switcher in the top panel and click the Launch icon.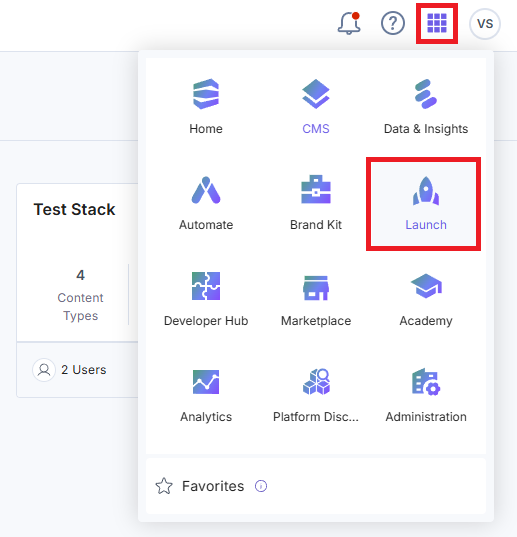
- Click + New Project.

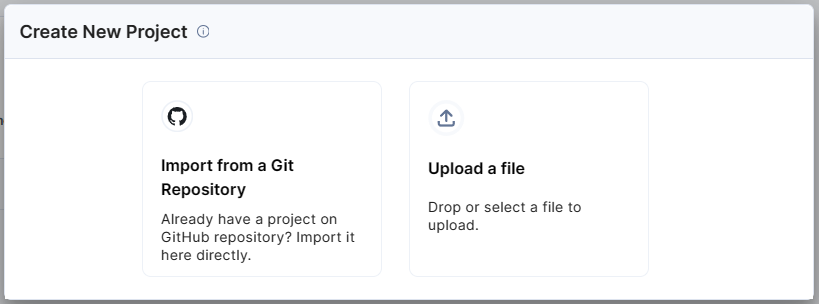
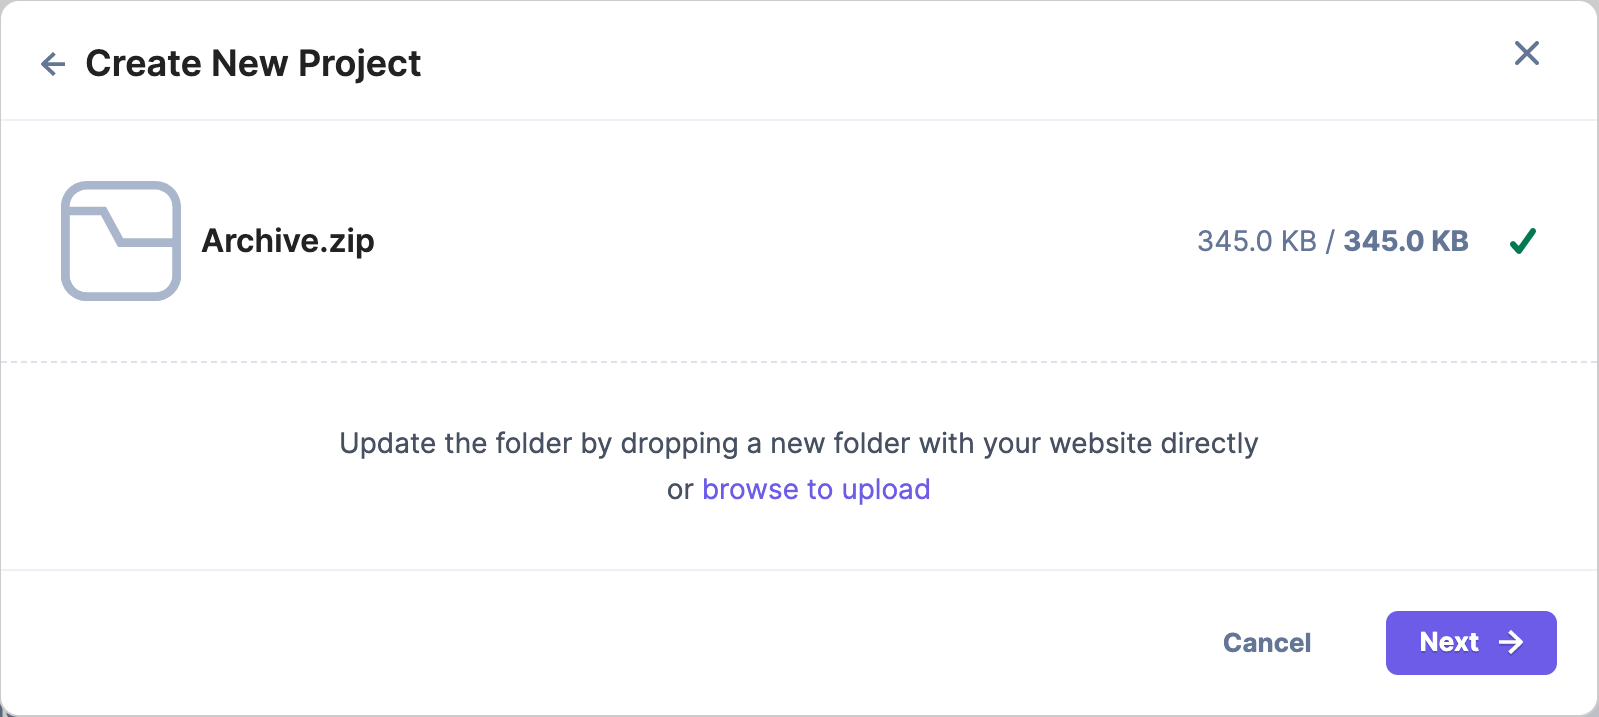
- From the Create New Project modal, click Upload a file.
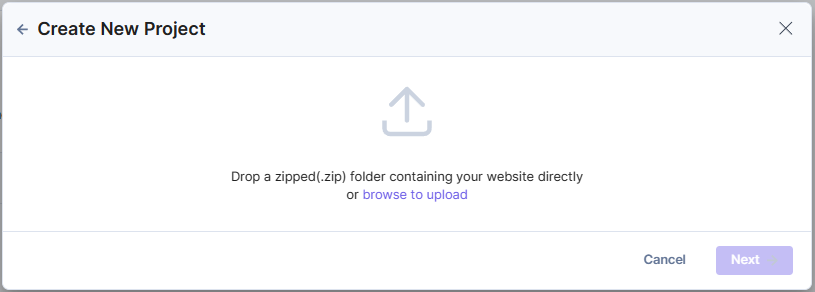
- You can either drag and drop a .zip file or click the browse to upload link to upload a .zip file.
Note: When uploading the project's source code, ensure that the node_modules folder is excluded.
- Click Next to proceed with the deployment steps.Note:
- You can re-upload a .zip file after uploading one.
- You can also Cancel an ongoing file upload and re-upload a new file.
- In the Deploy step, fill the following fields:
- Project Name (Mandatory): The project name is auto-populated with the uploaded file name.
- To use a different project name, enter a project name without exceeding 200 characters.
- Environment Name (Mandatory): By default, the environment name is populated as Default. You can change the environment name as per your requirement.
- Build and Output Settings (Mandatory): The fields in this section get populated based on the detected framework.
- Framework Preset(Mandatory): Framework of the selected project.
- Build Command (Mandatory): Command to build the project.
- Output Directory (Mandatory): Directory path where the project’s build output files get stored.
Select a response mode:
- Streaming: Delivers response chunks in real time as they are generated.
- Buffered: Displays output only after the entire response has been generated.
Note: Buffered is selected by default.
- Environment Variables (Optional)
- Enter the key and value of your environment variable.
- Click the + Add Environment Variable button to add more environment variables.
- Once all the fields are filled with appropriate values, click the Deploy button.
- Project Name (Mandatory): The project name is auto-populated with the uploaded file name.
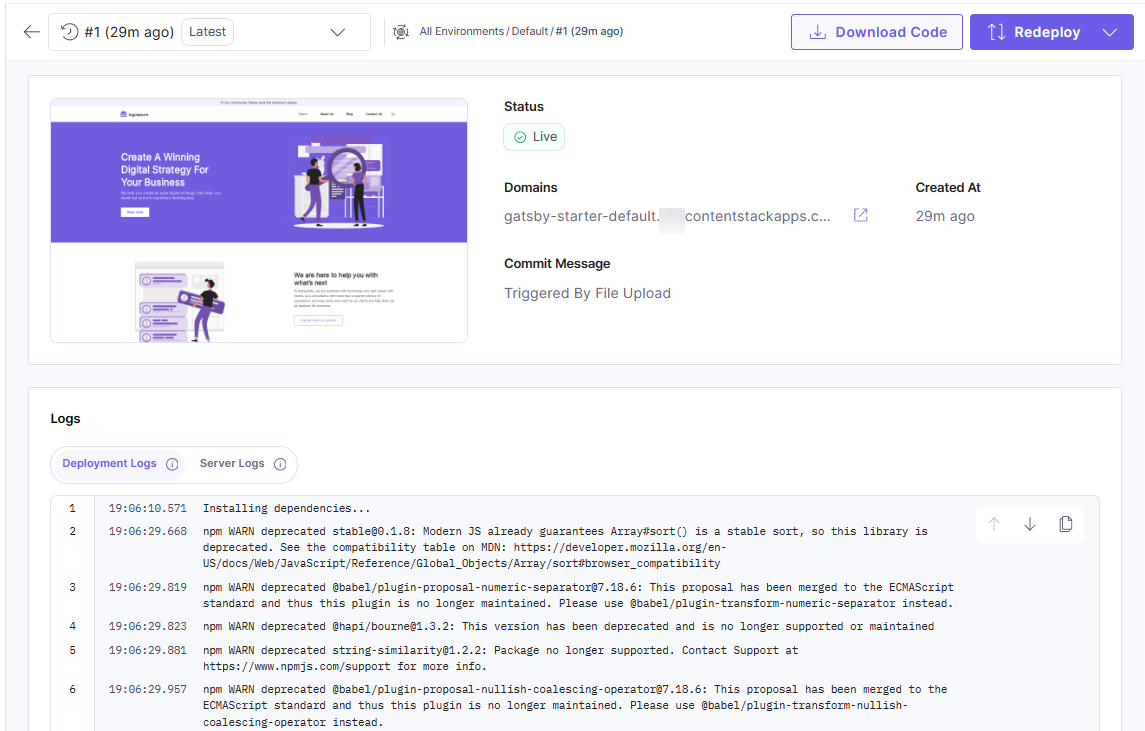
You have successfully deployed a project!
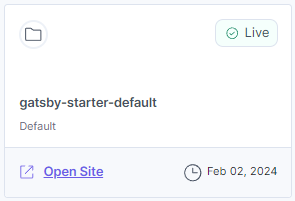
The project card displays as given below in the Projects screen:
Delete the Project
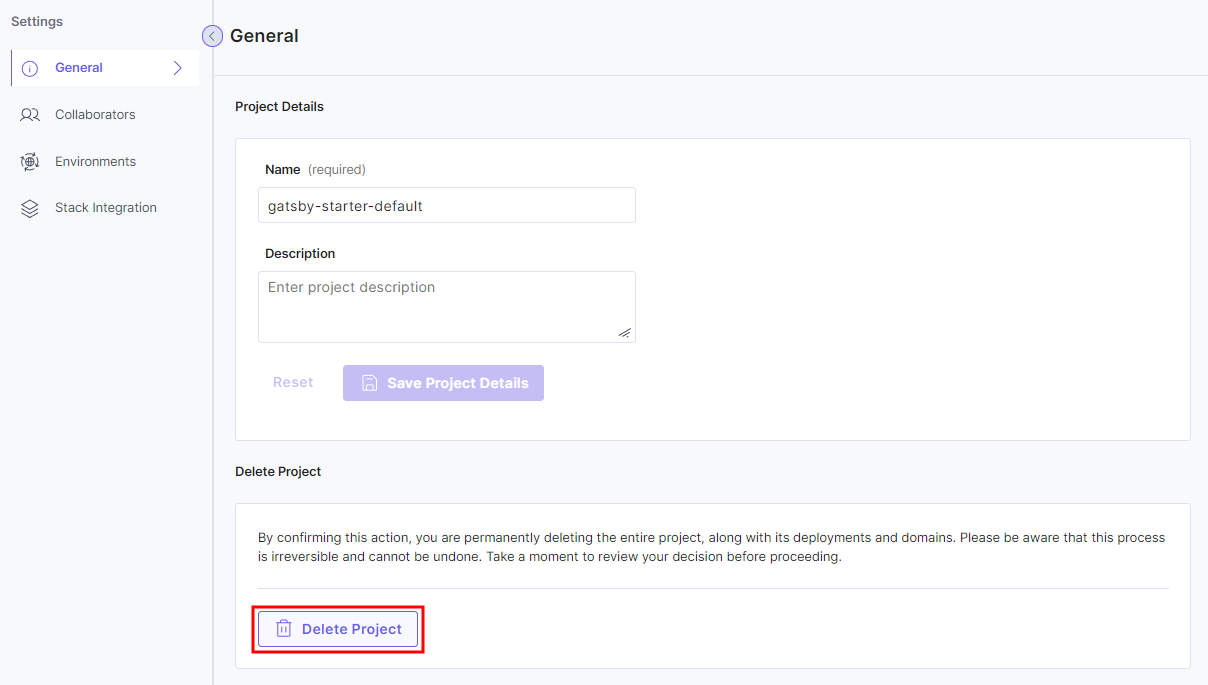
- Click the Settings icon.
- In the General section, click the Delete Project button under Delete Project.
- In the modal that appears, enter DELETE and then click the Yes, Delete button.
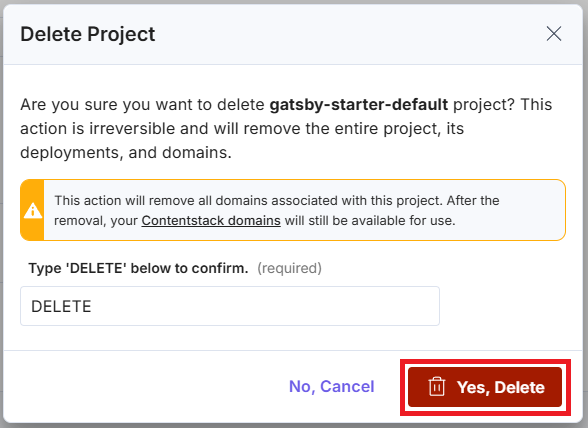
Warning: This action will remove all domains associated with this project. After the removal, your Contentstack domains will still be available for use.
This deletes your project successfully.
More articles in "Launch Features"
