

Real-Time User Event Tracking with Data and Insights (Lytics) in Contentstack Launch
Data and Insights (Lytics) is an Experience Customer Data Platform (xCDP) that helps businesses deliver personalized digital experiences by unifying customer data from multiple sources. It builds real-time, behavior-based audience segments, enabling marketers and developers to target users more effectively across channels such as web, email, and advertising platforms.
Launch integrates with Data and Insights to provide you with automatic event tracking.
Prerequisites
- Contentstack account
- Access to the Launch Project as the Owner/Admin
Steps for Execution
- Integrate Data & Insights (Lytics) and Connect Launch Project with DAL
- Enable Event Tracking for Your Launch Environment
- Disable Event Tracking for Your Launch Environment
-
Integrate Data and Insights (Lytics) and Connect Launch Project with DAL
Follow the steps in the Create a Data & Insights (Lytics) Integration guide to integrate Data and Insights (Lytics) with your stack and then connect your Launch project with Data Activation Layer (DAL).
-
Enable Event Tracking for Your Launch Environment
Follow the steps below to enable Event Tracking in your Launch environment:
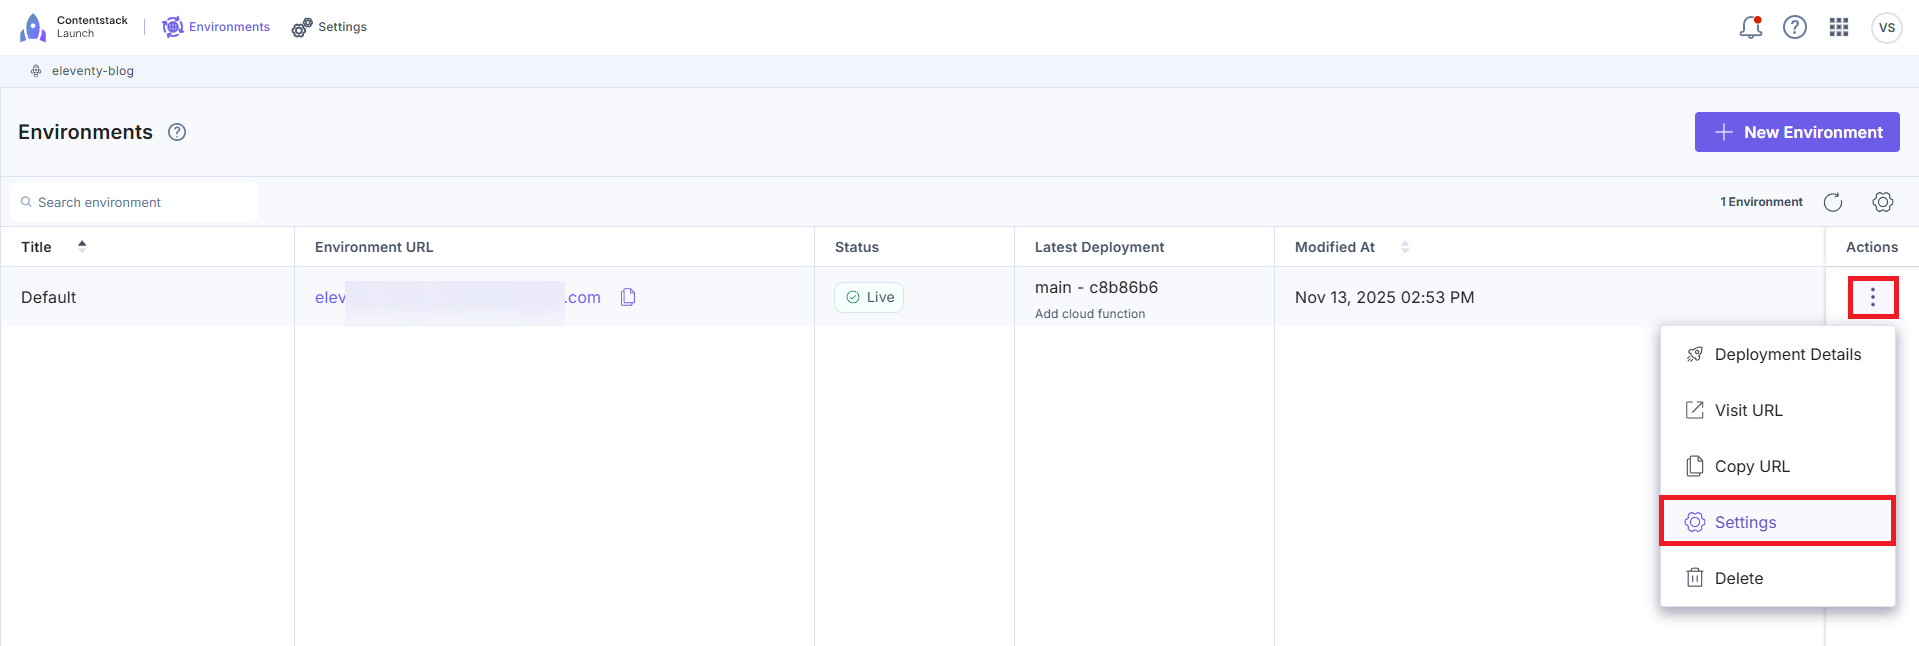
- Go to your Launch dashboard and click the project card to open your project from the Launch landing page.
- On the Environments screen, click the vertical ellipses under Actions next to your environment and then click Settings.
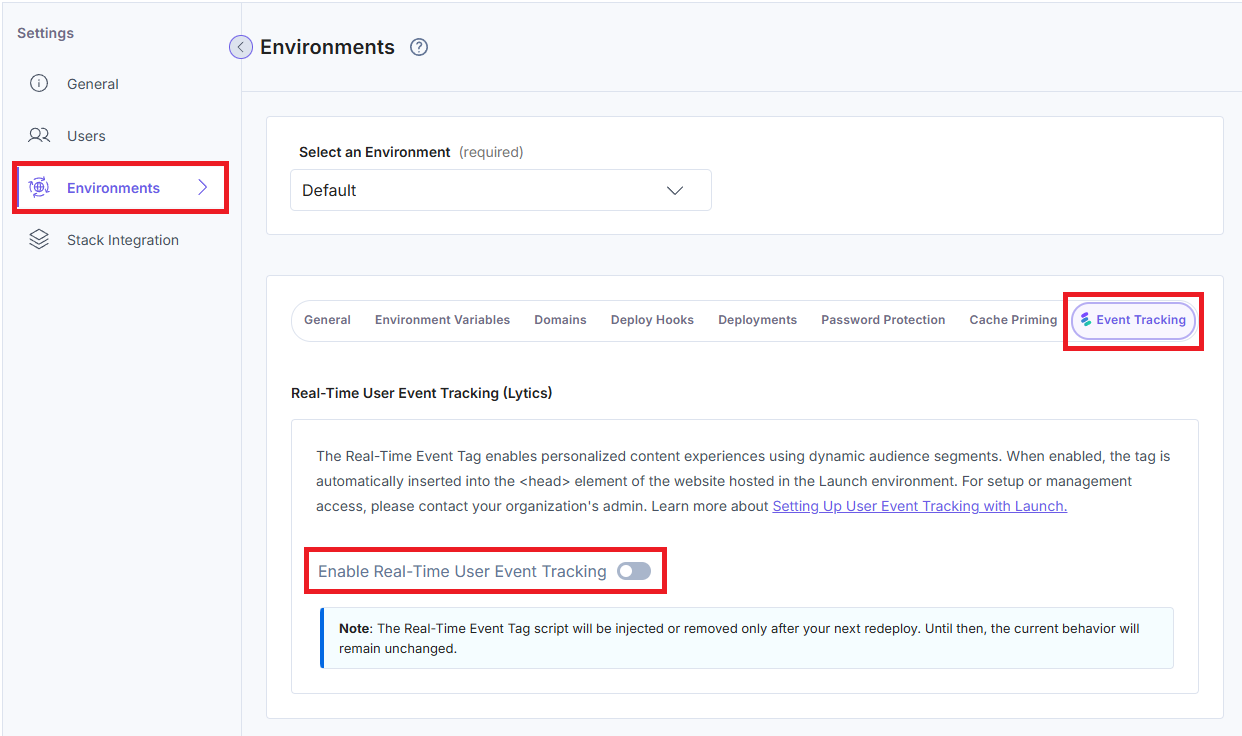
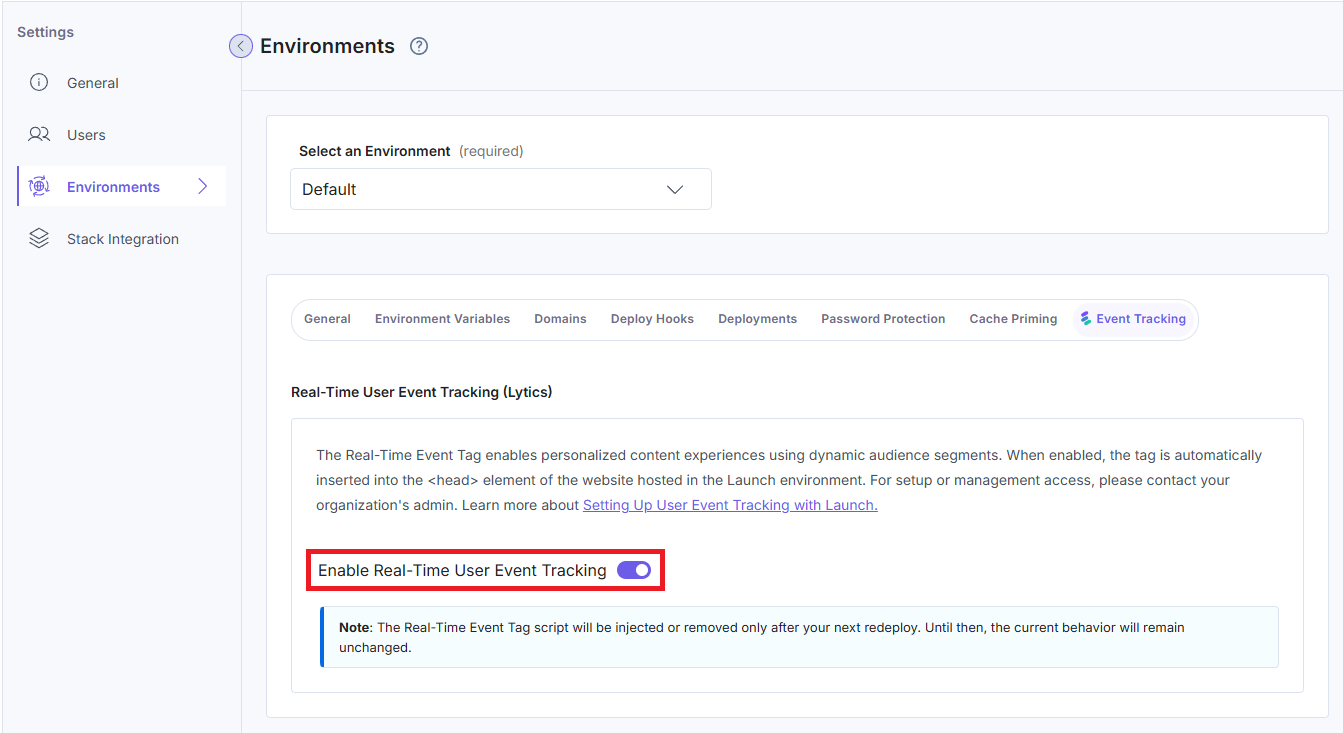
- In the Settings page, go to Environments > Event Tracking.
- Click the Enable Real-Time User Event Tracking toggle to enable Event Tracking for Launch.
- In the modal that appears, click the checkbox to accept the privacy regulations and then click the Yes, Enable Event Tracking button to confirm the action.
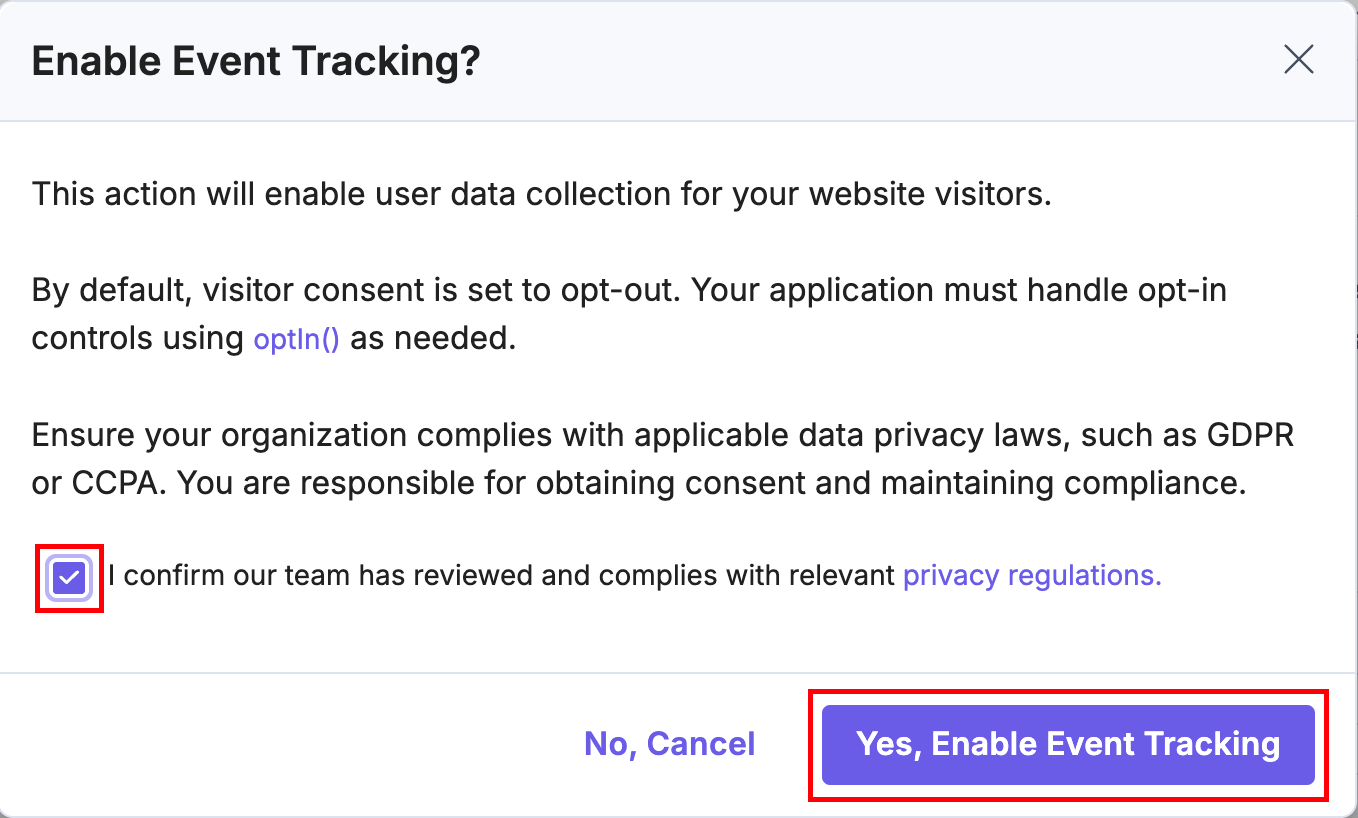
Accepting the consent modal will load the Event Tracking script to your website.
- Update your site to include a consent modal. Use a Consent Management Platform or build your own modal to collect this consent.
- Perform a mandatory redeployment once you have enabled Event Tracking on the environment.
Note: Although Event Tracking will now be enabled for your site, user events will not be tracked until the end user "opts in" to sharing their data with you. To test the Event Tracking data collection feature prior to building a consent modal, open the browser console and enter the command jstag.optIn(). This enables data collection for Event Tracking for that specific session. This does not allow Event Tracking data collection across all the user sessions.
Caching Behaviors
- If your application uses browser-side caching, redeploy your site after enabling or disabling Event Tracking to prevent browsers from serving outdated scripts due to ETag-based caching.
- Without a redeploy, users might see a cached version that does not reflect the updated script.
Verify the Enabled Event Tracking
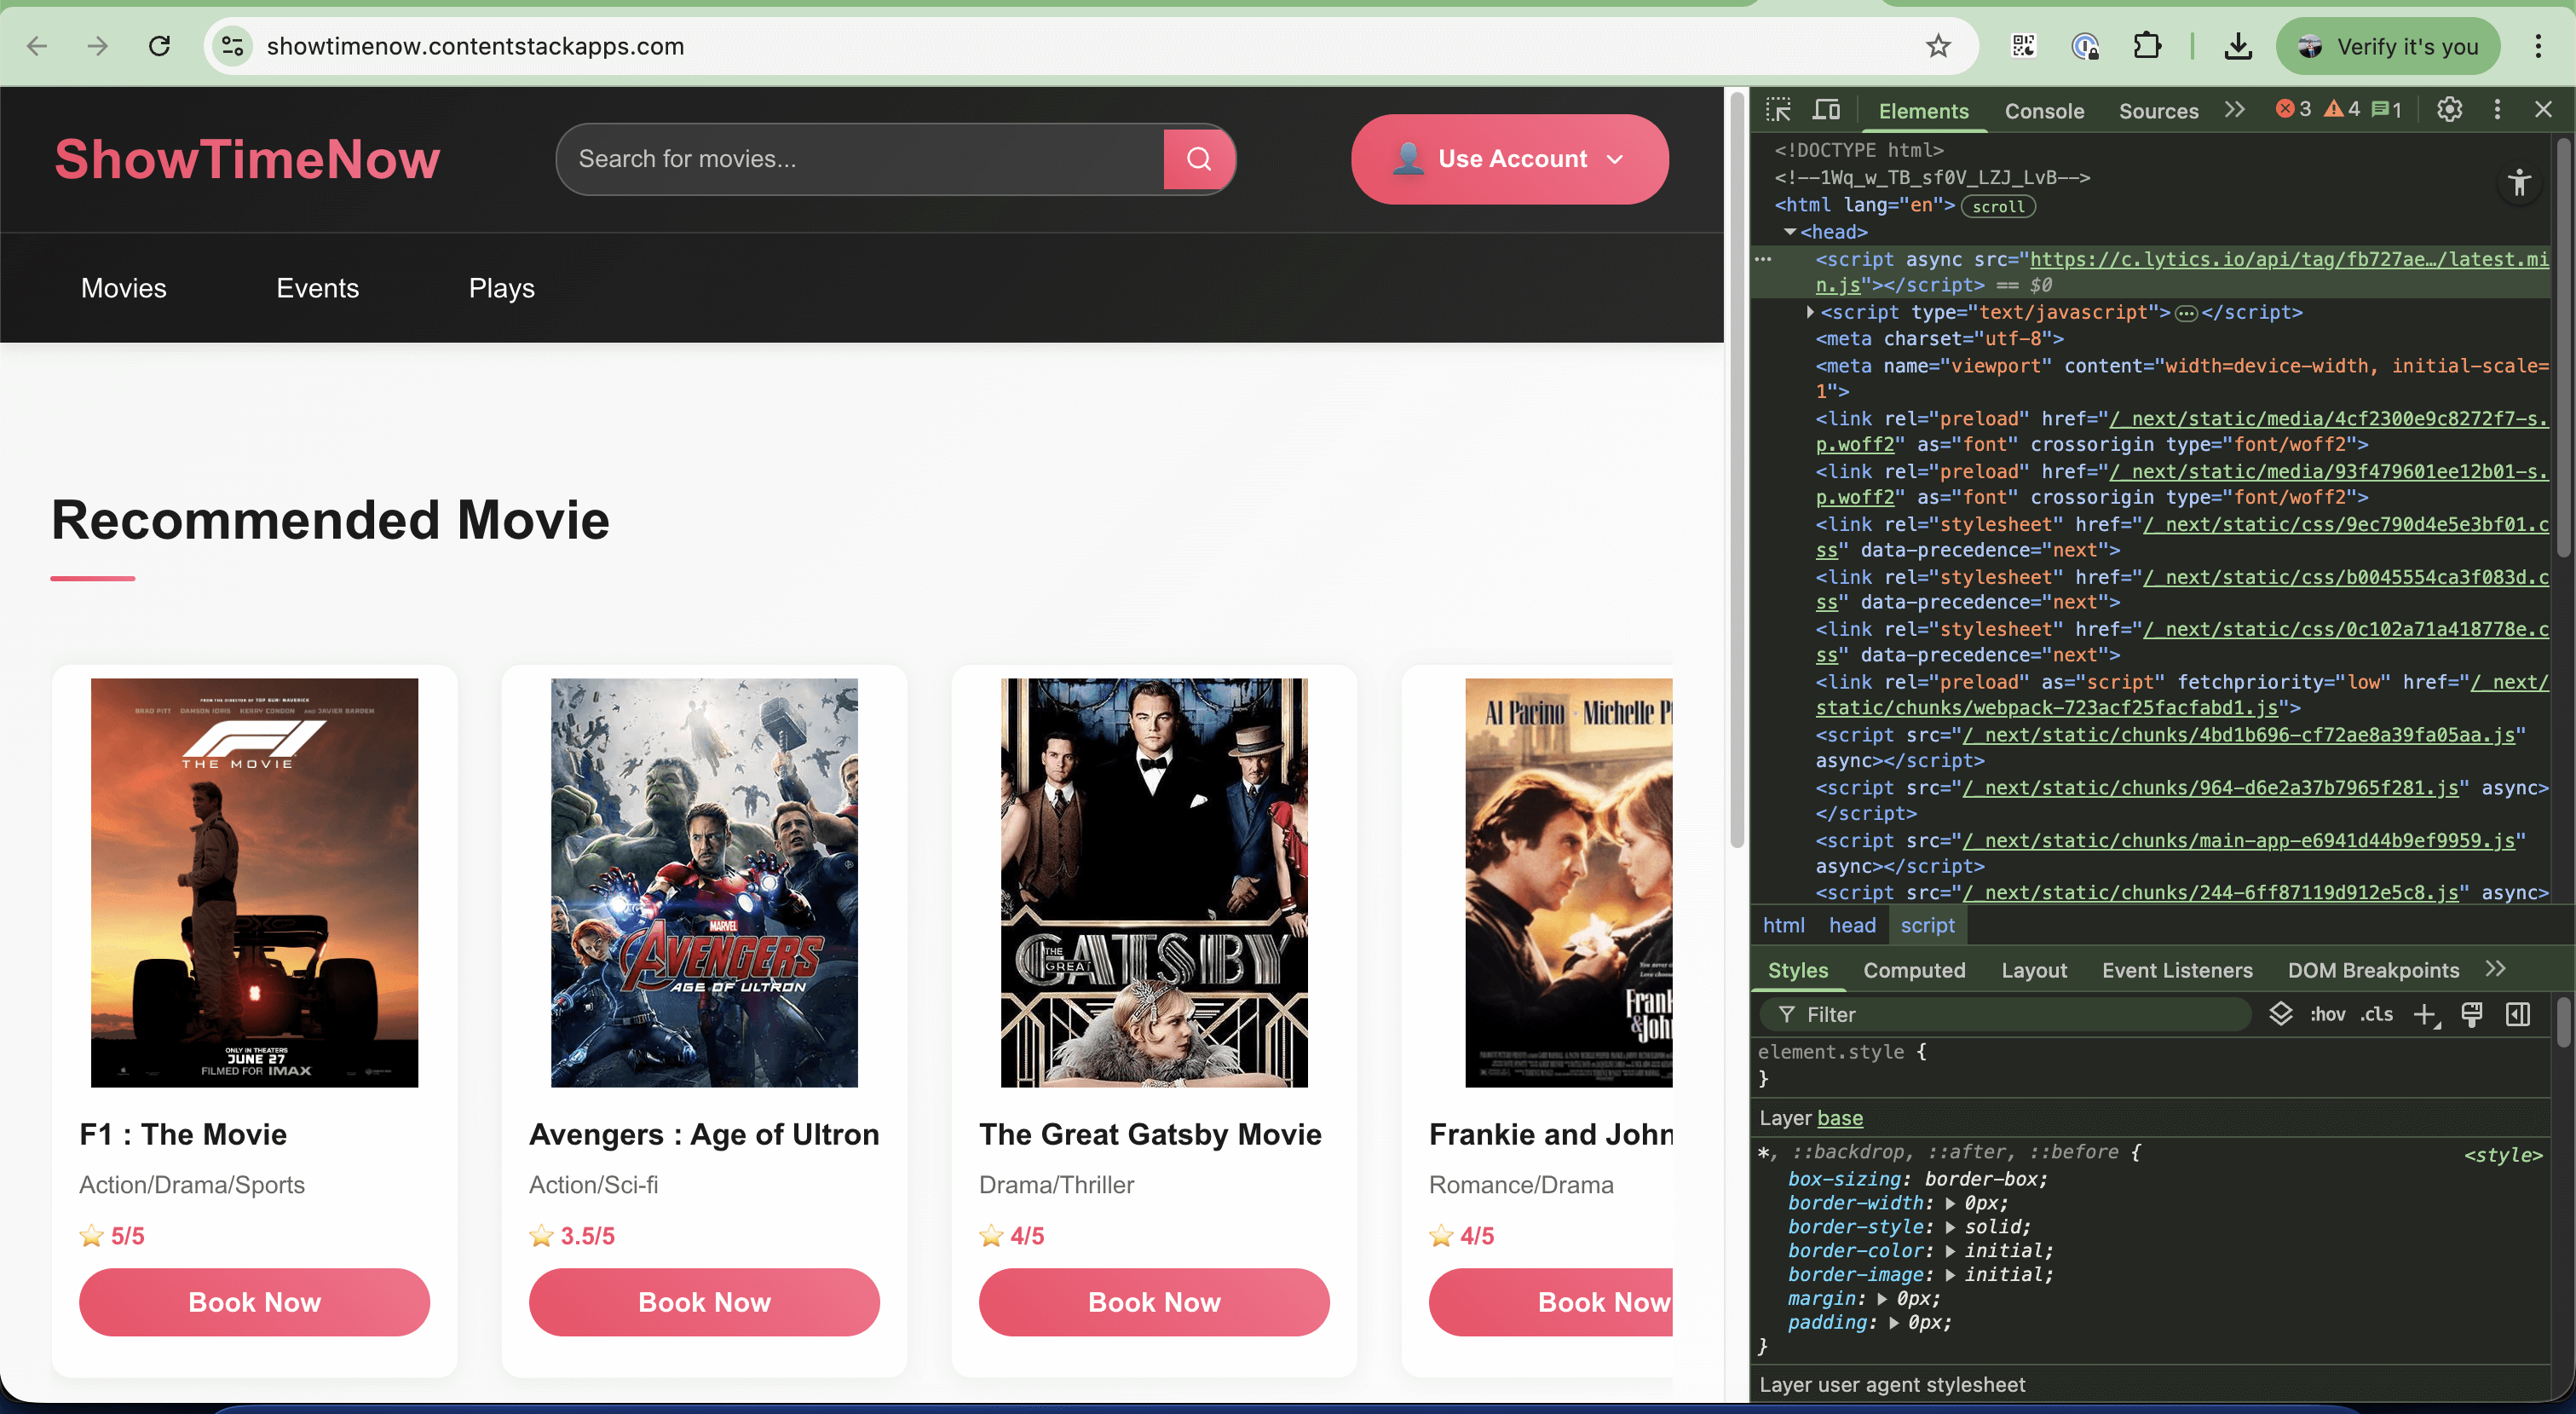
- After enabling, you should see a <script> tag for Event Tracking injected into your website’s HTML responses.
- You can also install the browser extension for debugging.
-
Disable Event Tracking for Your Launch Environment
Important: Ensure to remove the code jstag.optIn() in your consent modal. This is so that you don’t face any runtime issues due to the Event Tracking script tag missing.
Follow the steps below to deactivate Event Tracking in your Launch environment:
- Go to your Launch dashboard and click the project card to open your project from the Launch landing page.
- On the Environments screen, click the vertical ellipses under Actions next to your environment and then click Settings.
- In the Settings page, go to Environments > Event Tracking.
- Click the Enable Real-Time User Event Tracking toggle again to disable Event Tracking from your Launch project.
- In the modal that appears, click the Yes, Disable Event Tracking button to confirm the action.
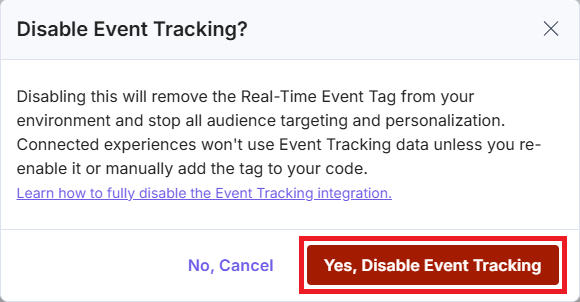
Note: Disabling Event Tracking deletes any previously collected data associated with this environment.
- Perform a mandatory redeployment to remove the Real-Time Event Tag due to browser-side caching.
Once disabled:
- The Event Tracking <script> tag will no longer be injected into your website’s HTML.
- All Event Tracking-based audience personalization will cease.
- The environment displays the following message:
“Event Tracking is not enabled for this project. Please contact your organization admin to enable it.”
Handling User Consent - optIn()
- When Event Tracking is enabled, a Real-Time Event Tag will be injected into your website's <head> tag.
- Implement a consent modal or use a custom tag to trigger in your Google Tag Manager Account.
Learn more about obtaining user consent via the consent modal or Google Tag Manager. - When the user consents to share cookies, call jstag.optIn(). This will start Real-Time User Event Tracking for the user session.
Handling User Consent Rejection - optOut()
- If the user denies permission for cookie consent, call jstag.optOut() to stop Real-Time User Event Tracking for the user sessions.
More articles in "Launch Features"
