

AEM to Contentstack
The Contentstack Migration Framework is designed to help users seamlessly migrate content from a legacy Content Management System (CMS) to Contentstack. The framework simplifies the migration process by providing an intuitive interface and step-by-step workflow for importing content, mapping content types, and migrating data into a stack within Contentstack. This guide outlines the process for performing a content migration.
Tutorial Video
Watch the tutorial video to get a complete walkthrough of the framework.
Prerequisites
Before you begin the installation and migration process, ensure that you have the following prerequisites:
- Contentstack Account: Admin or Owner role access
Asset Migration: Assets must be extracted from the DAM using the provided script. Migration will fail if assets are not extracted.
Note: The Migration Framework must be installed and running on your system. Refer to the Setup Guides for installation instructions.
Limitations
- Migration to Existing Stacks: The framework currently supports only the “Create New Stack” option. Migrating into an existing stack or mapping fields/content types is not supported. This feature is on its way and will be available soon.
- AEM Coverage: The AEM migration framework is based on limited sample data. Since AEM implementations vary, some content structures may not be fully supported.
- Component Support: Not all AEM components are supported. Custom or unique components may not migrate correctly.
Migrate Content from AEM
Follow these steps to perform the content migration for AEM:
Step 1 - Log in to the Migration Framework
- From the welcome page, click Sign In with Contentstack.
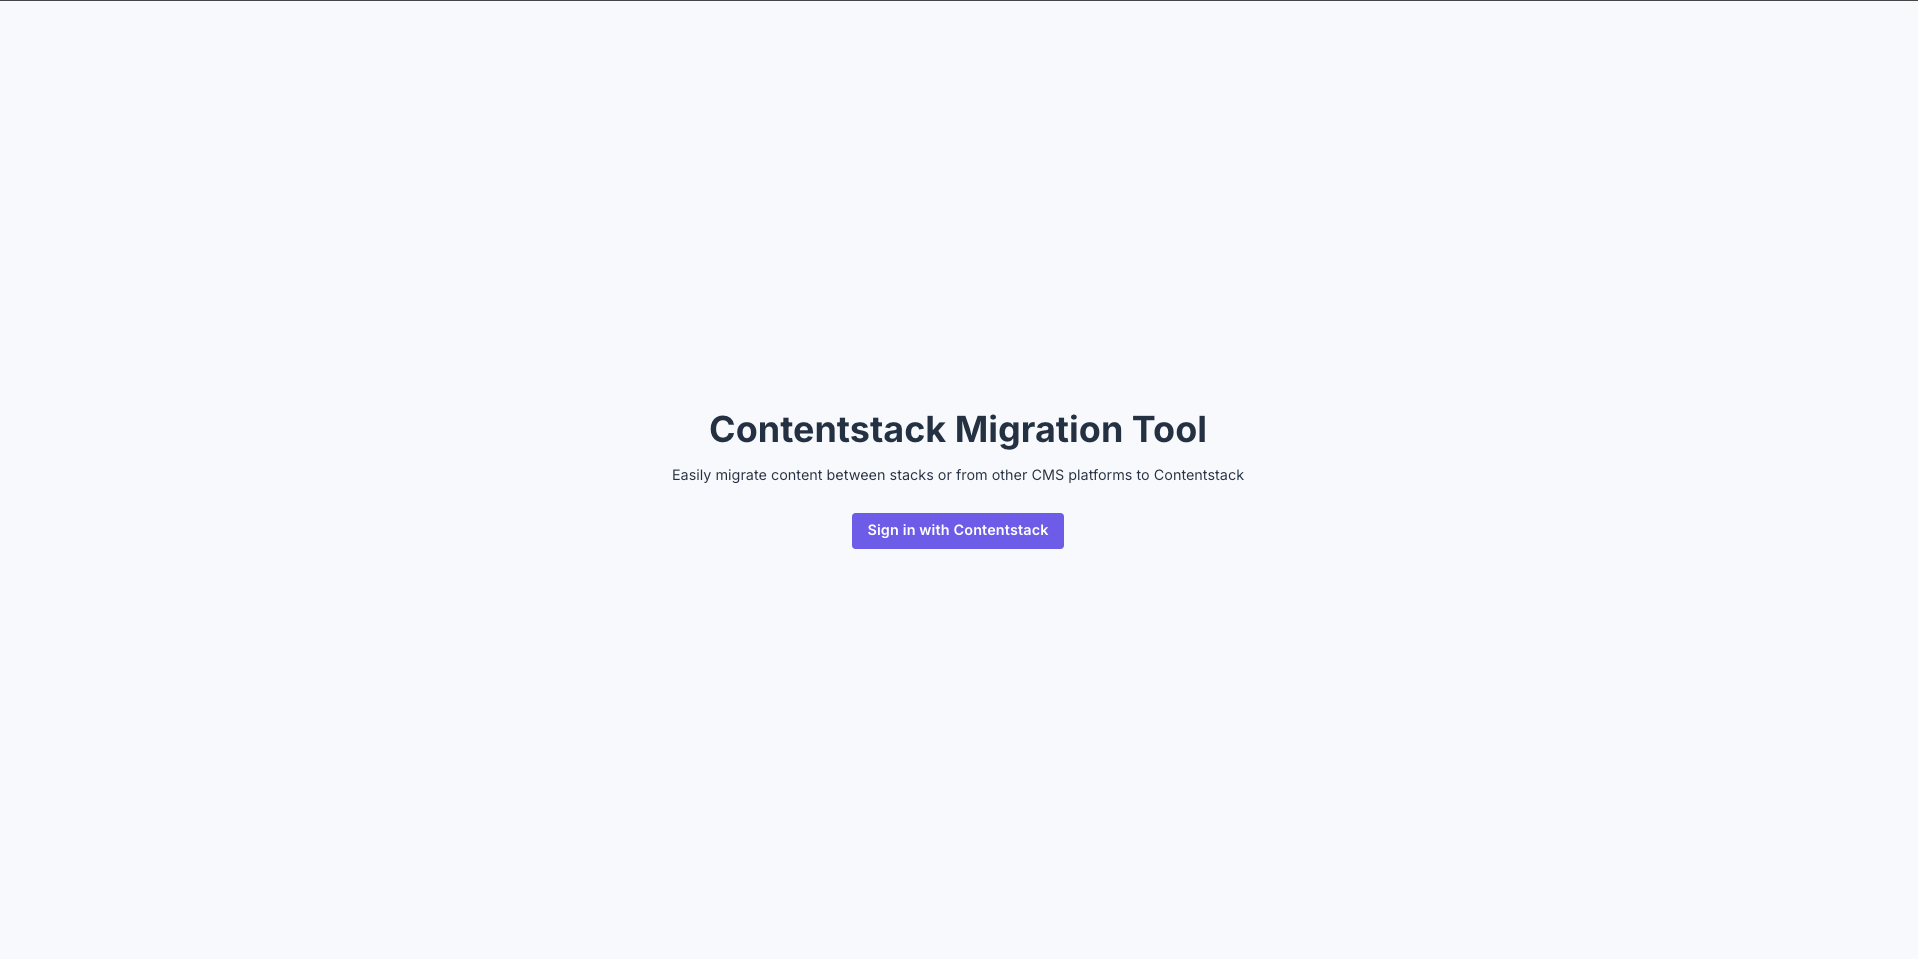
You will be redirected to the login page with region selection.
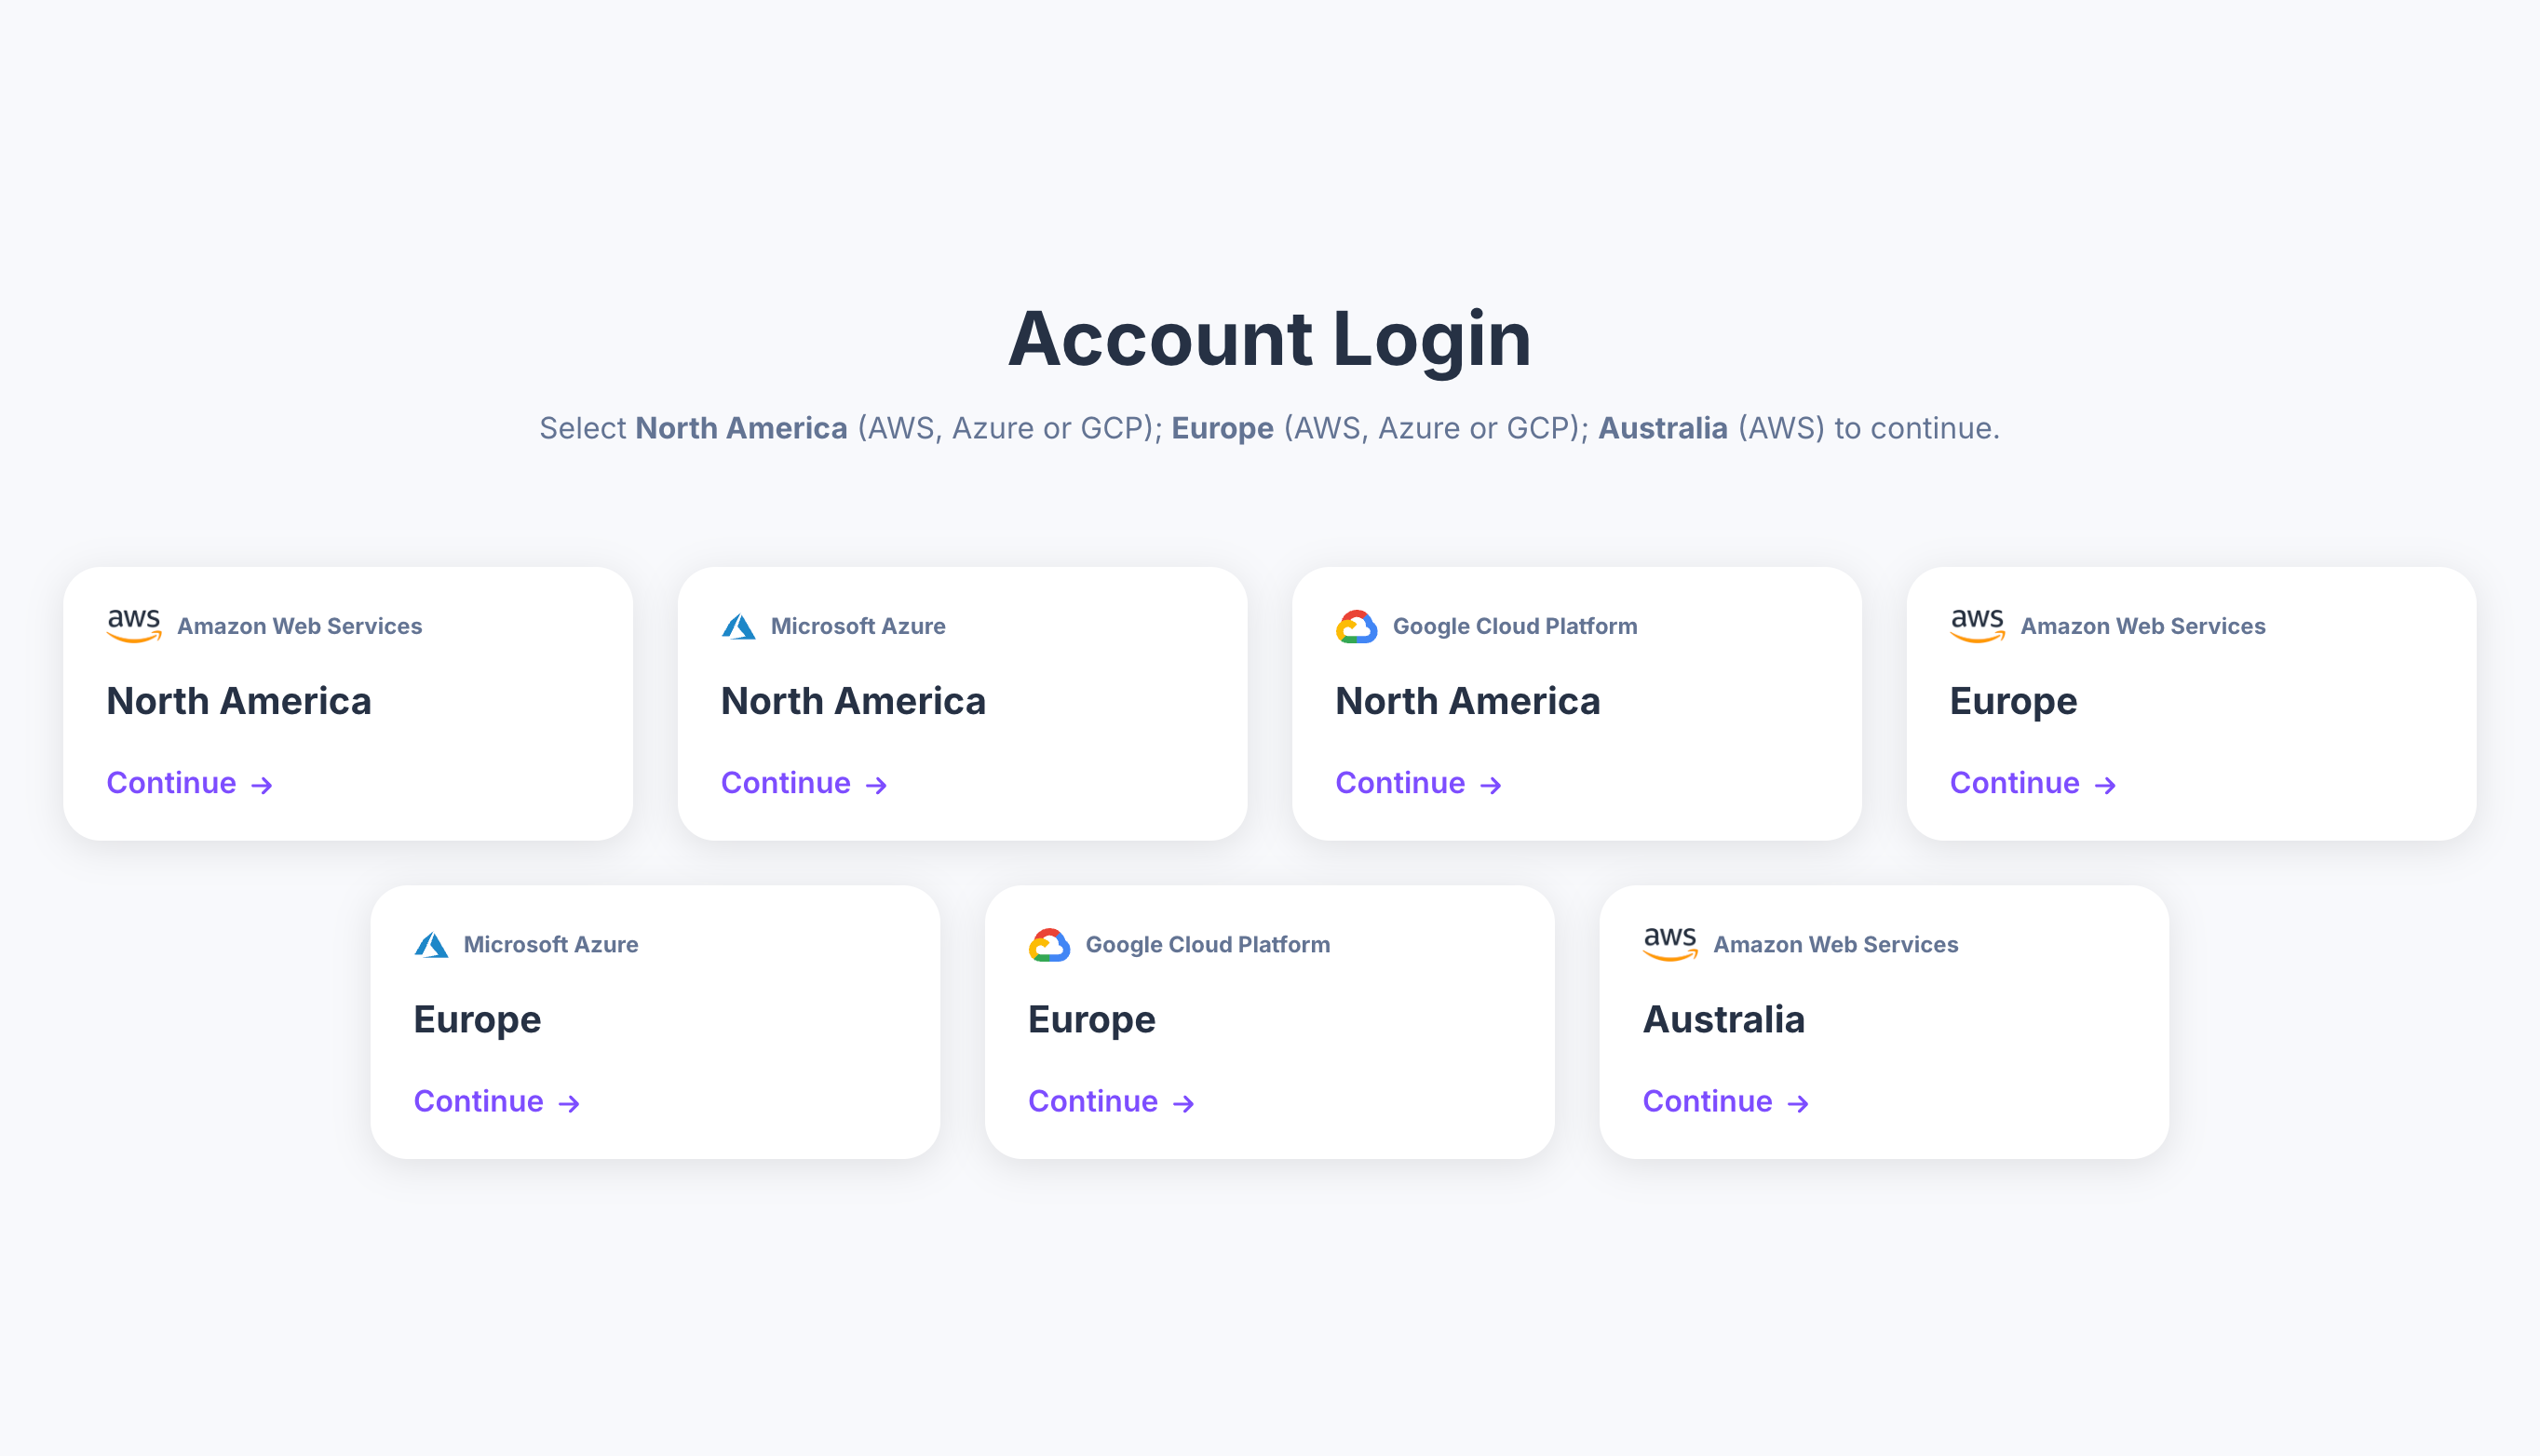
- Log in using your Contentstack credentials.
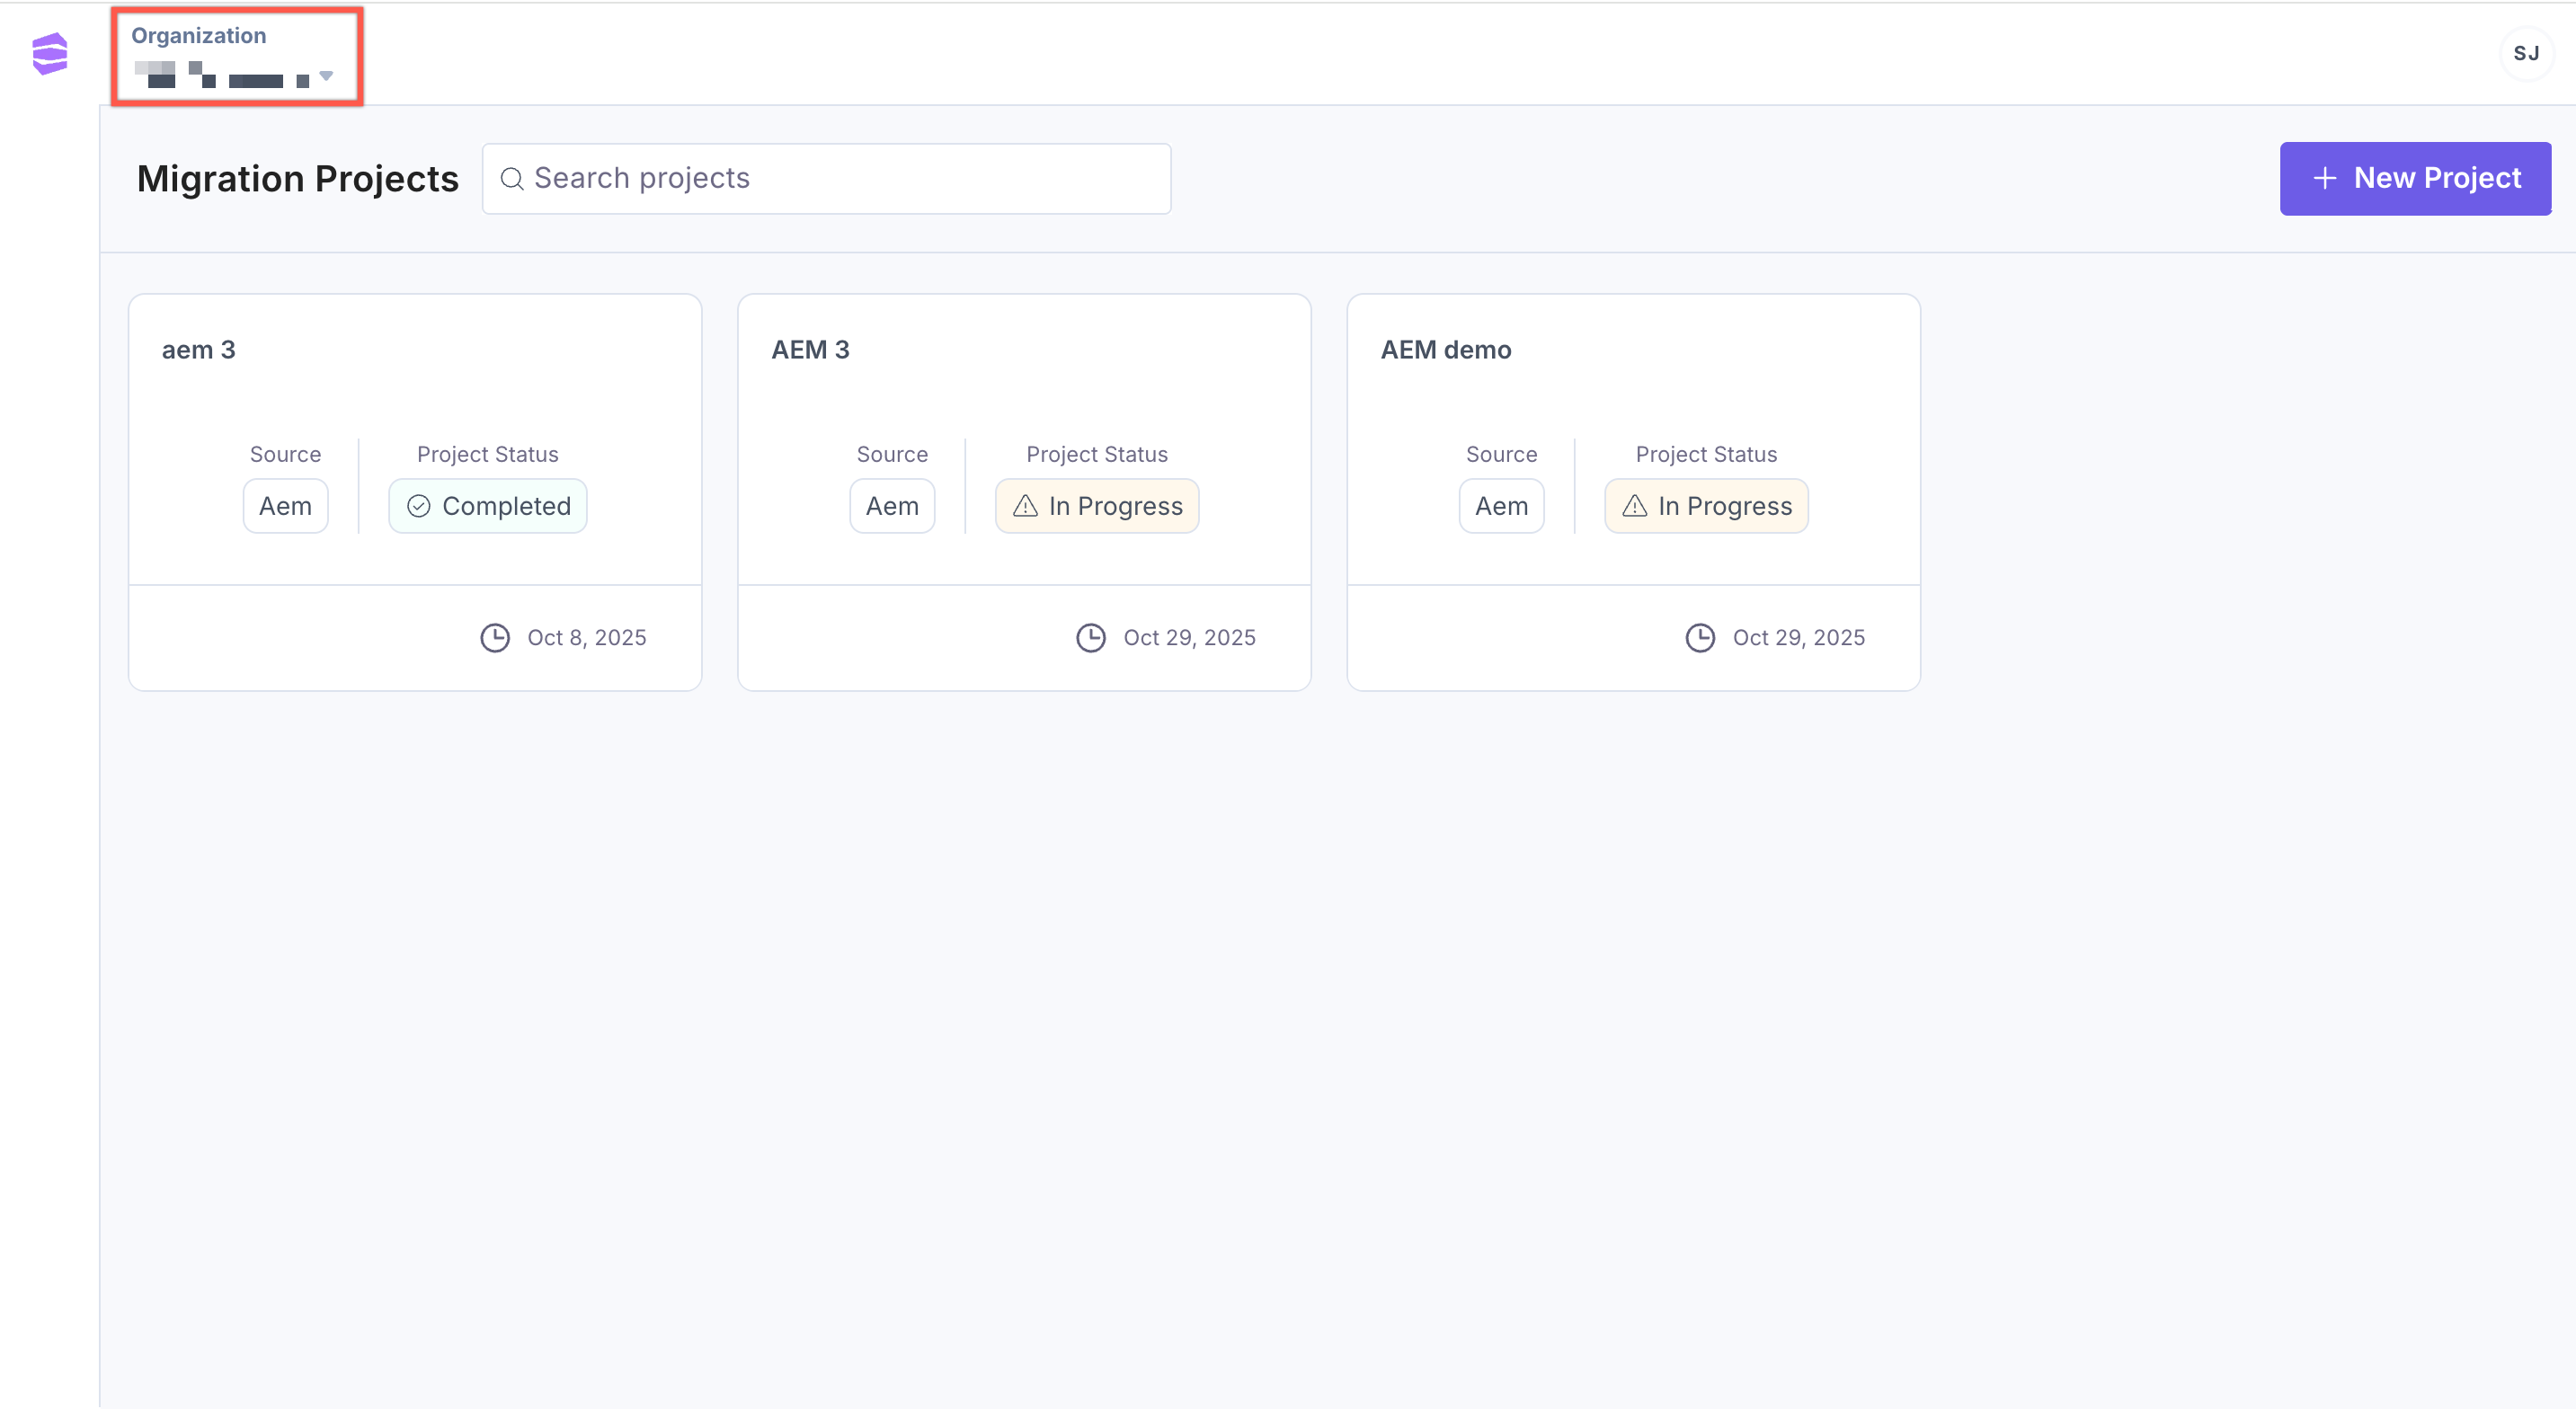
Step 2 - Select Your Organization
- After logging in, you will see an empty dashboard.
- Select your organization from the dropdown in the top left corner.
Step 3 - Create a New Project
- Click + New Project.
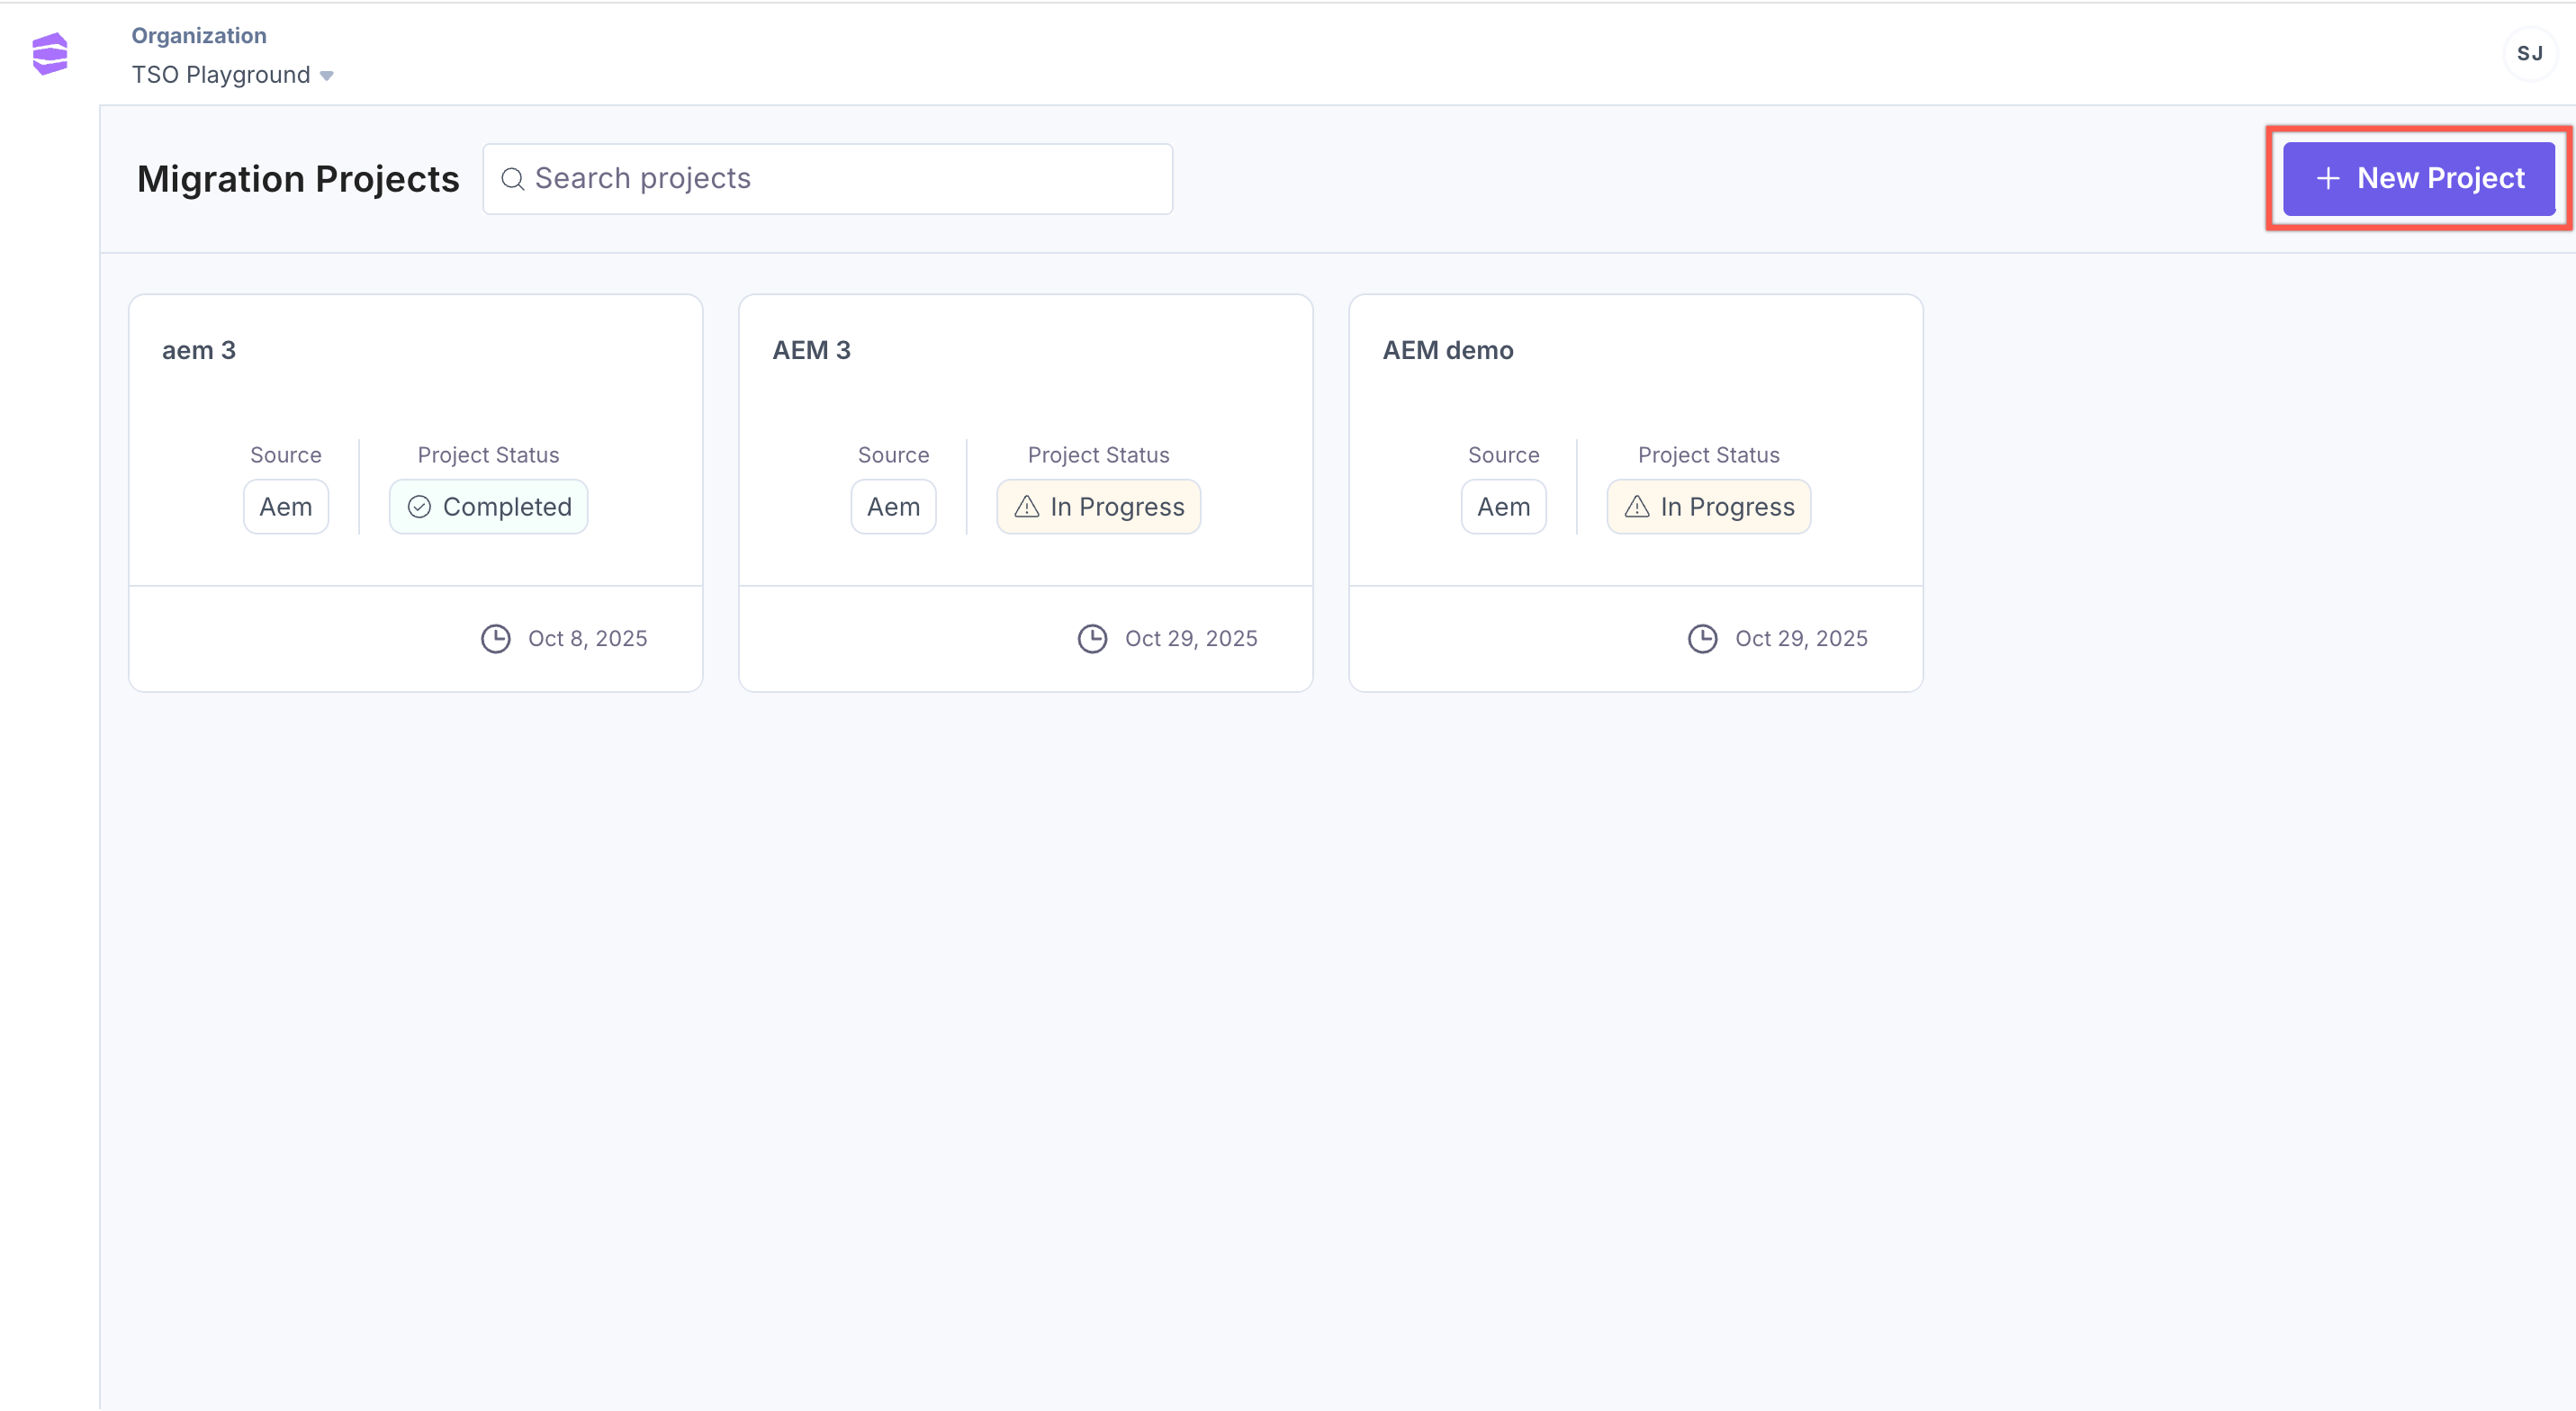
- Enter a Title and Description for your project.
- Click Create Project.
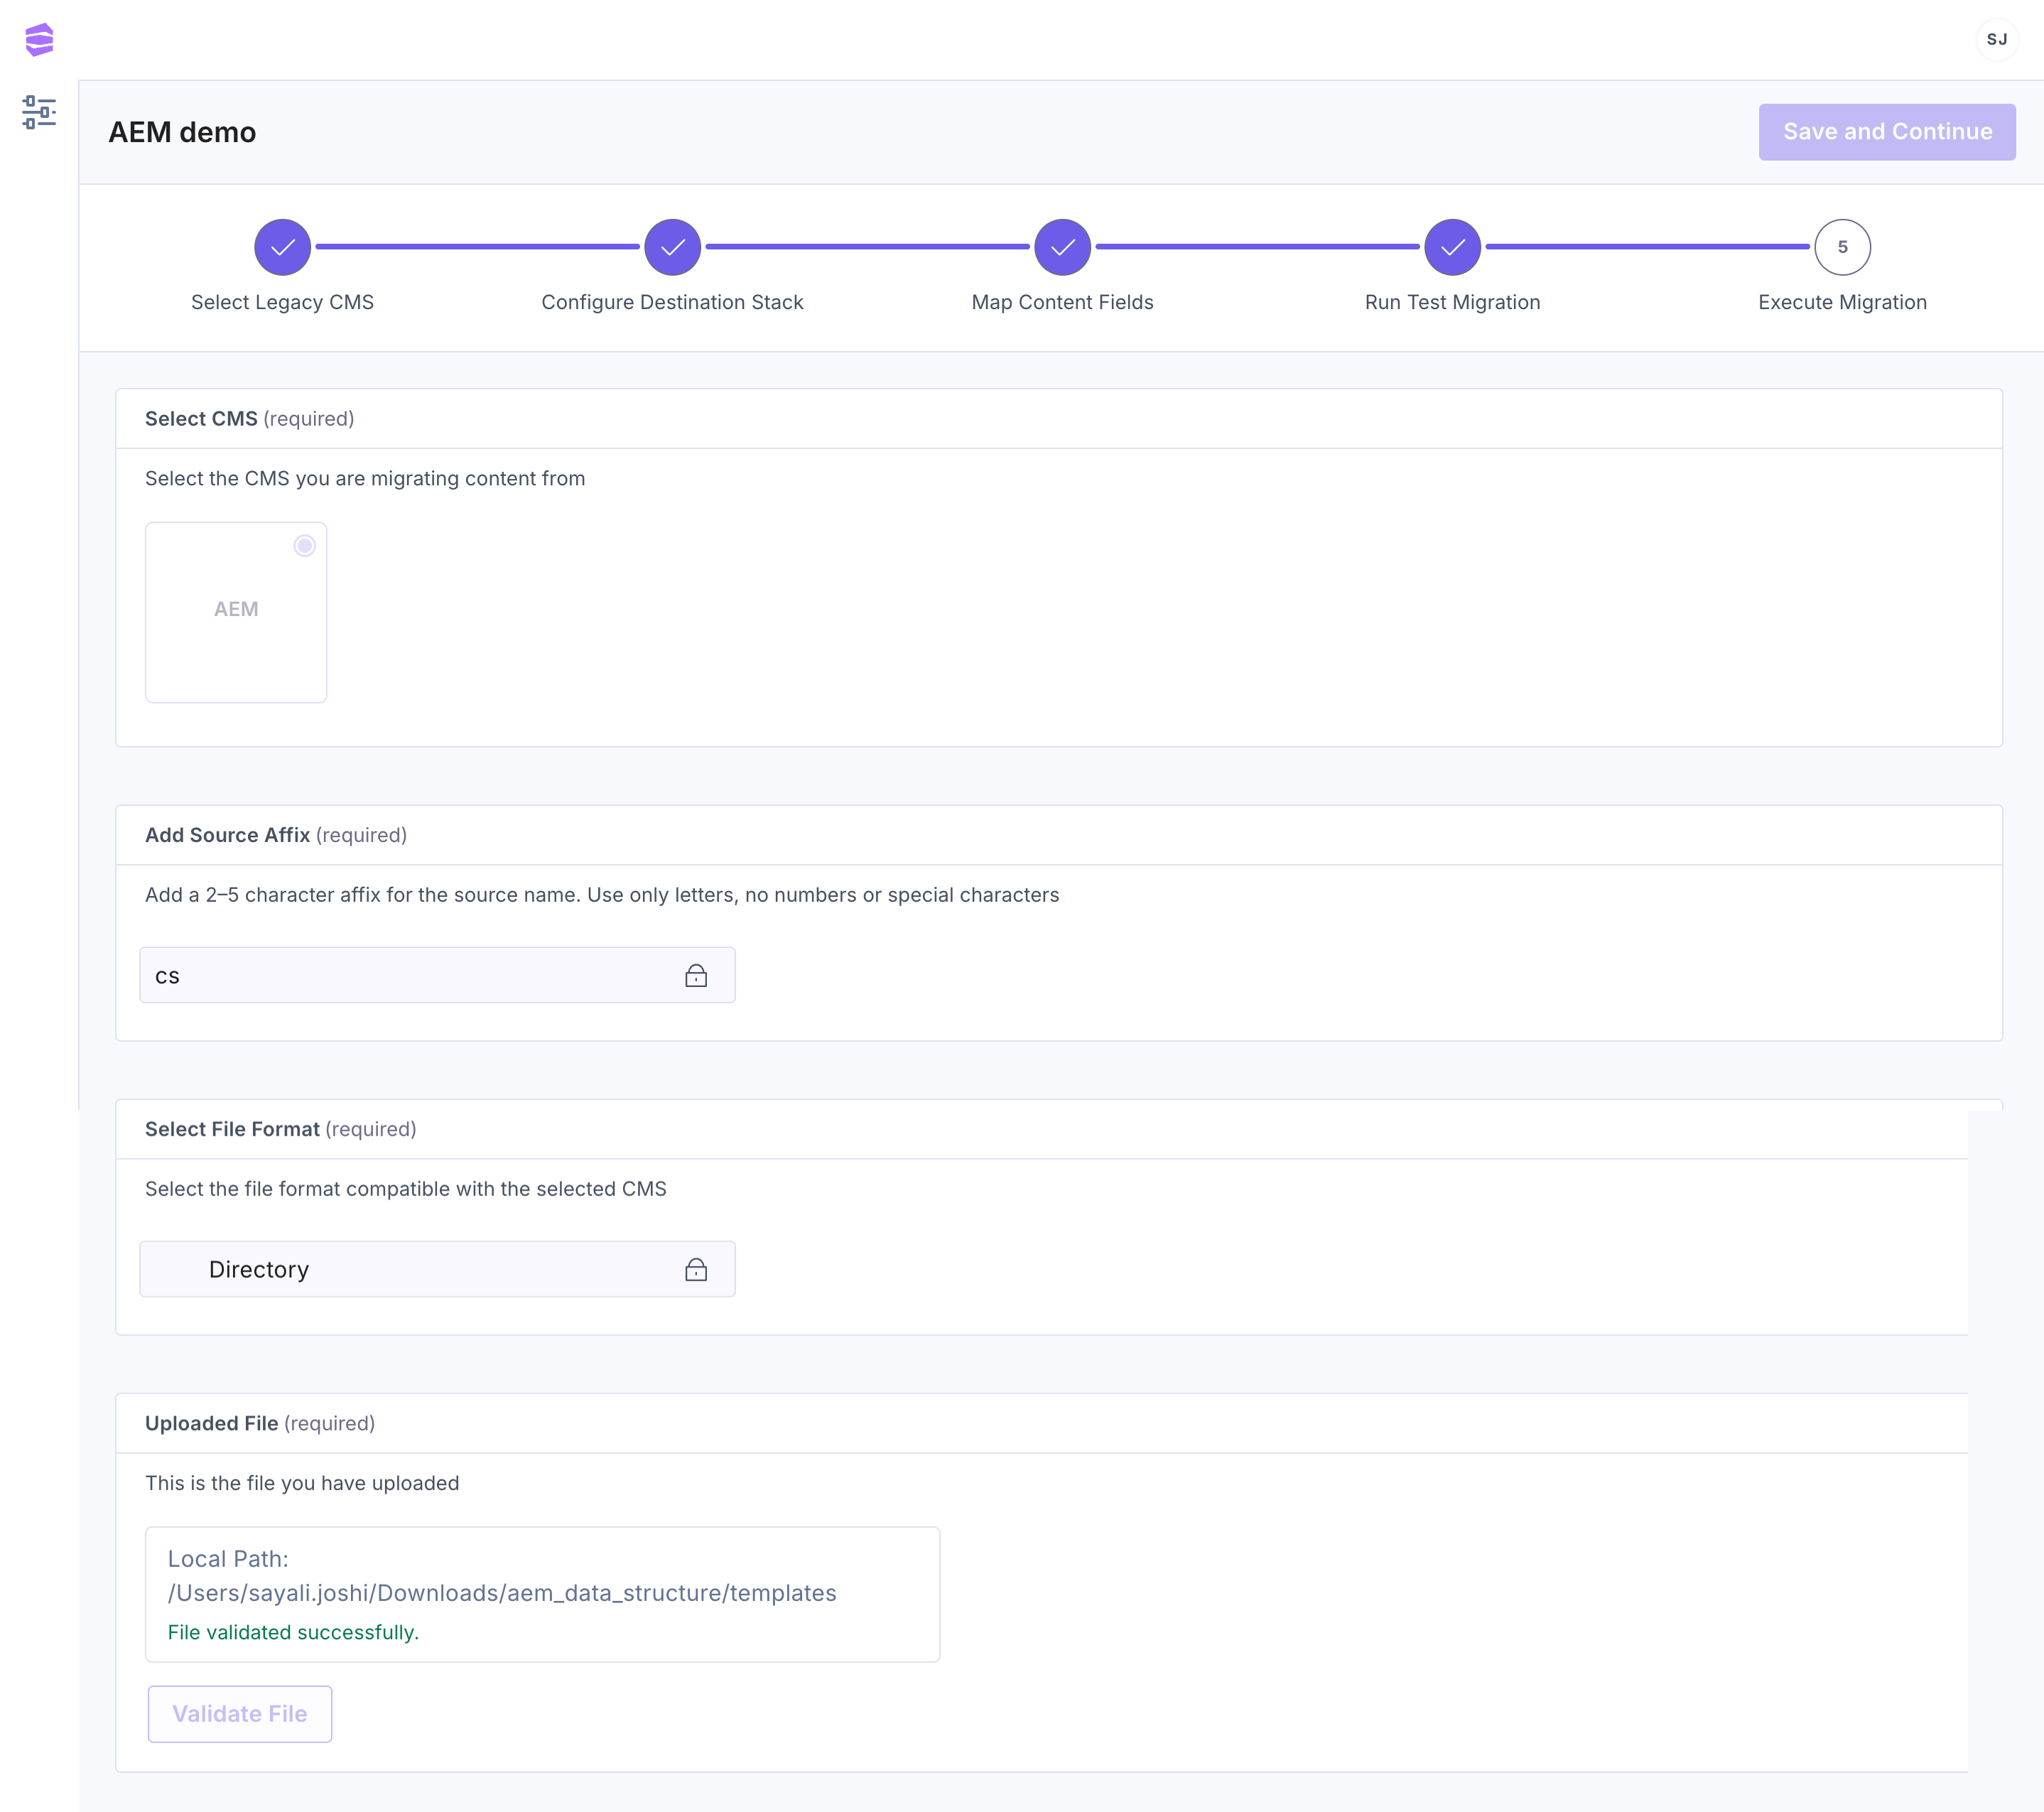
Step 4 - Select and Validate Legacy CMS Data
- By default AEM will be selected as your legacy CMS.
- Add a 2–5 character affix for the source name. Use only letters, no numbers or special characters. Make sure the affix does not match with one of the restricted keywords.
Note: The affix will function as a prefix if the content type UID matches with restricted UIDs. The affix will function as a suffix for field UIDs. If no affix is added, cs is affixed by the system.
- Click Validate File to validate the exported content. A success message appears once validation is completed.
 Note: If validation fails, it may be caused by one or more of the following issues:
- File Format Error: Ensure the file is in the desired format.
- Missing Content: Ensure the exported data contains all required content.
- Incomplete Files: Verify that no files are missing or corrupted.
- Click Save and Continue.
Step 5 - Configure Destination Stack
- Create a new stack.
- In the Language Mapping section, map the source CMS locale to a predefined language in Contentstack.
- Click Add Language if multiple locales need to be mapped.
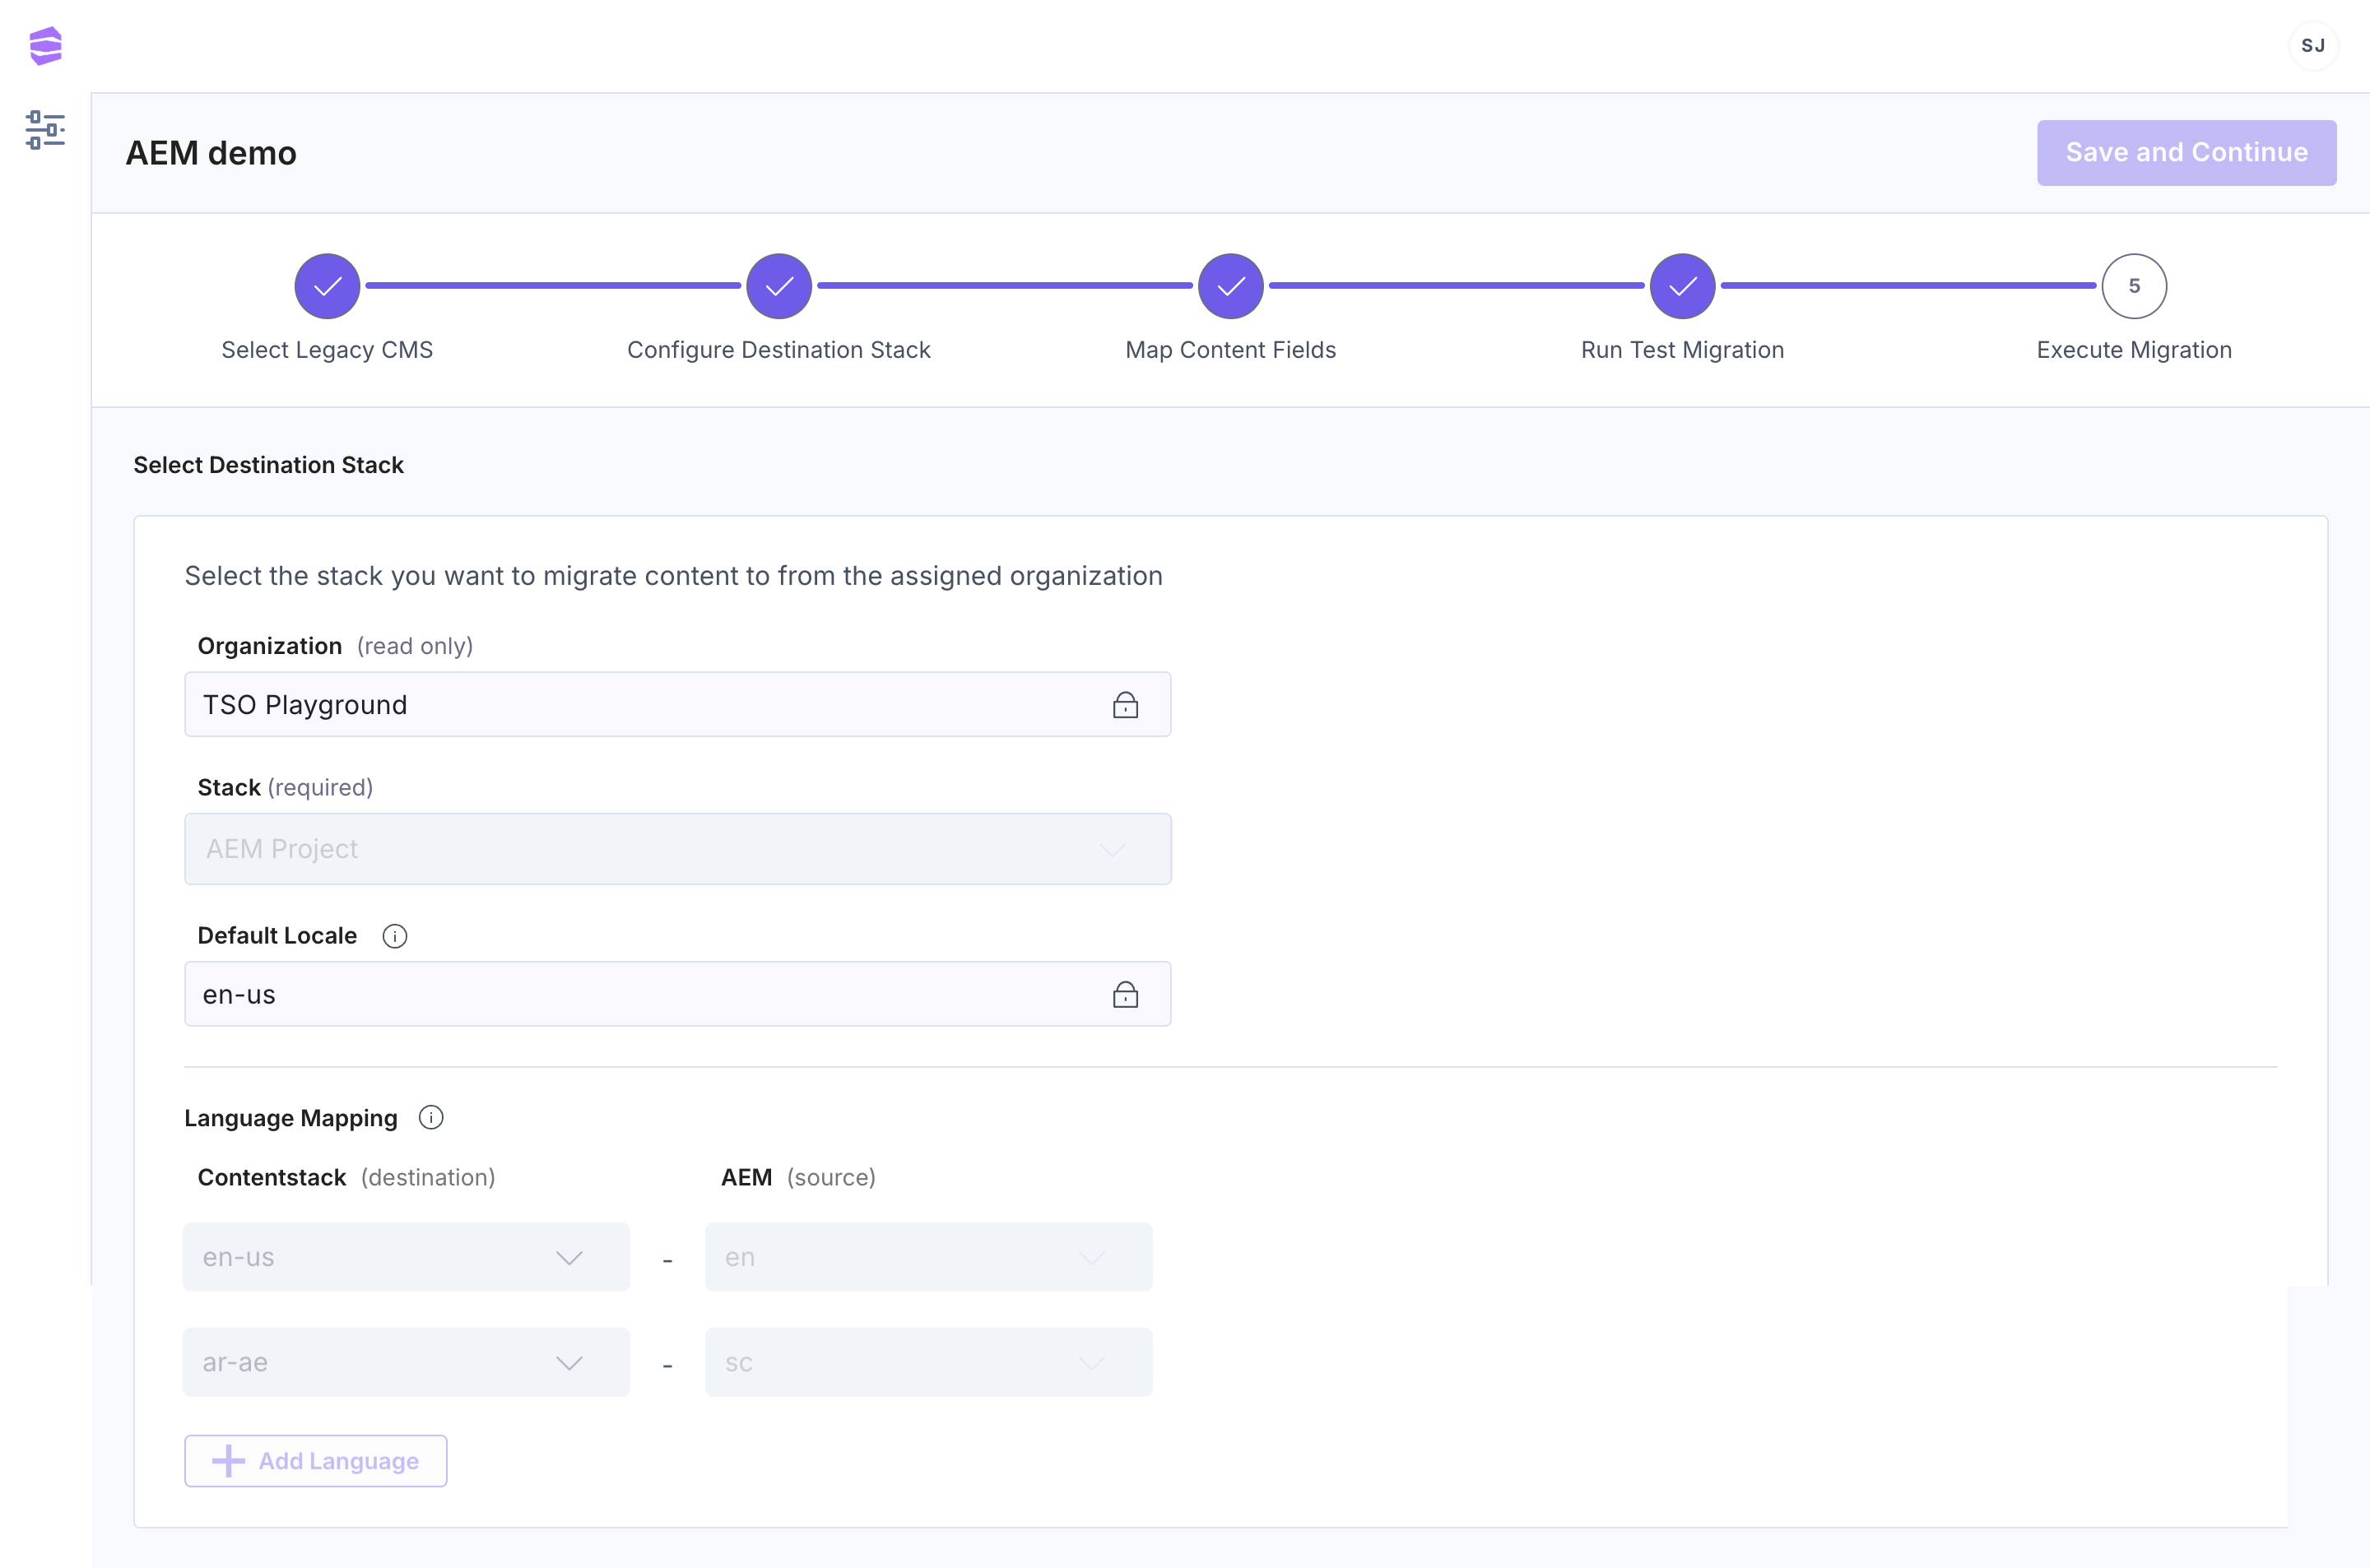
- Click Save and Continue.
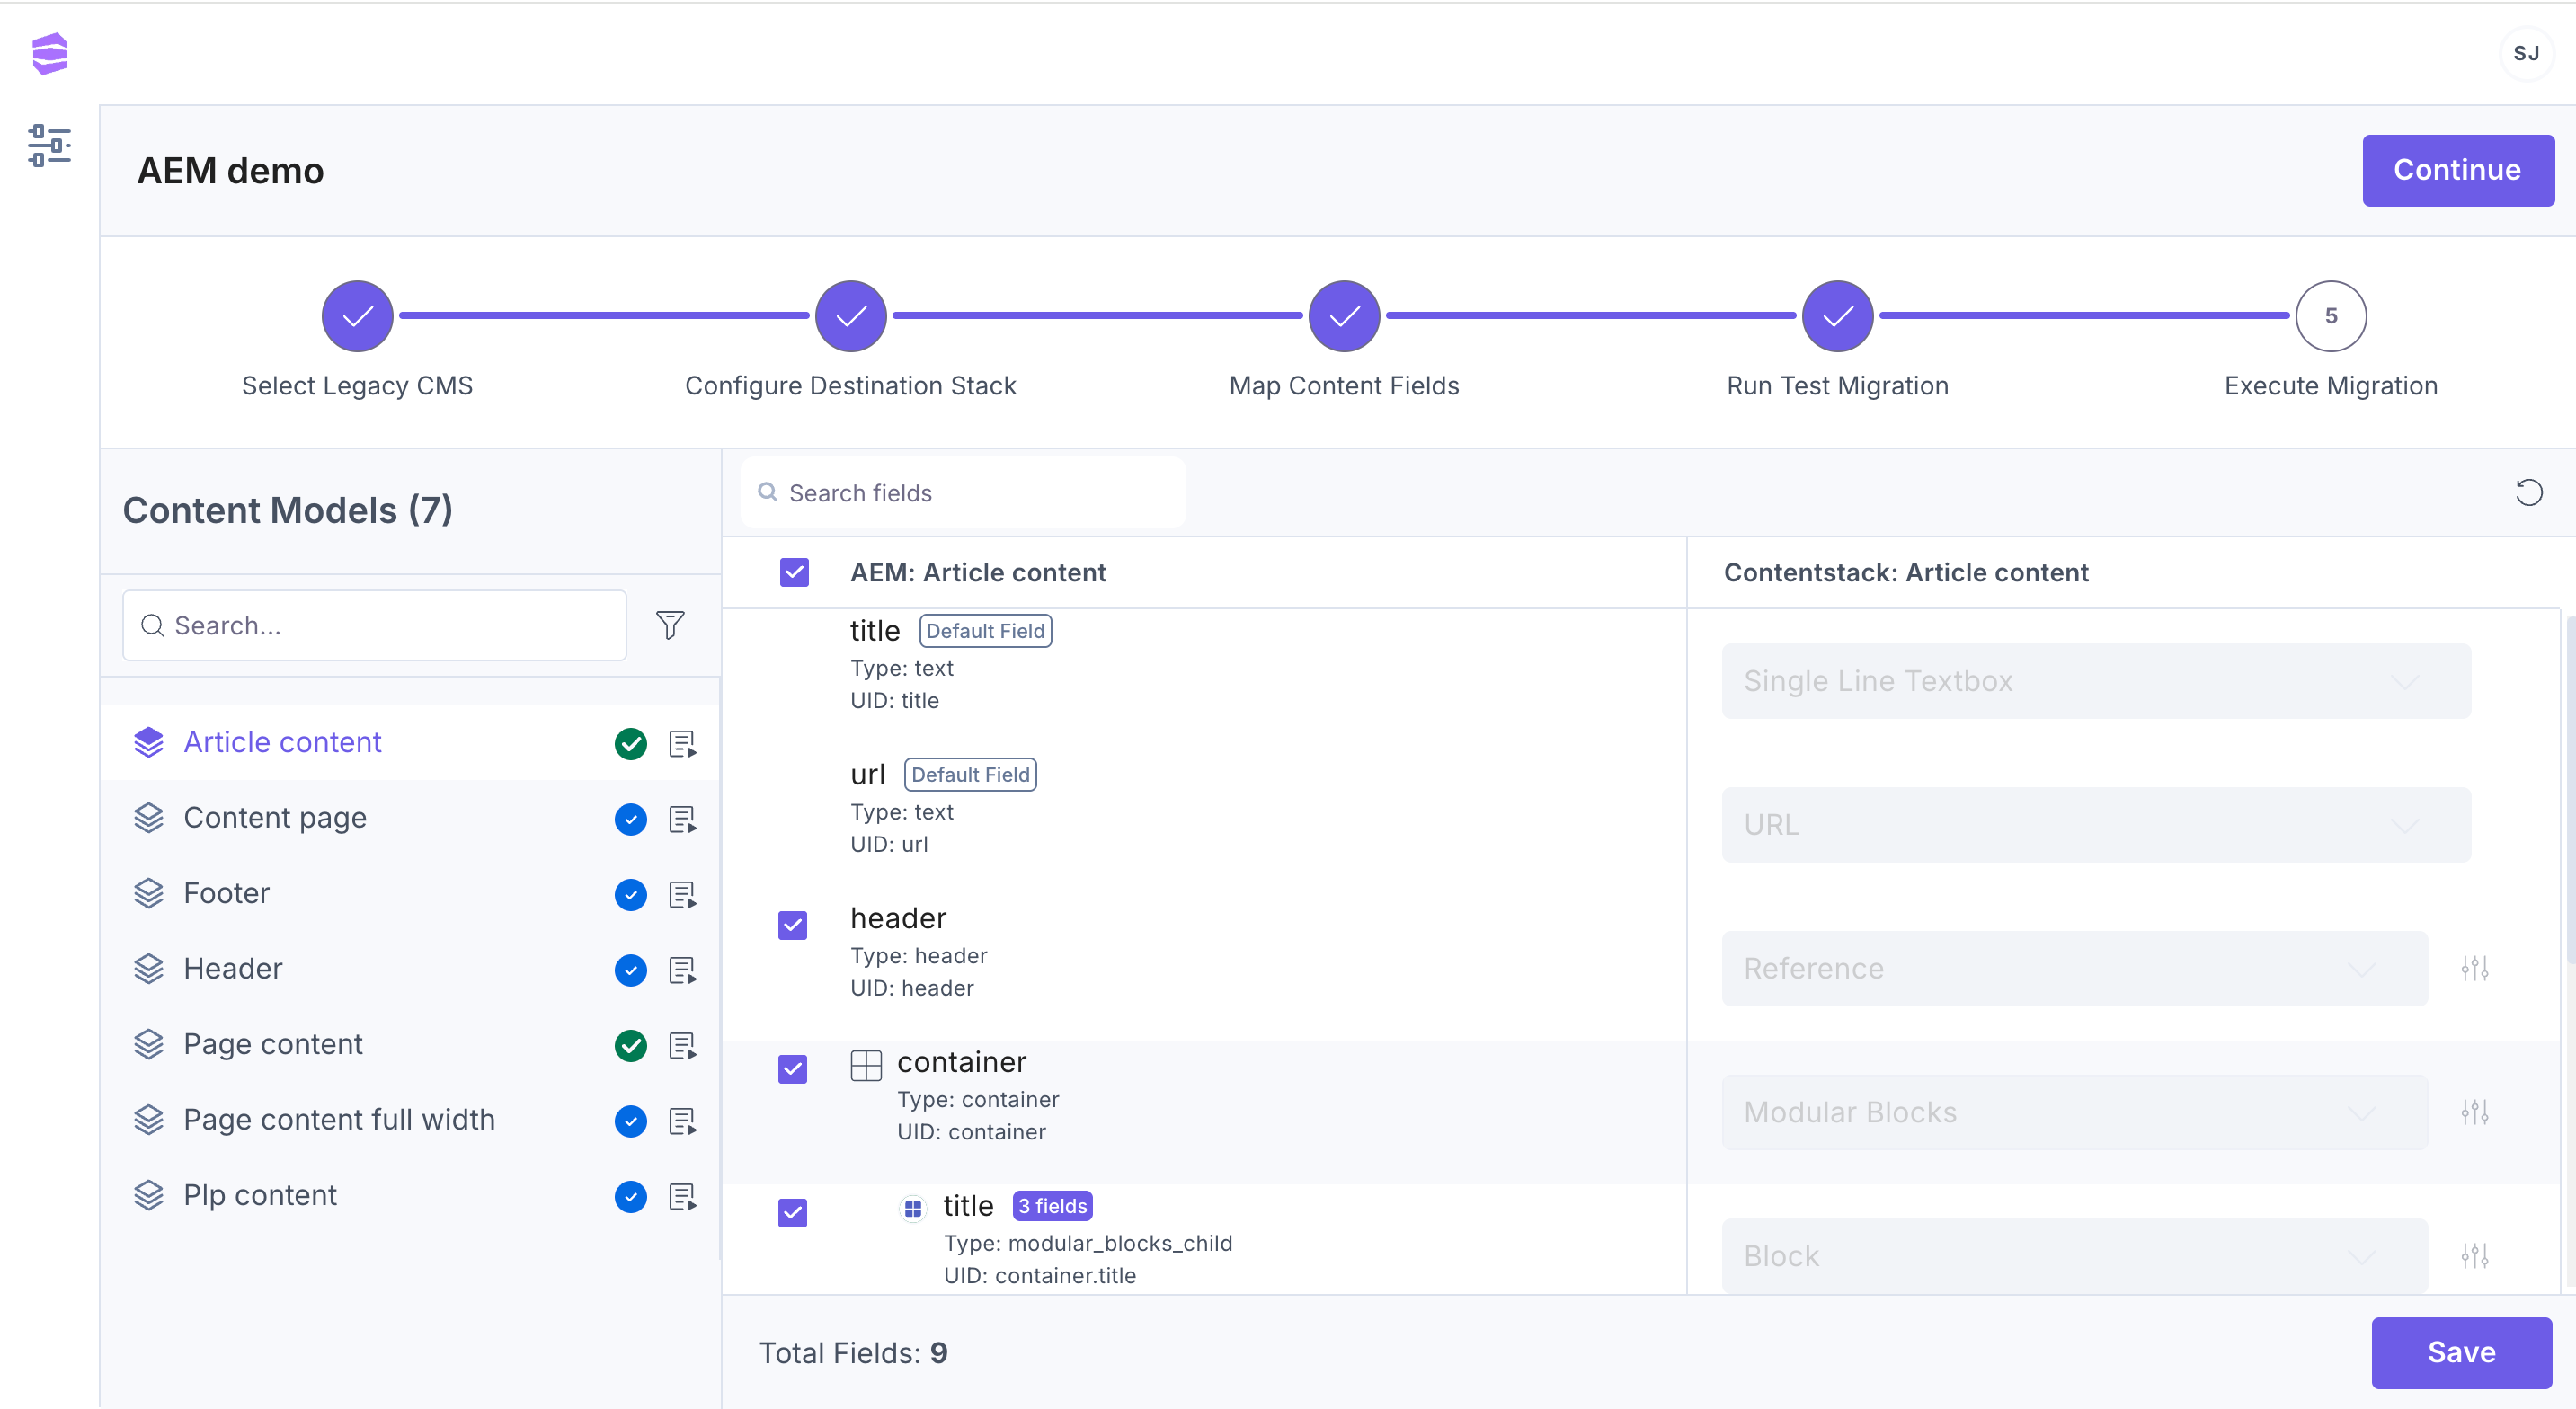
Step 6 - Map Content Types
This step is crucial in ensuring that fields from your legacy CMS are correctly aligned with their corresponding fields in Contentstack.
Search and Preview Content Models
On the left-hand side, a list of content types and global fields imported from the legacy CMS is displayed.
- Use the search bar to quickly locate specific content types within the list.
- Each content type has a status icon beside it:
- Blue tick: The content type was successfully mapped from the legacy CMS to Contentstack.
- Red cross: The mapping failed.
- Green tick: A previously mapped (blue ticked) content type was updated or saved.
- A filters dropdown is available next to the search bar, allowing users to filter content types based on:
- All
- Failed
- Mapped
- Updated
- A 'Schema Preview' icon next to each content type allows you to view the schema and fields. Clicking this icon opens a prompt displaying the structure of the content type.
Note: If mapping fails, it could be due to a UID mismatch between the legacy CMS and the destination stack. Check the UIDs of the content types in both the legacy CMS and the destination stack and ensure they align.
Map Content Fields
The interface consists of two columns:
- Source content type field list: Displays extracted field titles from the legacy CMS.
- Destination Contentstack field data types dropdowns: Allows users to select the desired field data type for mapping.
By default, all fields are selected for migration, but users can uncheck fields they don’t want to migrate.
The framework attempts to auto-map fields based on the selected source CMS.
Note: The Title and URL fields are auto-mapped and cannot be edited.
Handle Different Mapping Scenarios
Use the following advanced options to efficiently manage your mappings:
- Search for specific fields: Use the search bar in the mapping interface to locate specific field names.
- Reset to system mapping: Click the ‘Reset to system mapping’ icon to revert any changes done to the default mappings.
- Advanced properties: Click the ‘Advanced properties’ icon next to each field to adjust field specific properties.
Click Save to preserve the current mapping settings. Similarly ensure the mapping for all content types is done to have a seamless migration experience.
This step ensures that the migrated data retains its integrity and is structured correctly within the destination stack.
Click Continue.
Step 7 - Run a Test Migration
- Click Create Test Stack to create a sample stack within your organization to test the migration.
Click Start Test Migration to perform a migration to the test stack. A success message appears in the logs once the test migration is complete.
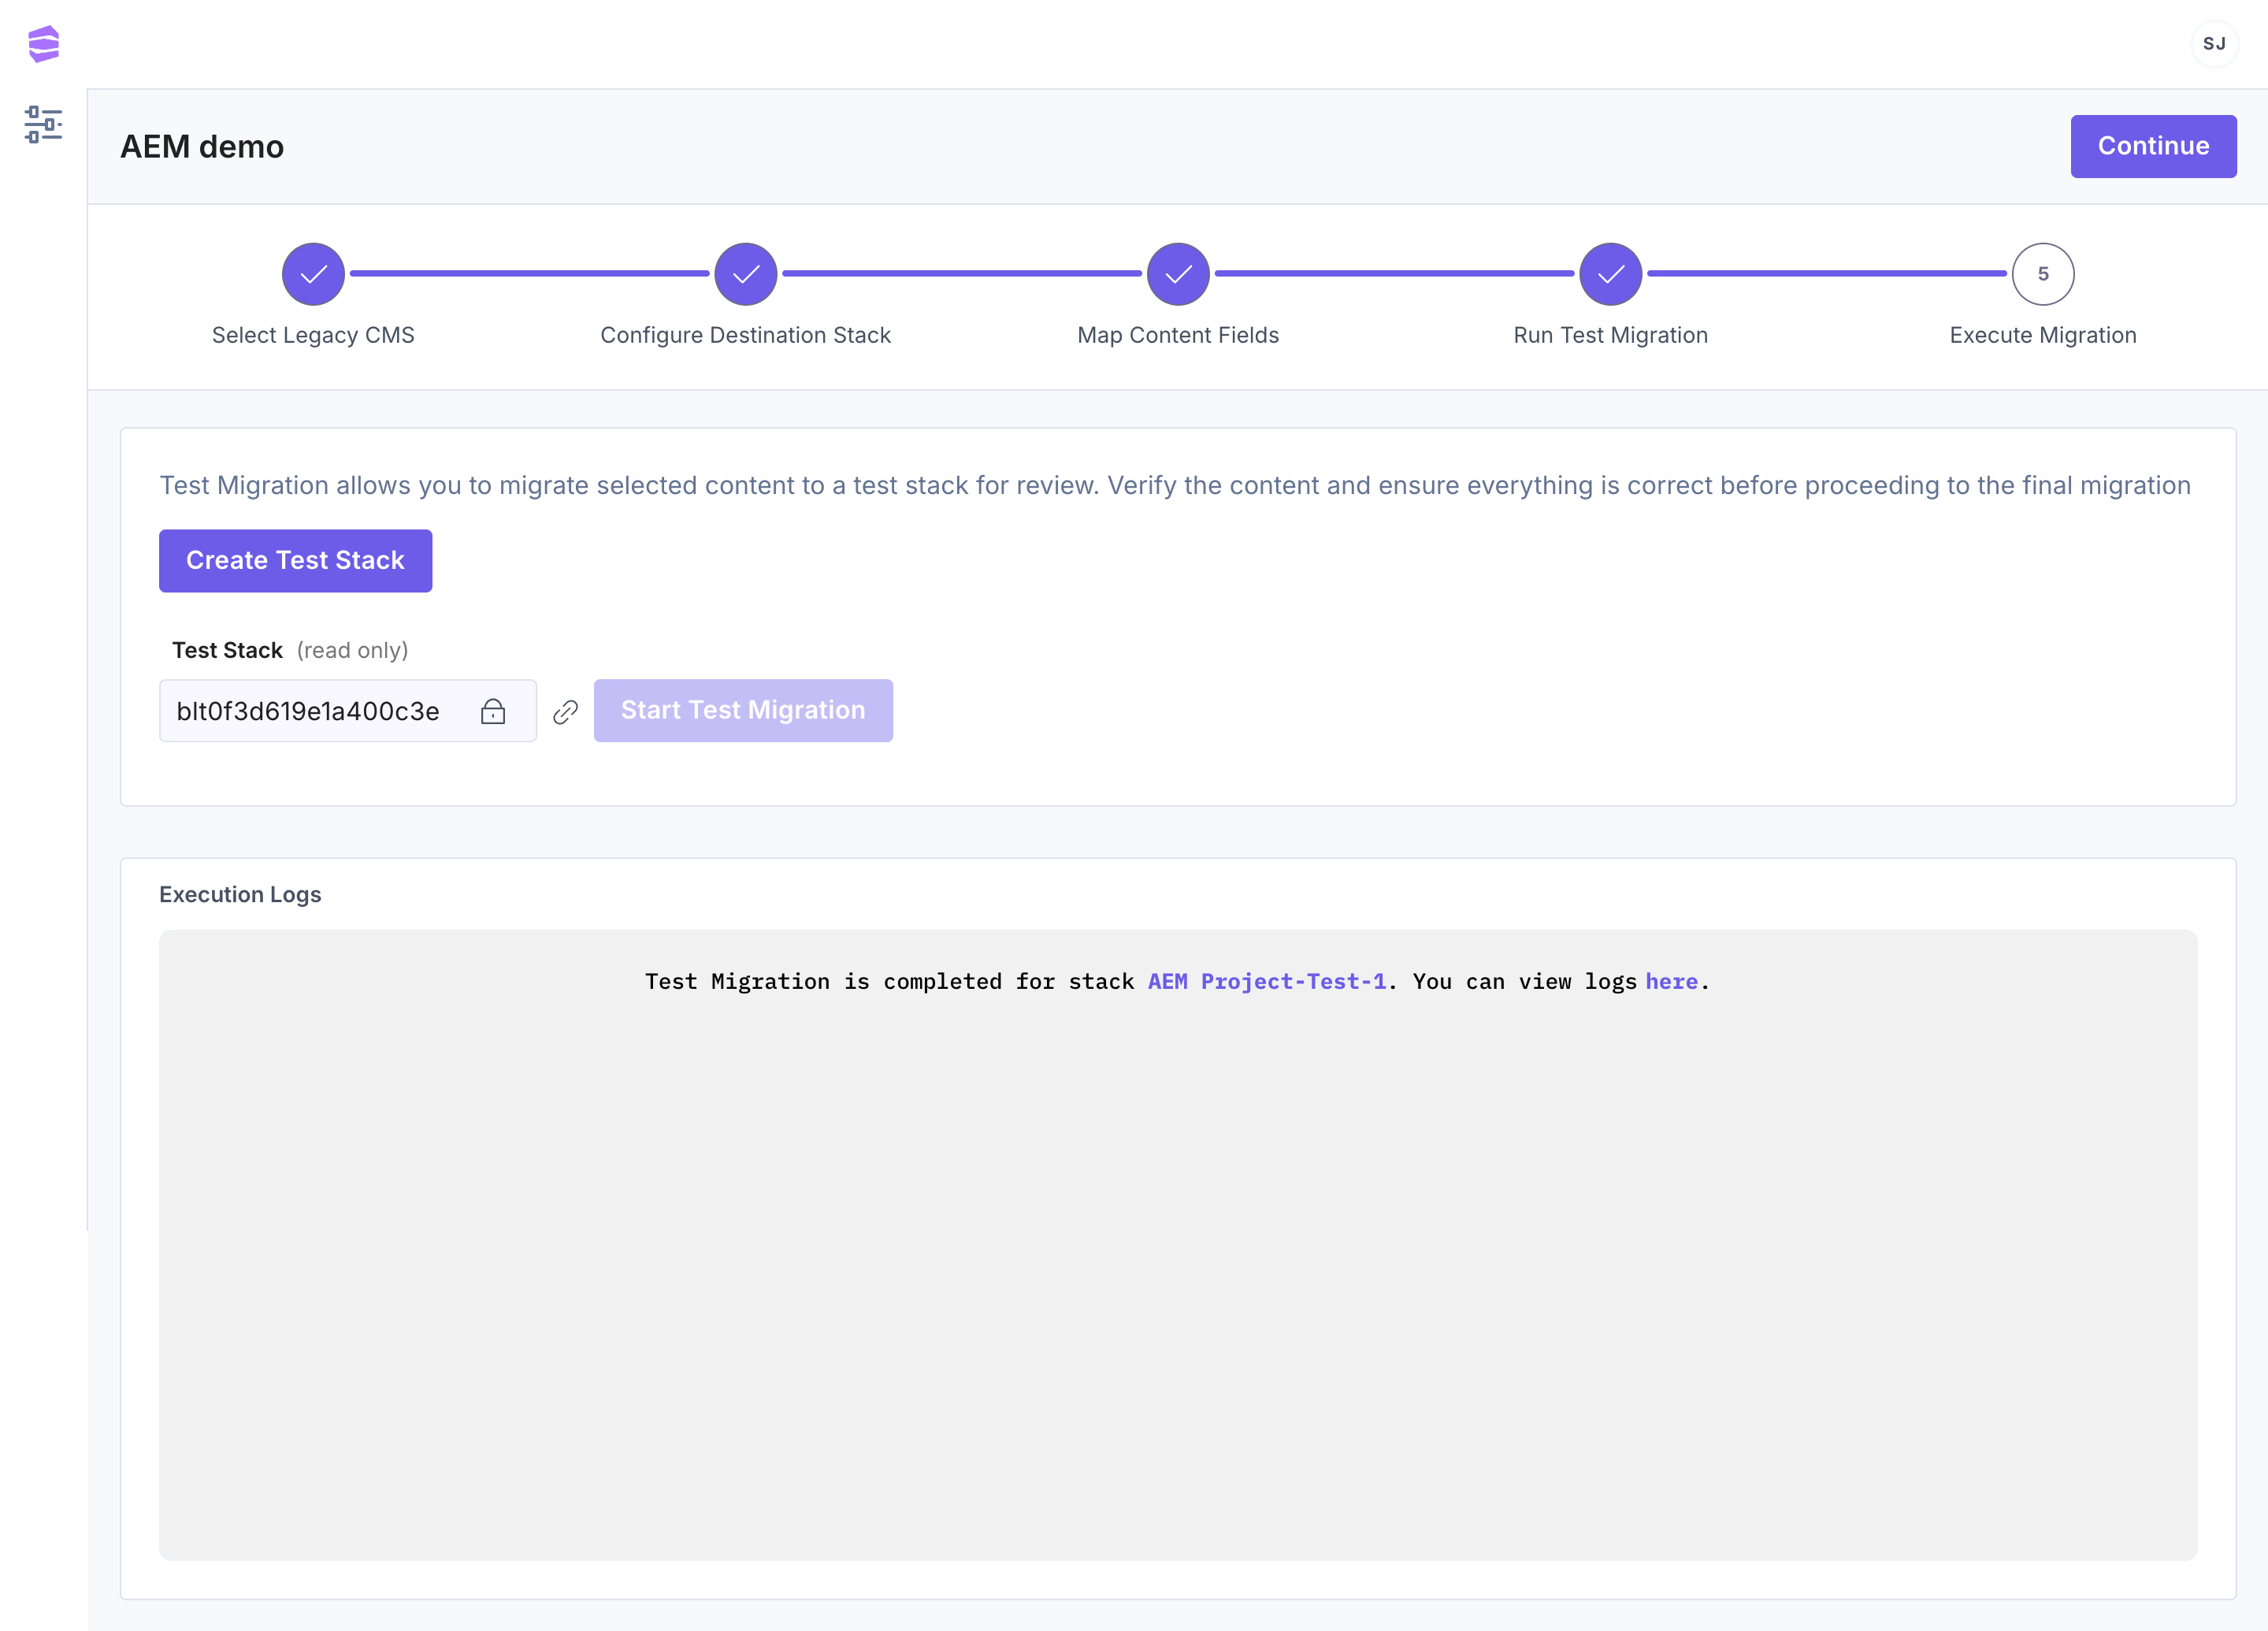
Note: Test migration performs the migration on a small chunk of data in the test stack. This gives a validation and assurance that the migration will not fail in the selected stack.
- Click Continue.
Step 8 - Execute the Migration
- After a successful test migration, click Start Migration to perform the full migration to your selected stack.
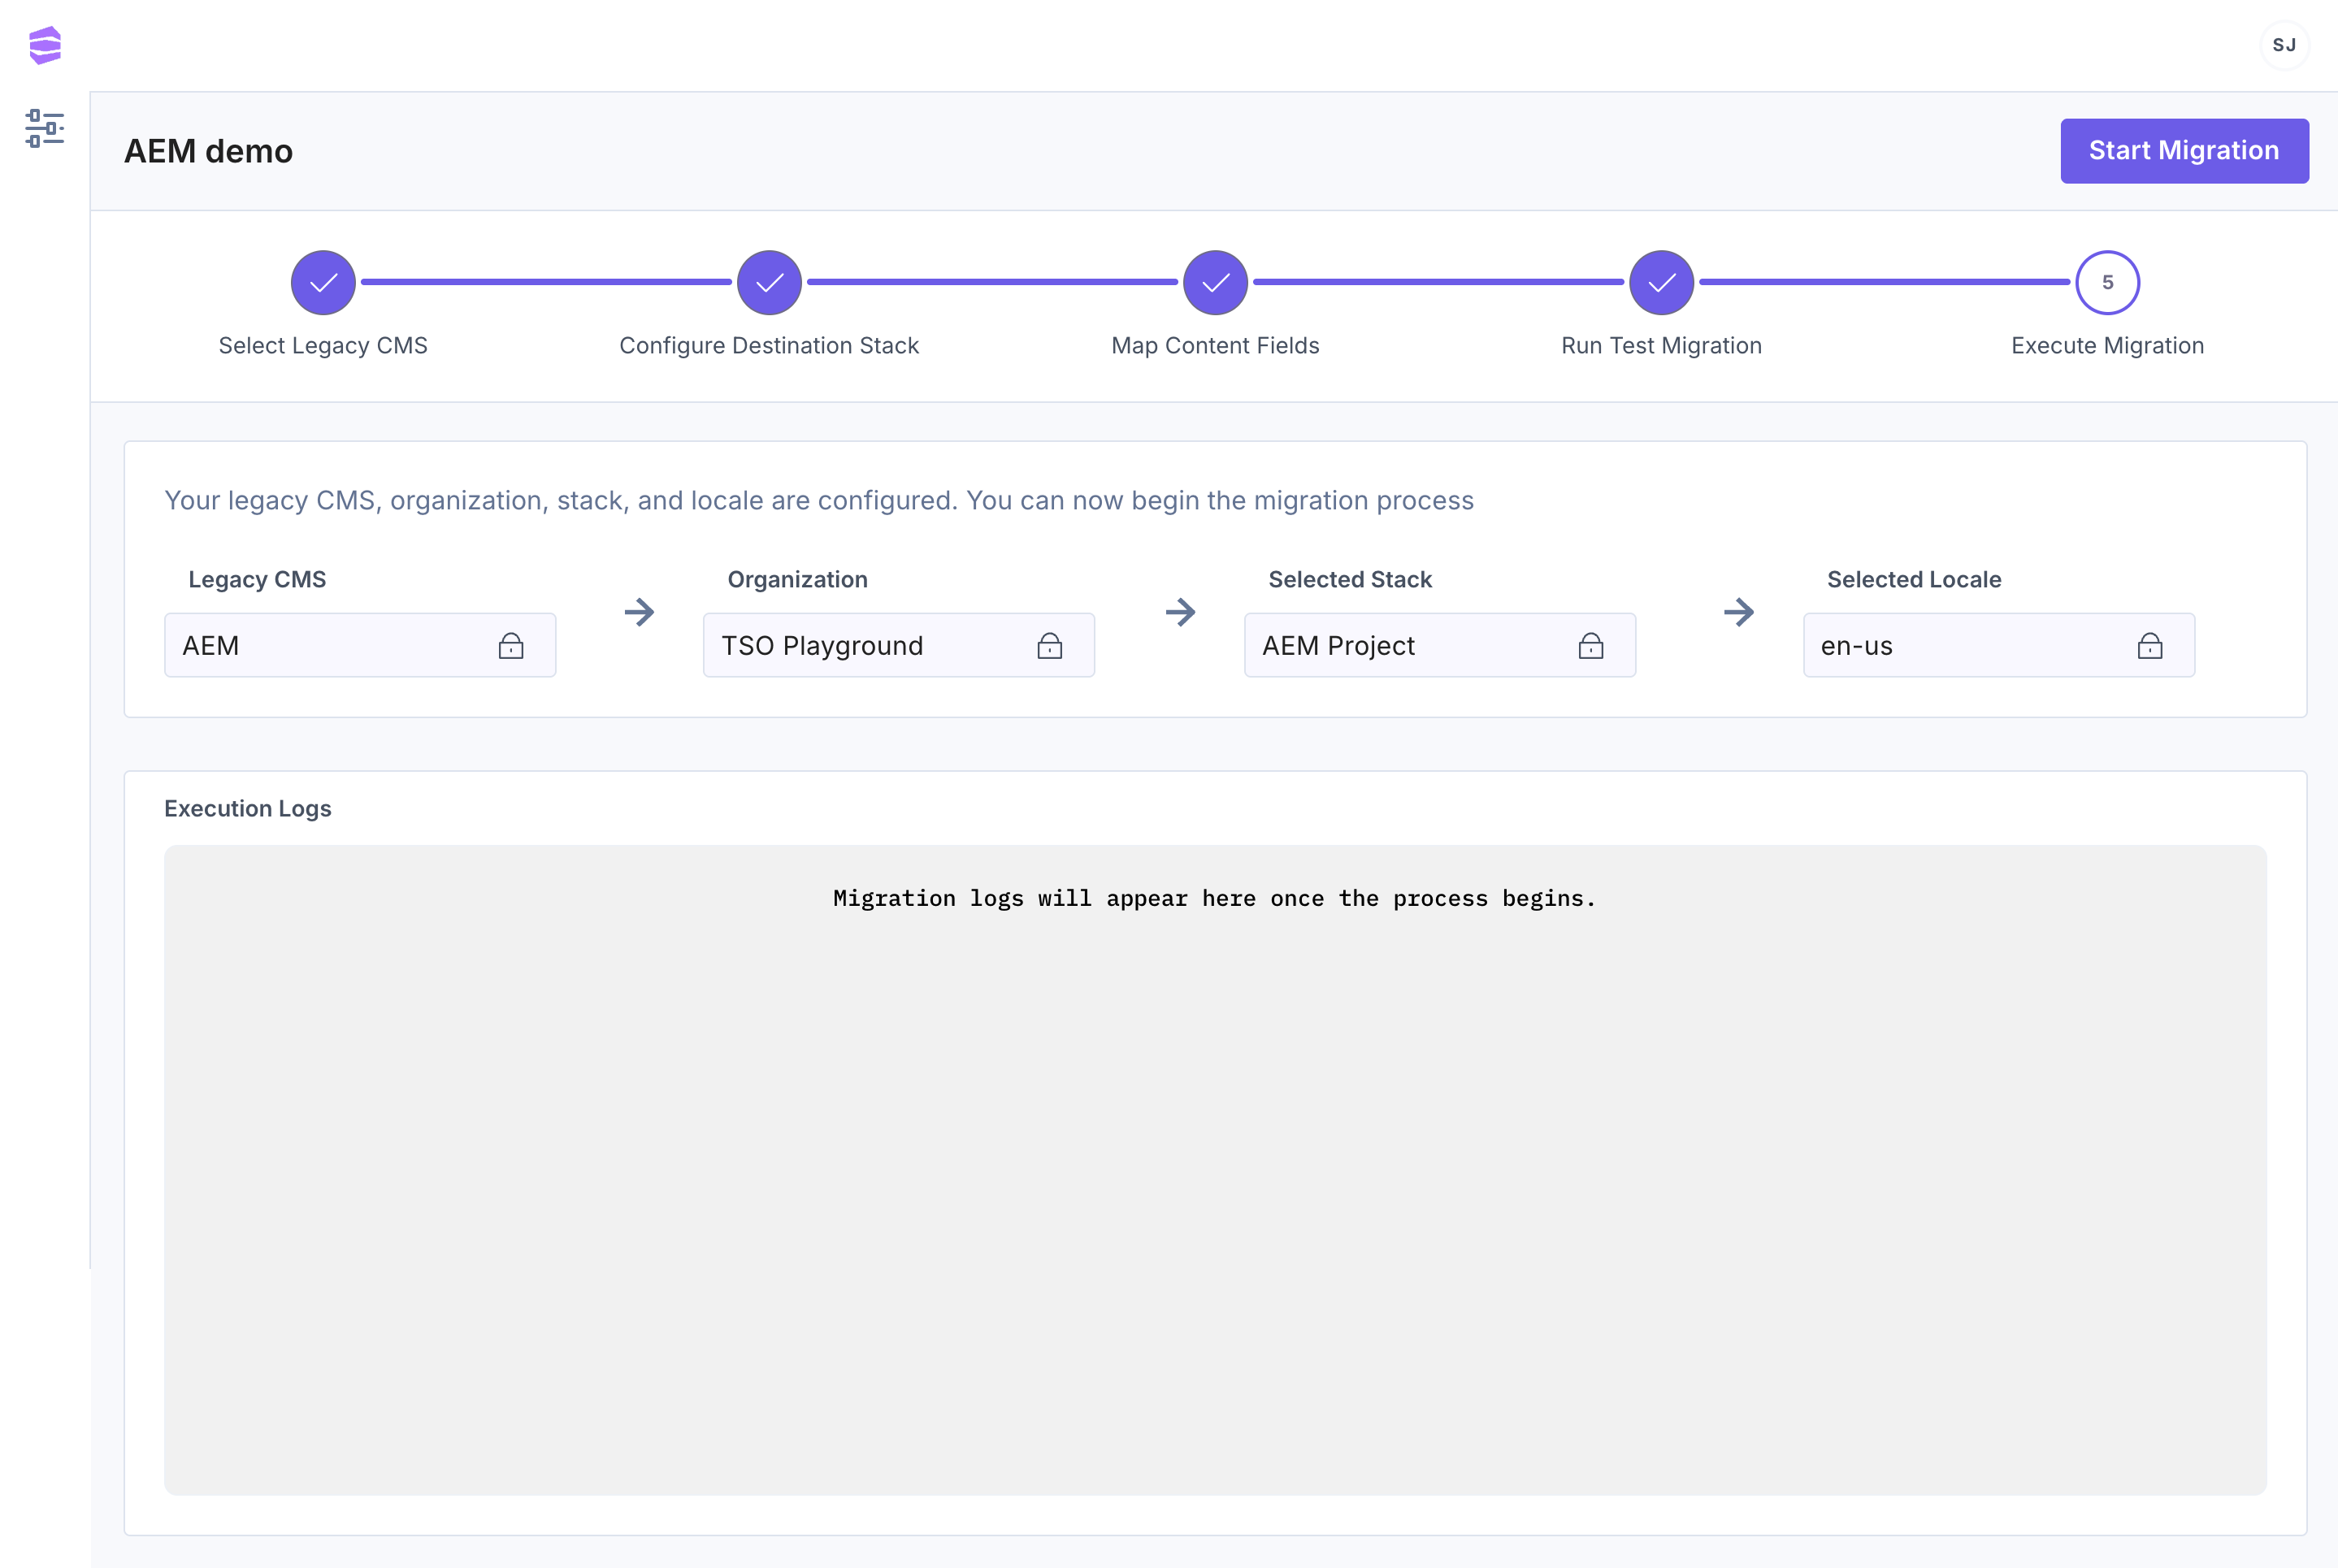
- Upon completion, a success message appears in the logs with a link to your stack. The migrated data is now available in the destination stack within Contentstack.
Note: Once a migration has been performed on a stack, it cannot be used to perform another migration.
You have now successfully migrated your content from AEM to Contentstack. If you encounter any issues during the installation or migration process, reach out to our support team for assistance.
Happy migrating!
More articles in "Content Migration"
