Managing Automations
Create an Automation
Automations helps you efficiently manage workflows by setting up step-by-step executions triggered by specific conditions. With Automations, you can easily create, edit, and delete automation sequences directly within the Agent OS interface. This guide walks you through managing automations to streamline your tasks.
To create an automation, perform the following steps:
- Log in to your Contentstack account.
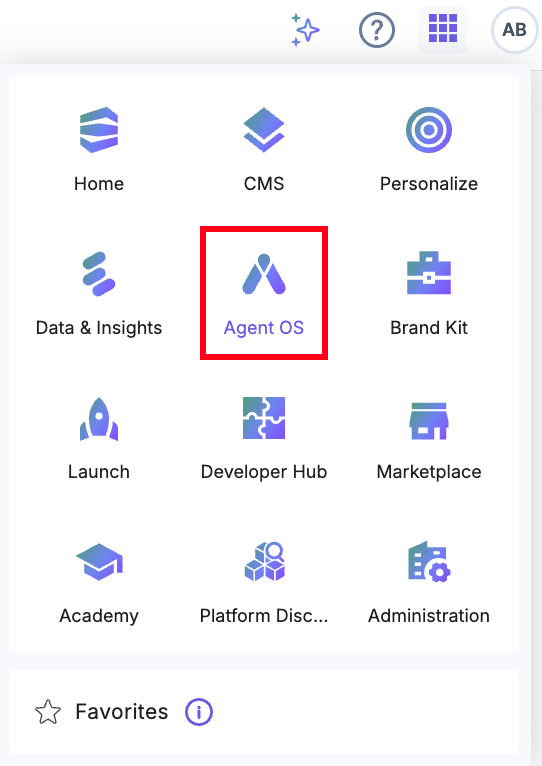
- After logging in, click the App Switcher icon, then select Agent OS from the list.
- Click + New Project or create a new one.
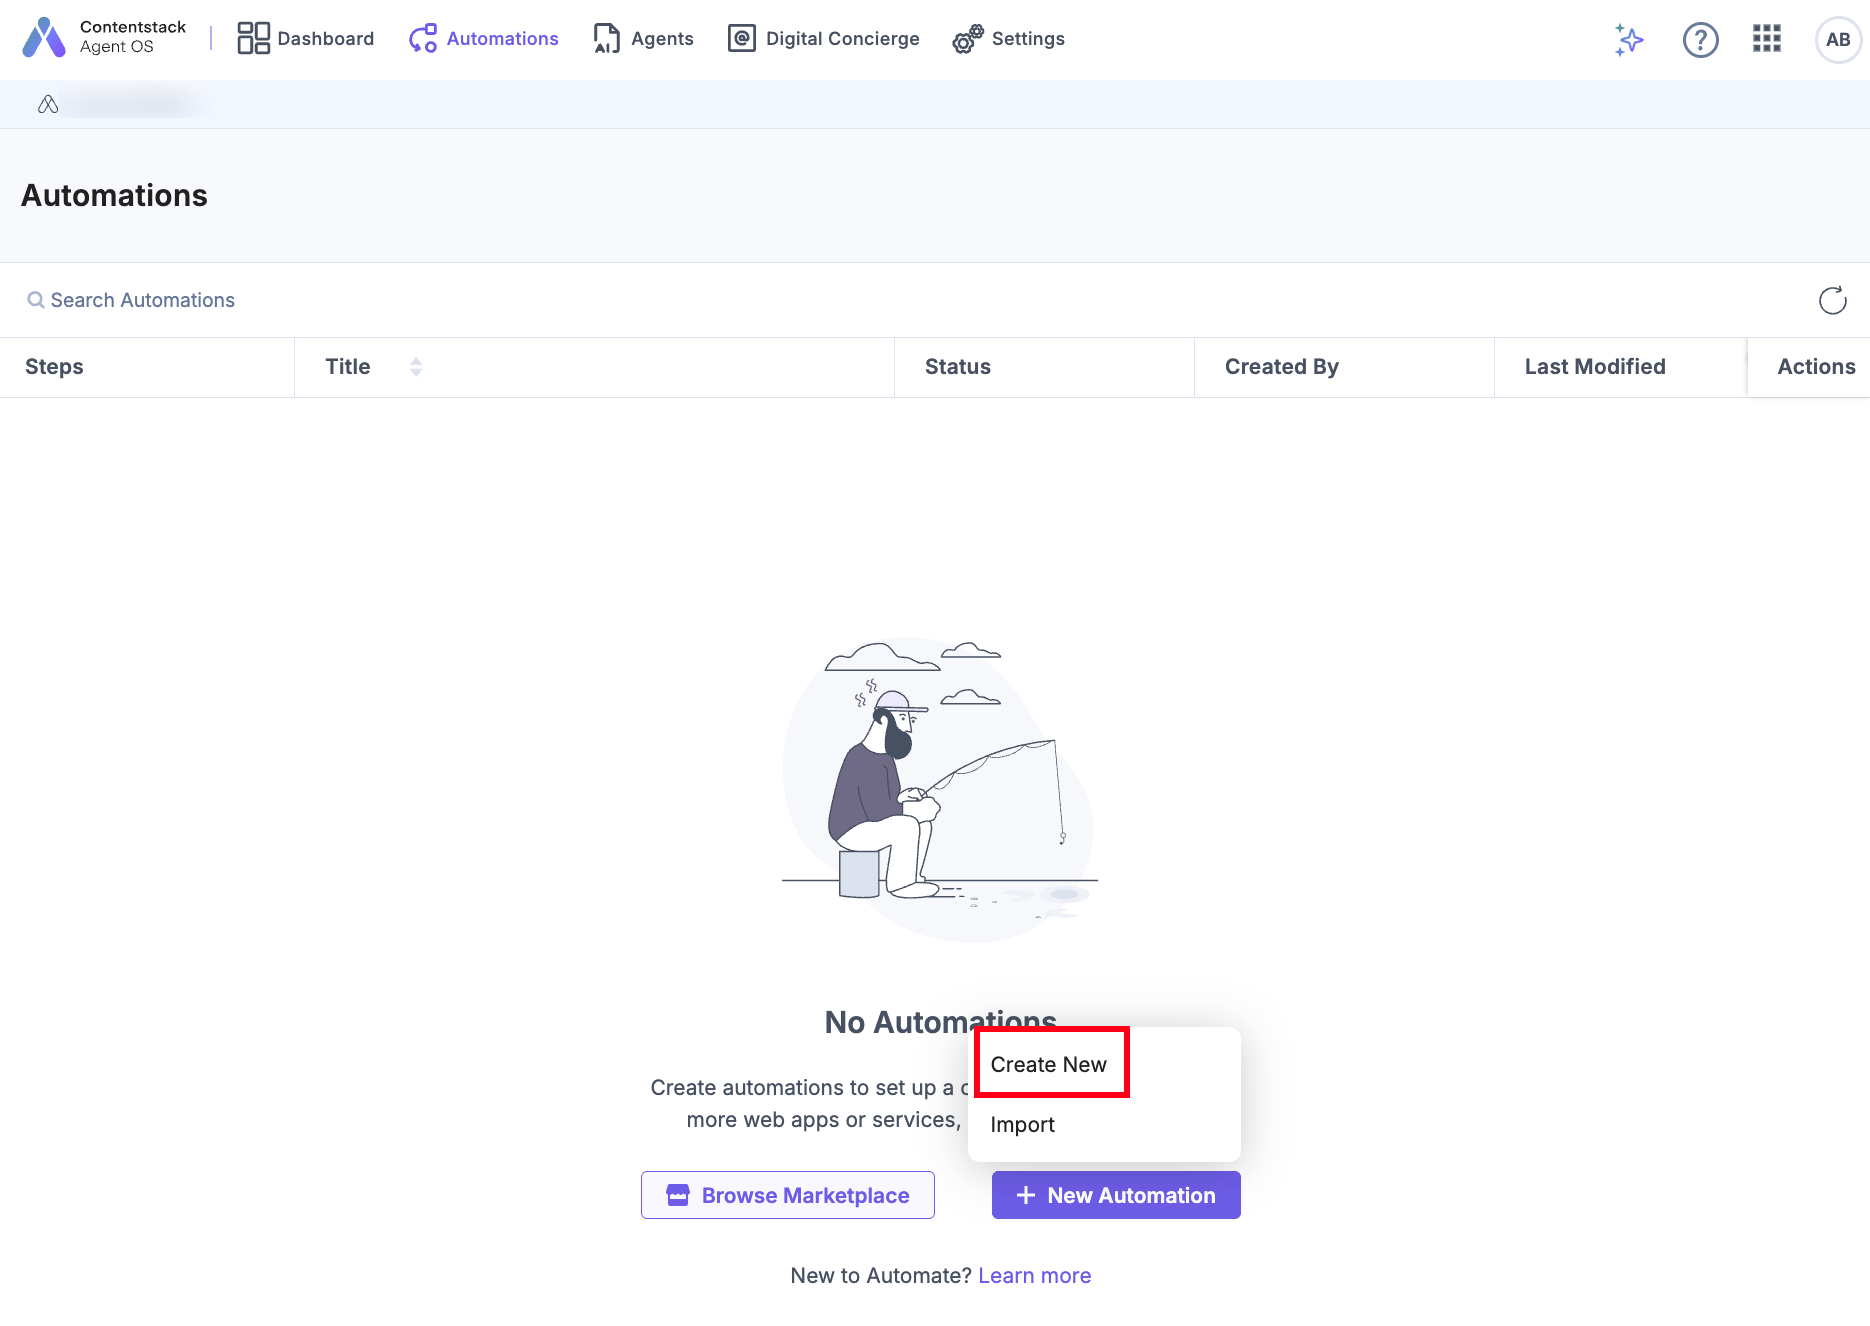
- In the top navigation panel, click Automations.

- Click + New Automation. From the dropdown, select Create New.
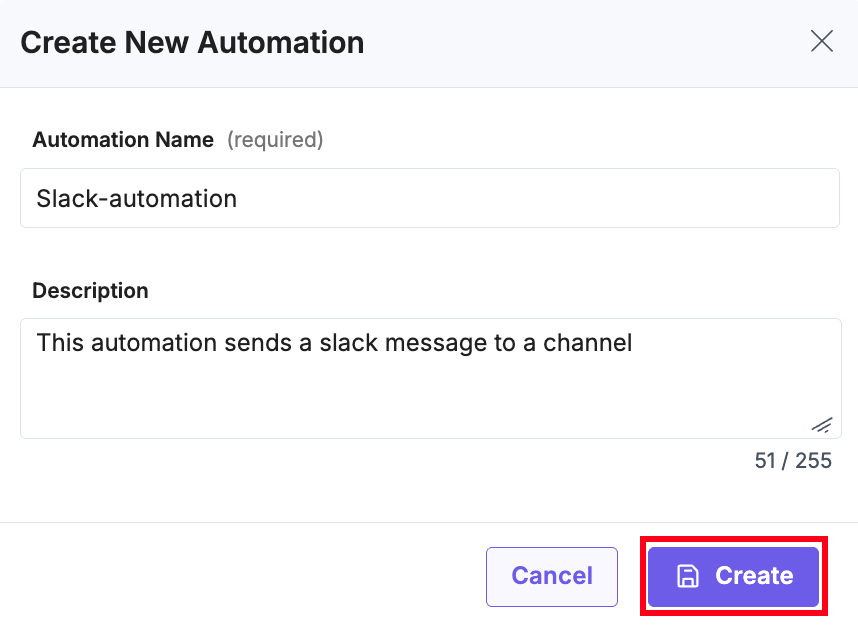
- In the Create New Automation modal, provide an Automation Name and an optional Description. Click Create.
Additional Resource: Refer to the Get Started with Automations documentation to learn the automation configuration.
Edit Automation Details
You can edit the primary details of an automation, i.e., its Name and Description.
To do so, perform the steps given below:
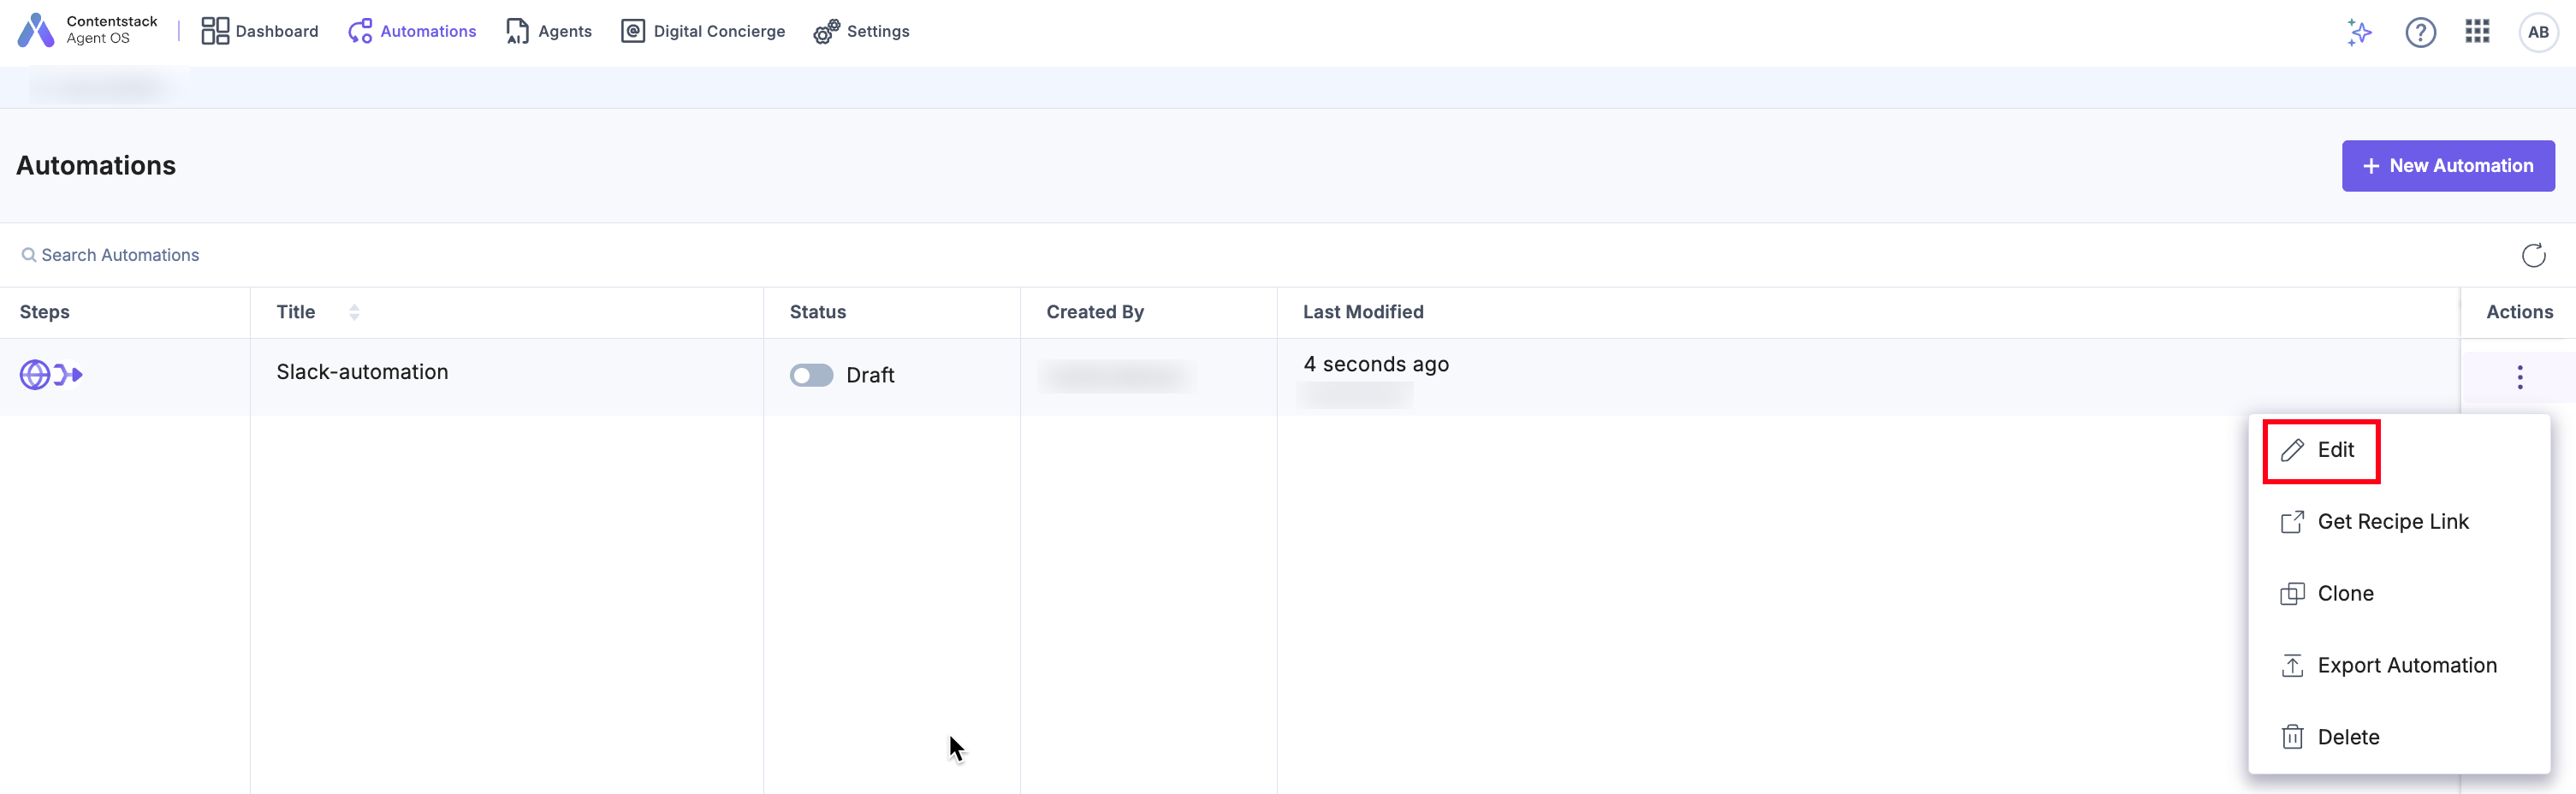
- Navigate to the Automations listing page, click the vertical ellipses, then click Edit.
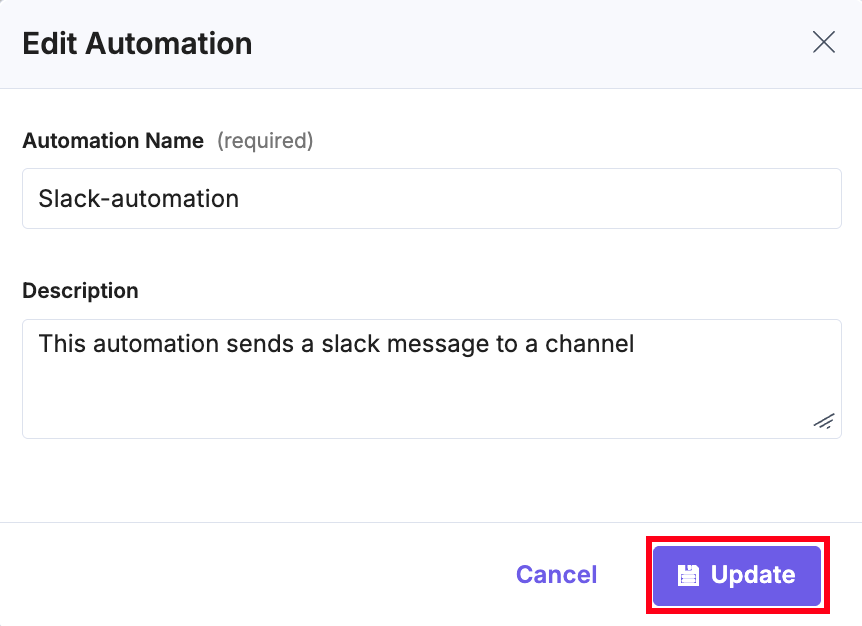
- In the Edit Automation modal, provide the new Name and Description of the automation. Once you have updated the details, click Update.
Delete an Automation
To delete an automation, perform the steps given below:
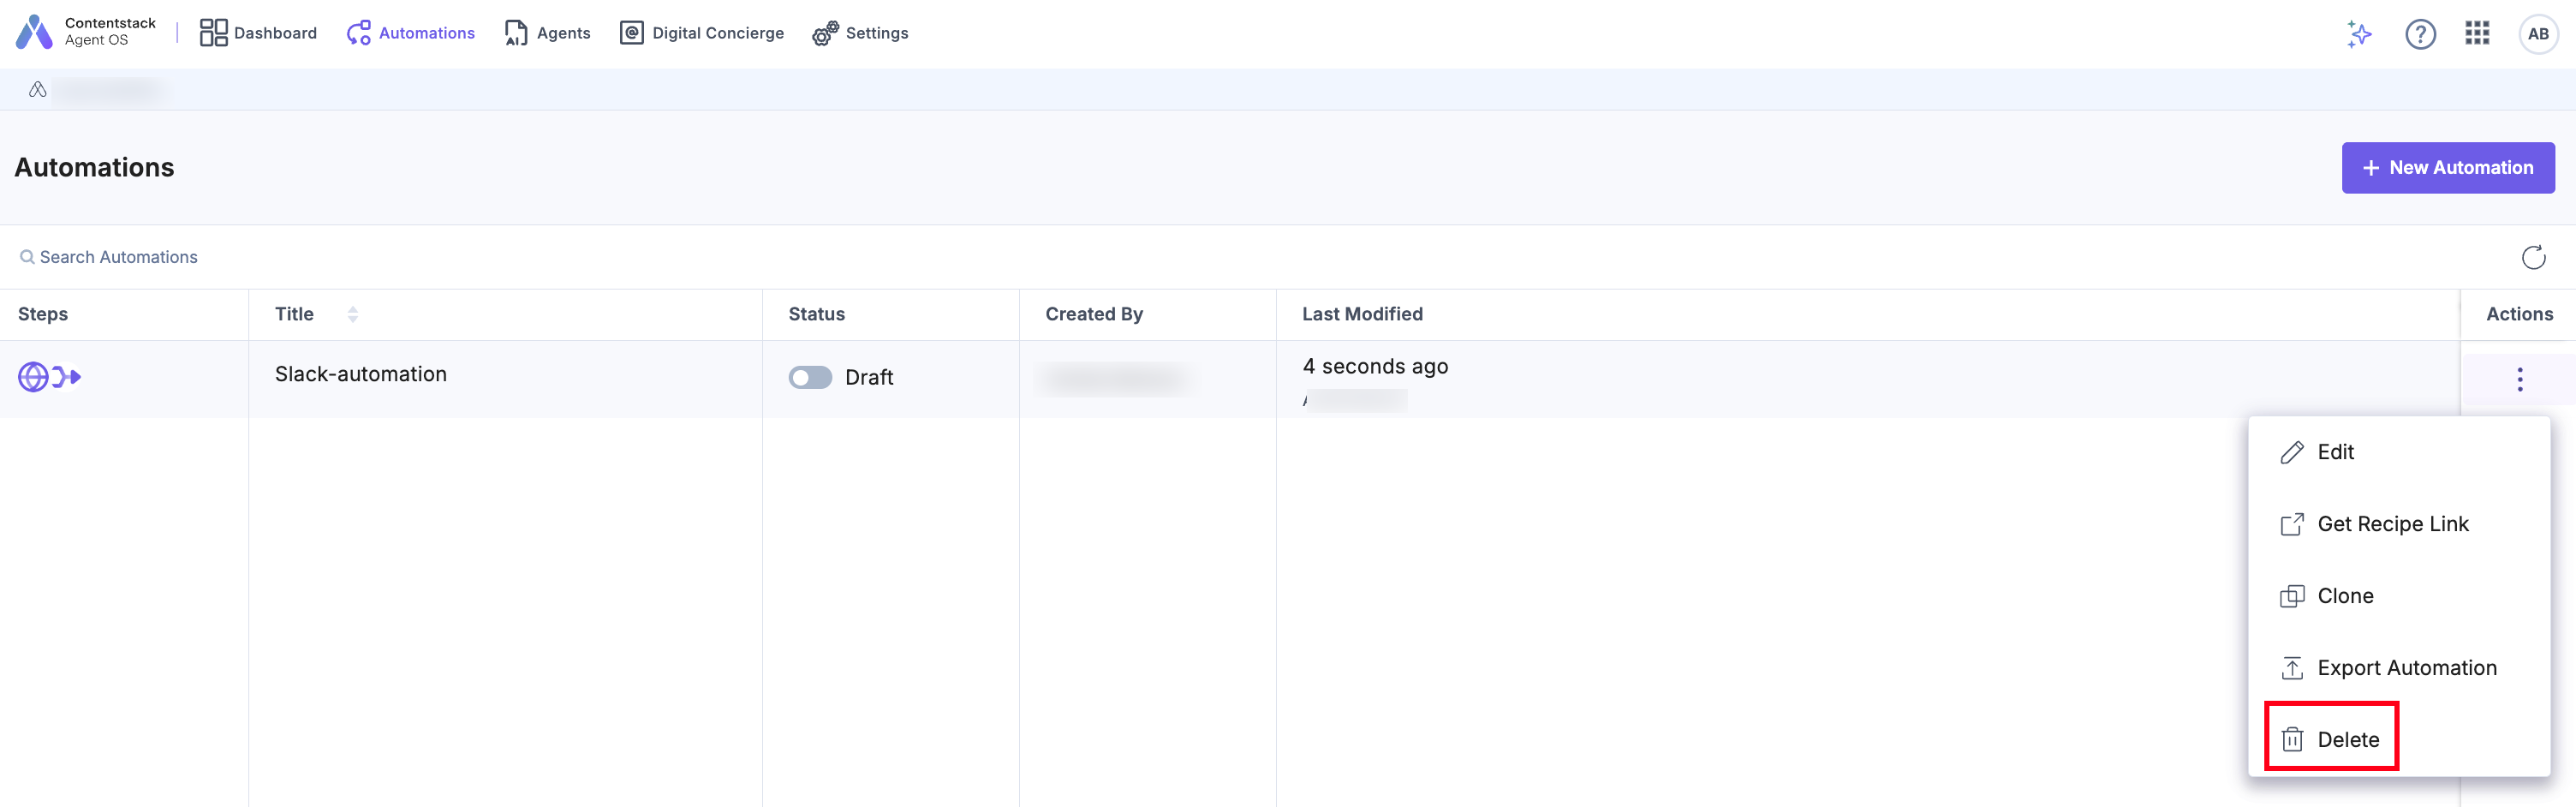
- Navigate to the Automations listing page, click the vertical ellipses, then click Delete.
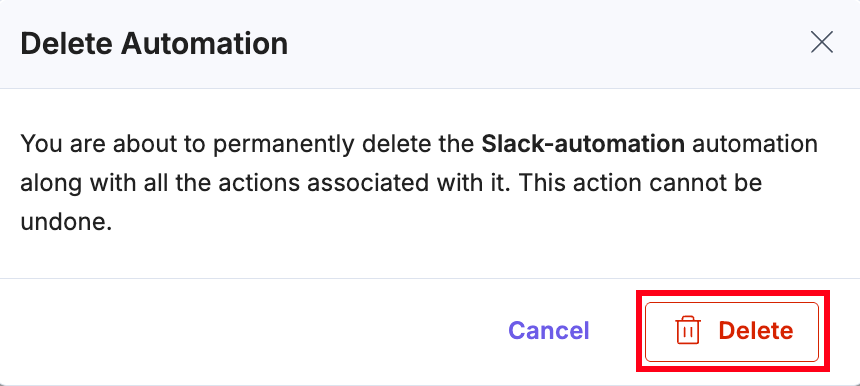
- In the Delete Automation modal, verify and click Delete again to delete the automation permanently.
Delete a Step
To delete a step, perform the steps given below:
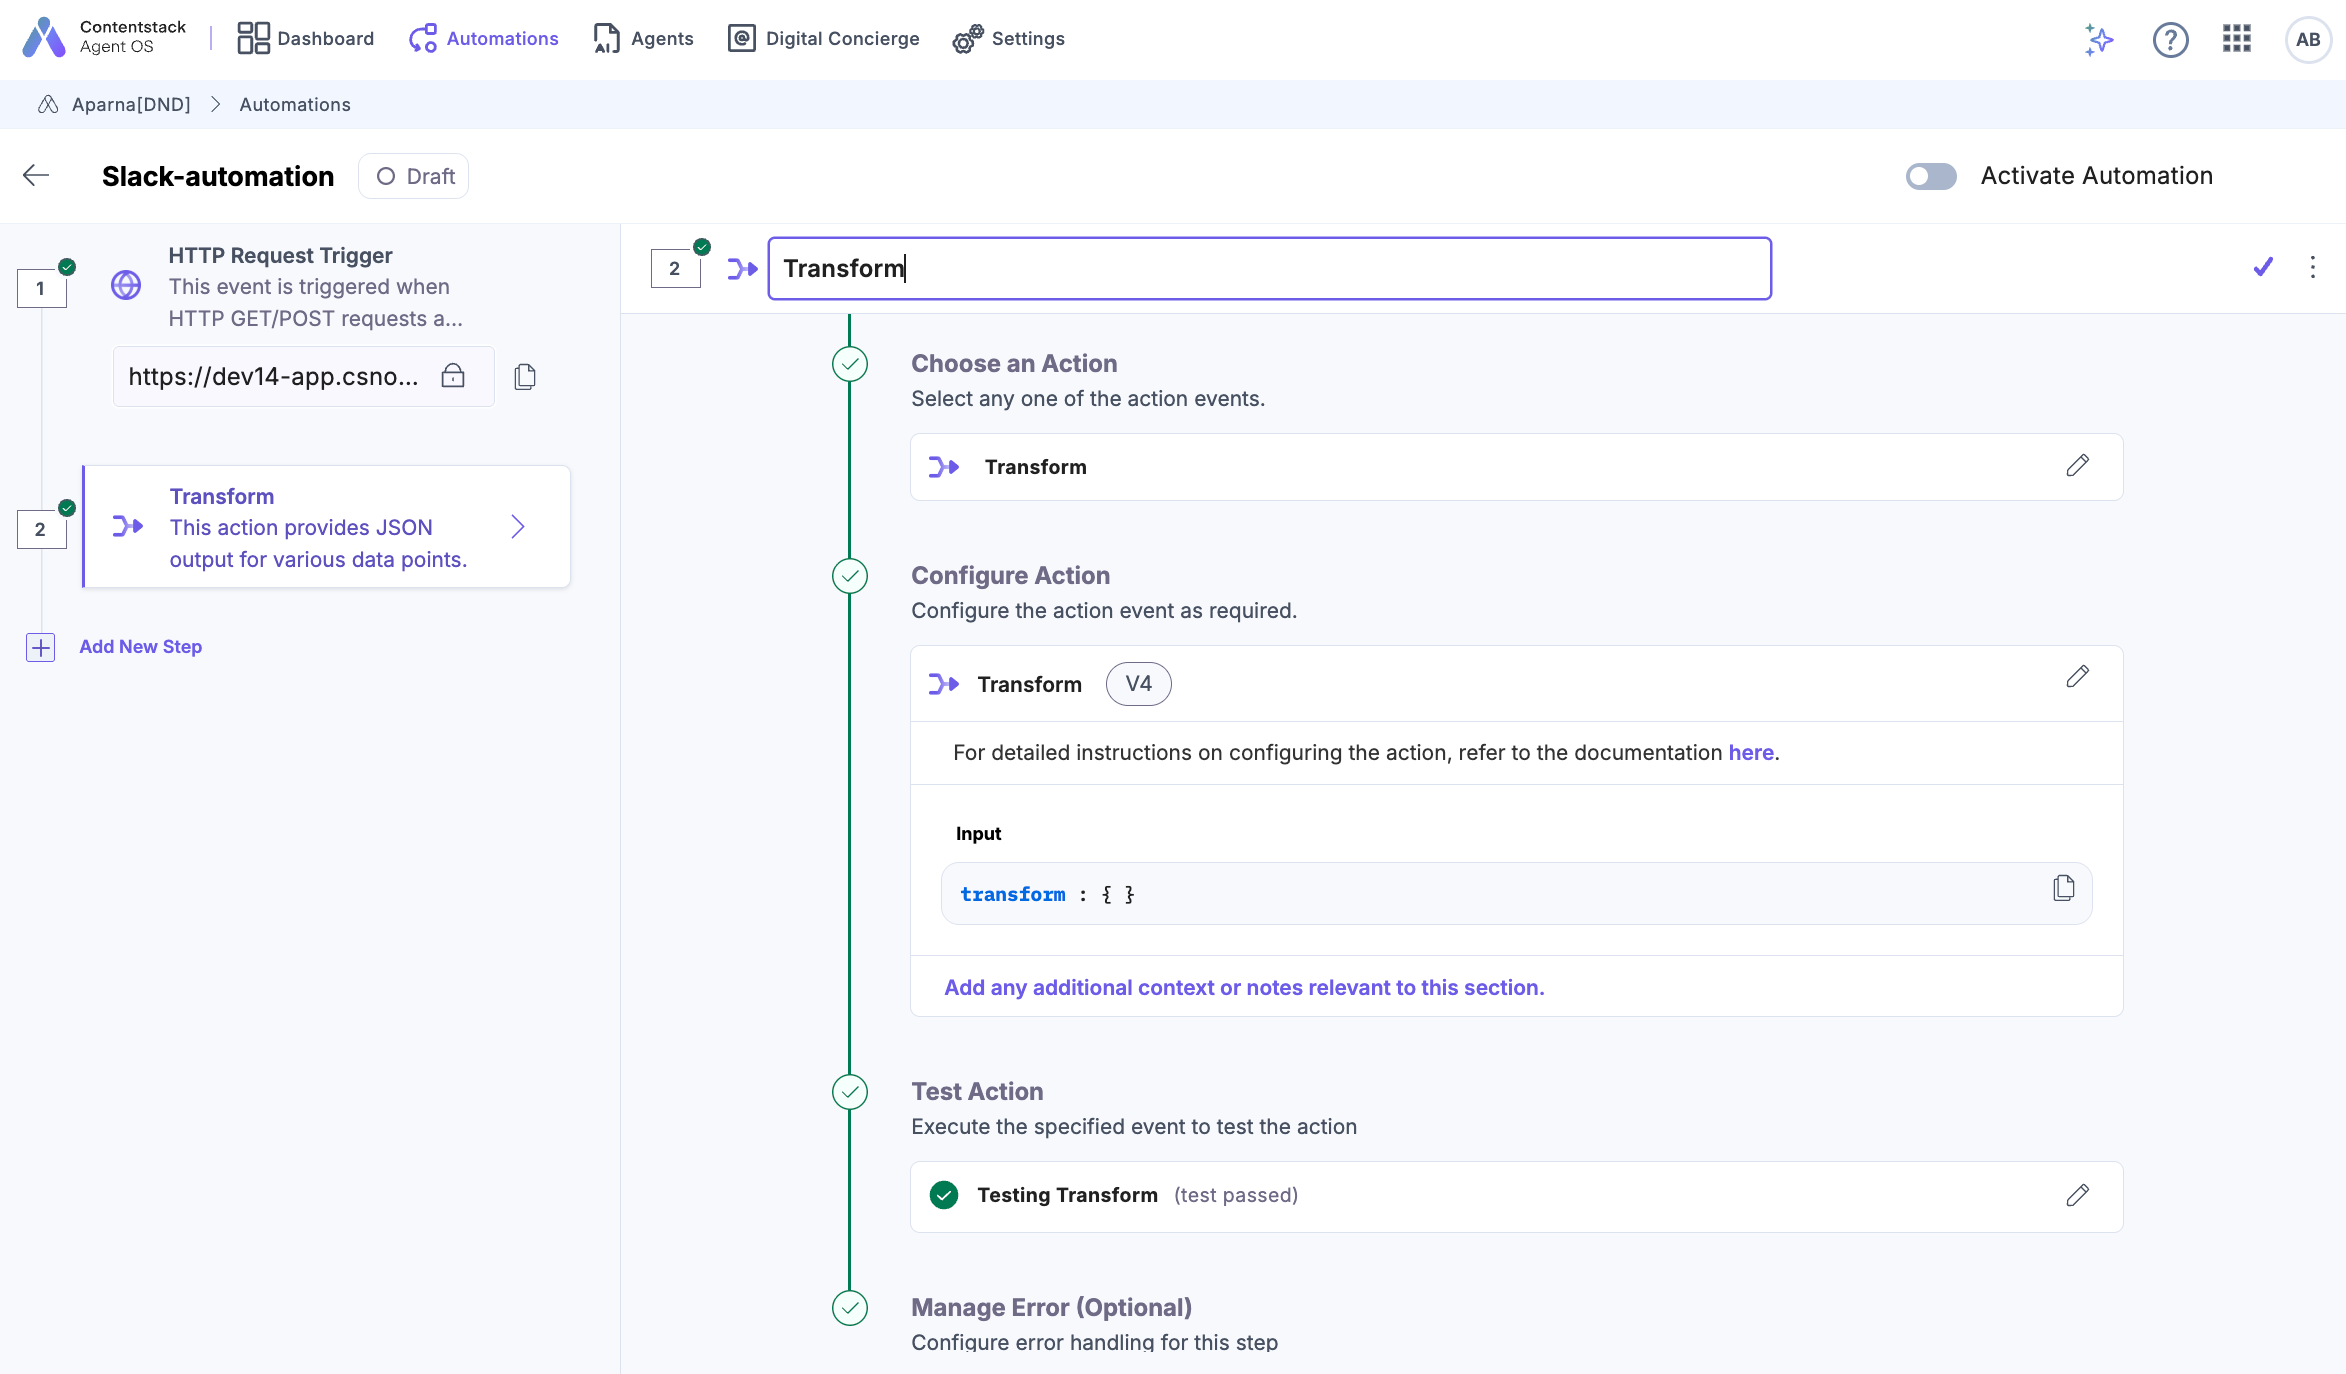
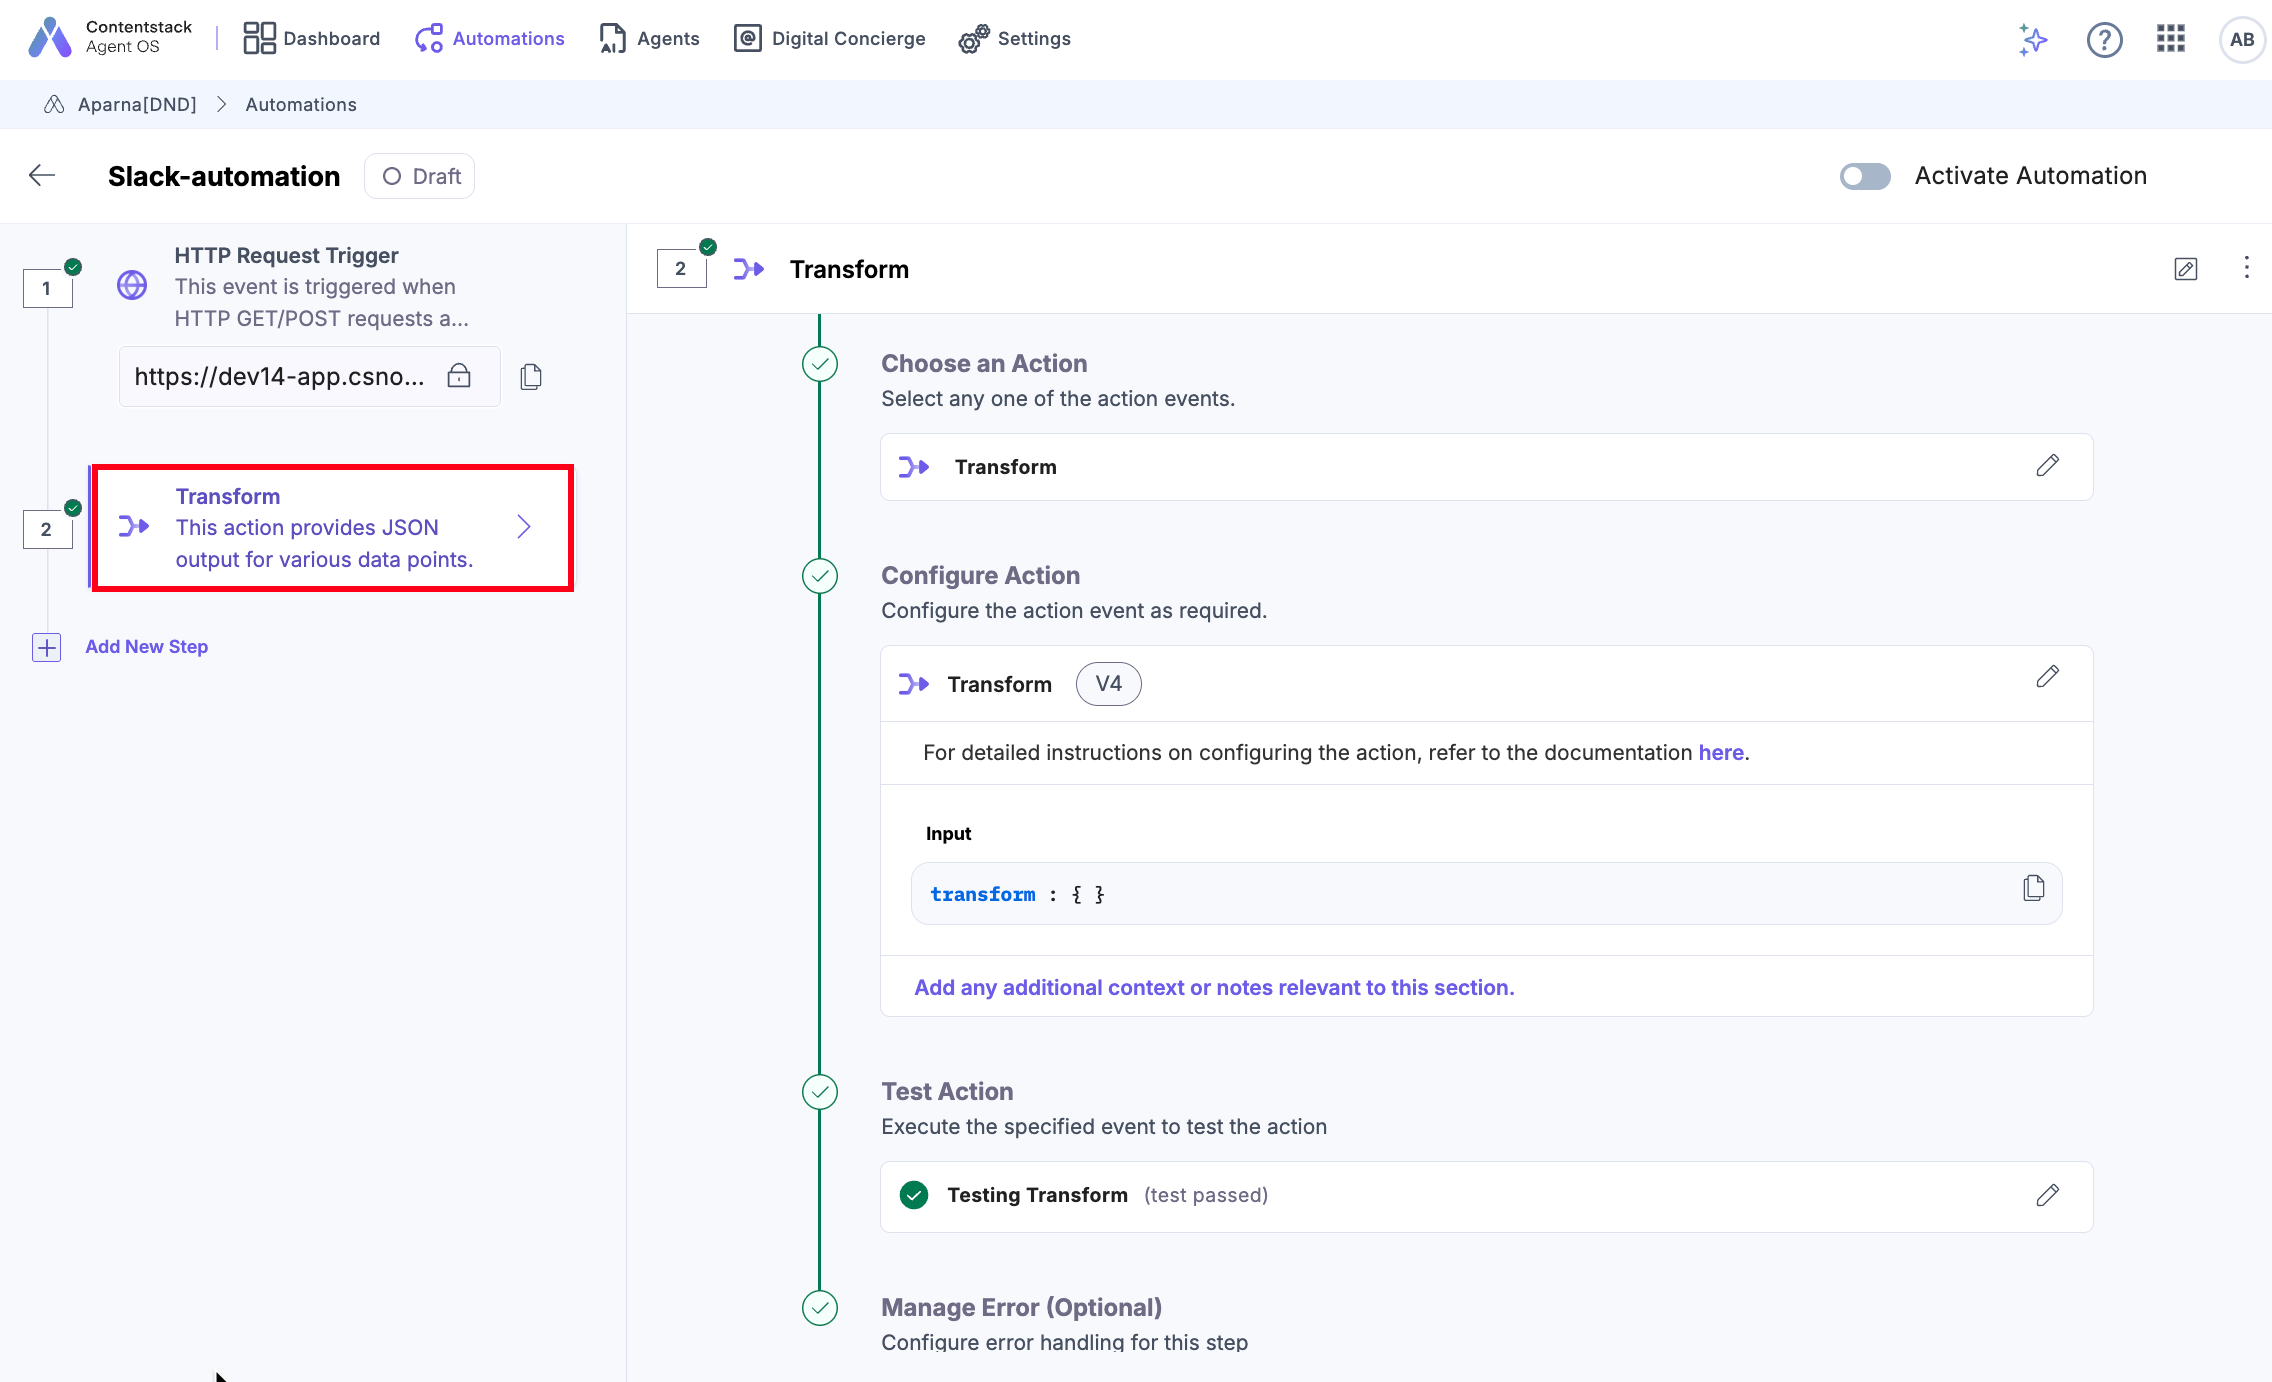
- Click the Configure Action Step tab (in our case, Transform).
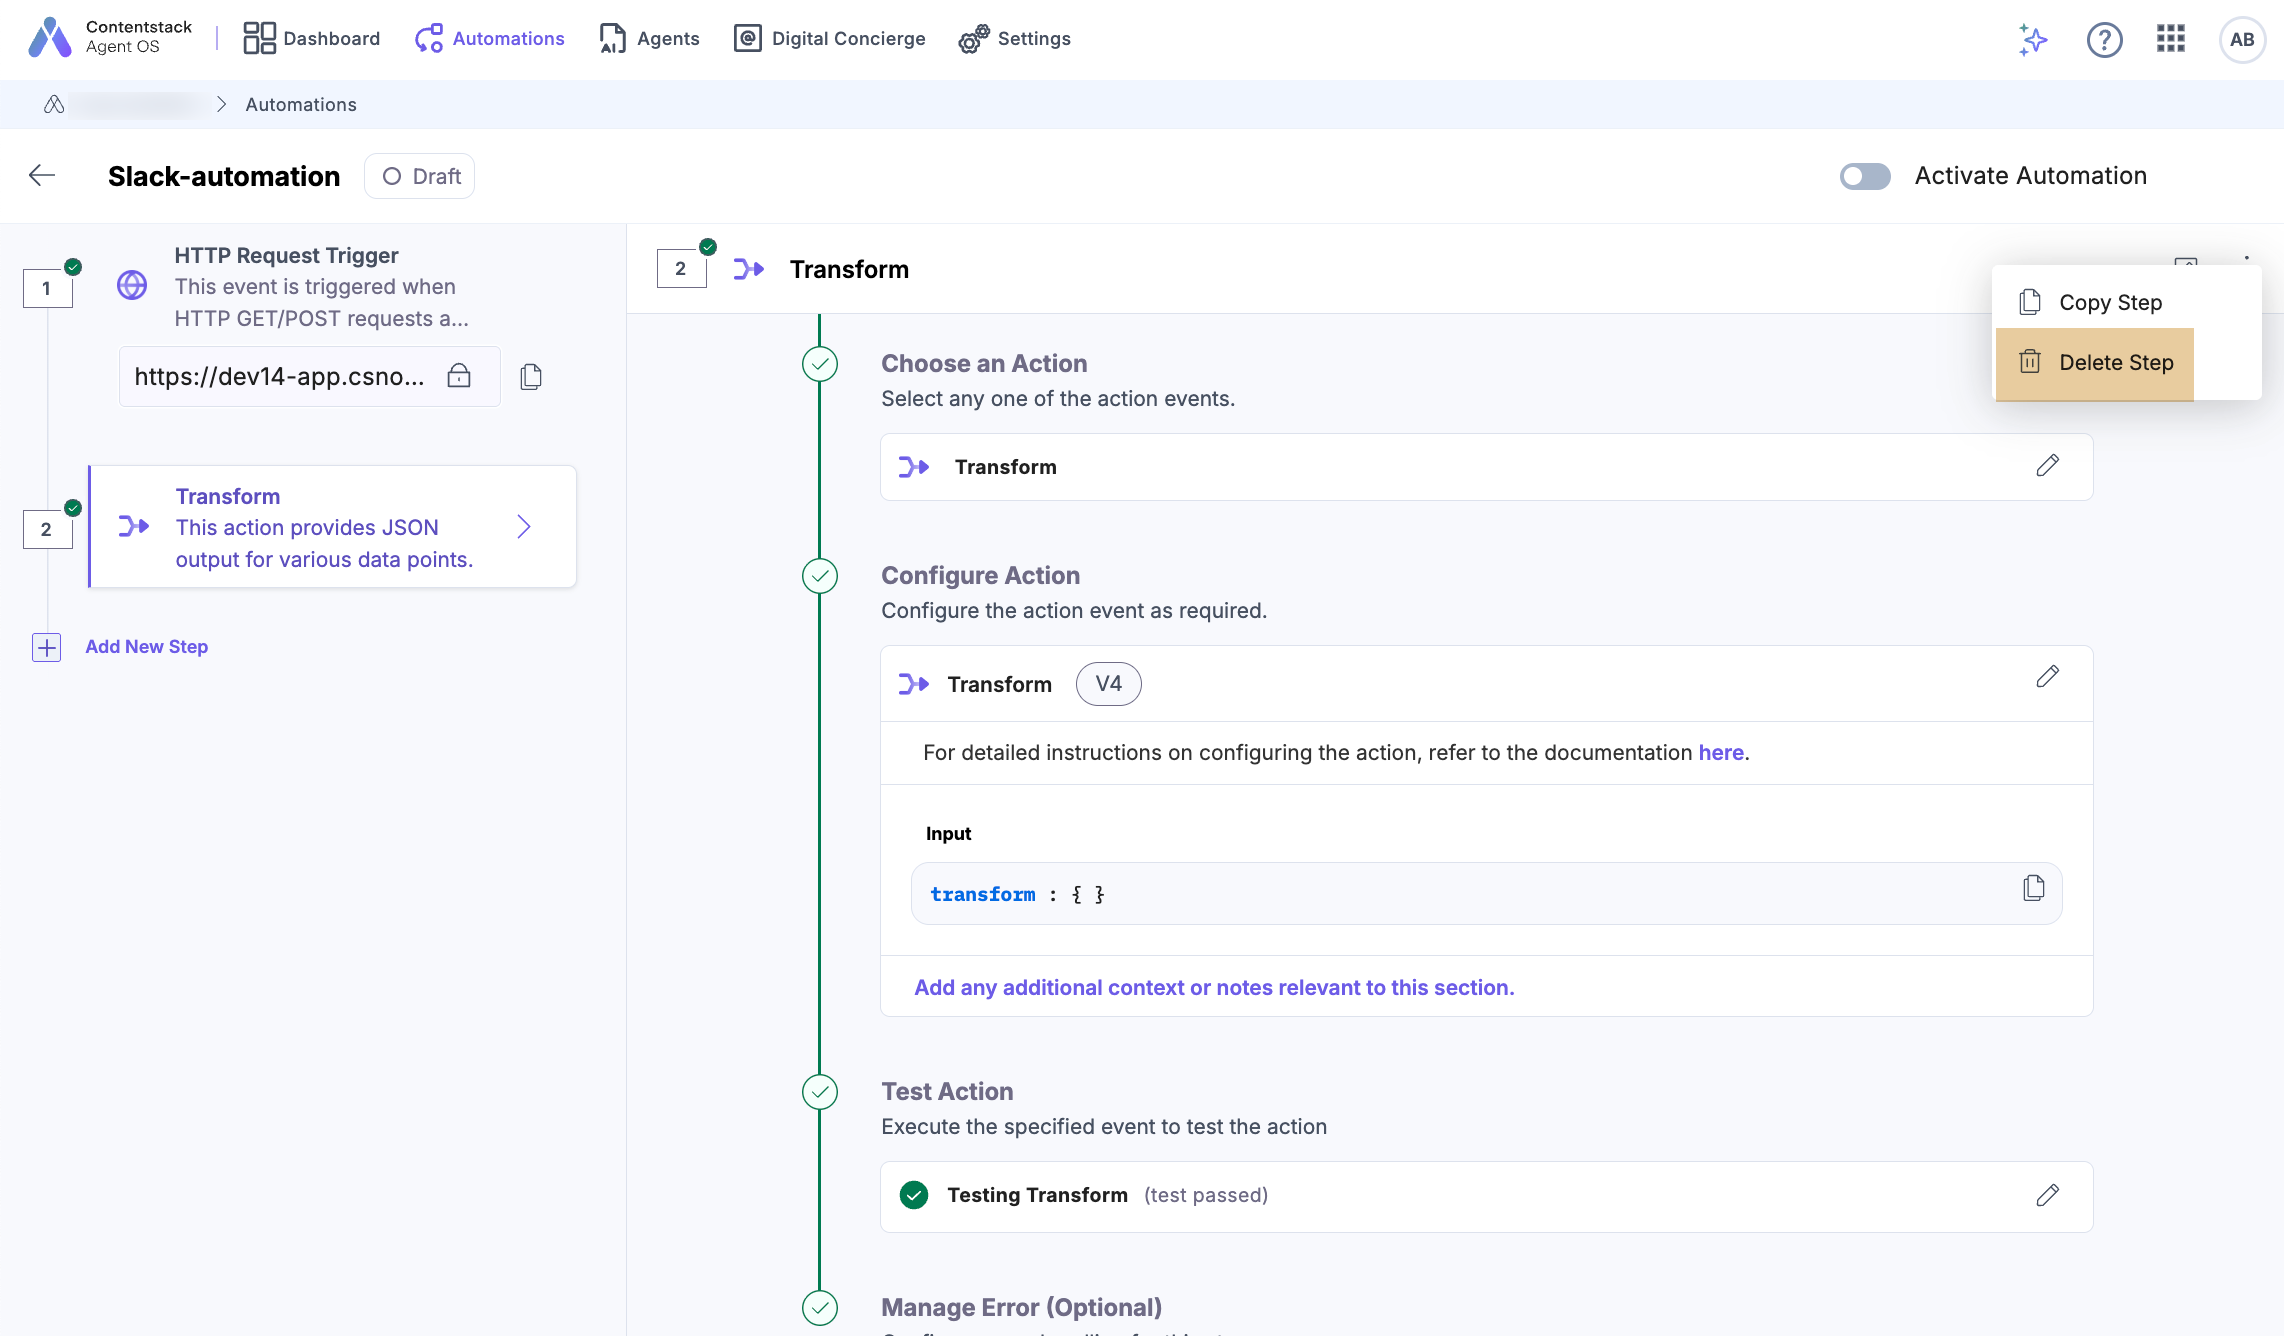
- Click the vertical ellipses, then click the Delete Step icon.
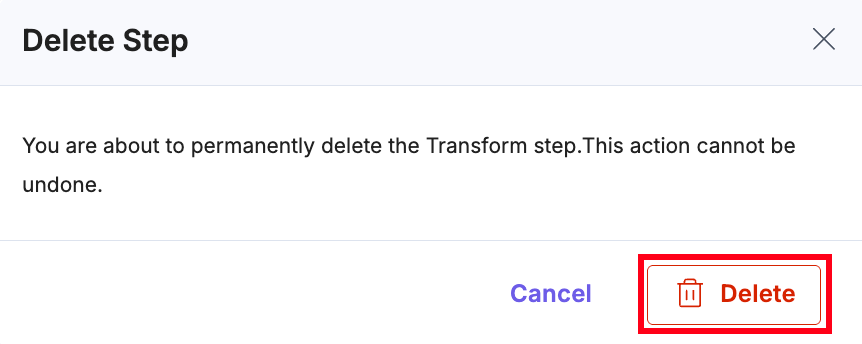
- Confirm your action by clicking the Delete button.
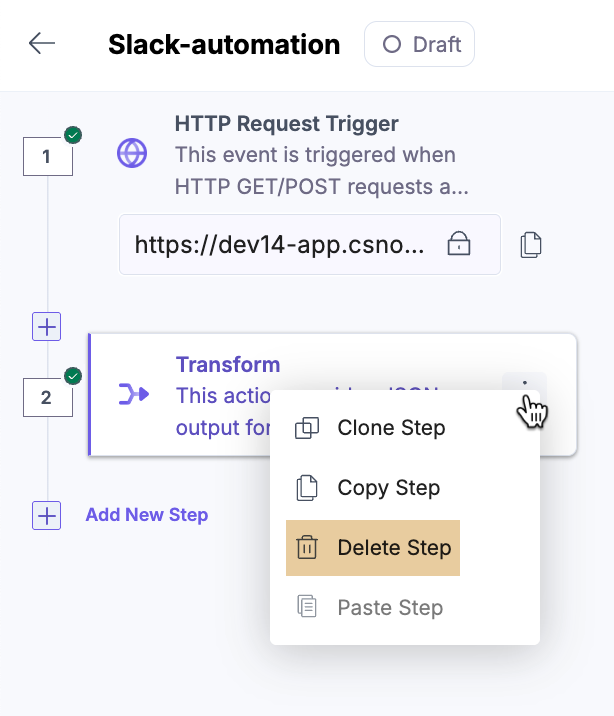
- You can also delete the step from the configured action as shown below:
Rename a Step
To rename a step, perform the steps given below:
- Click the action tab (in our case, Transform).
- Click the edit icon visible on the action header to rename the step.
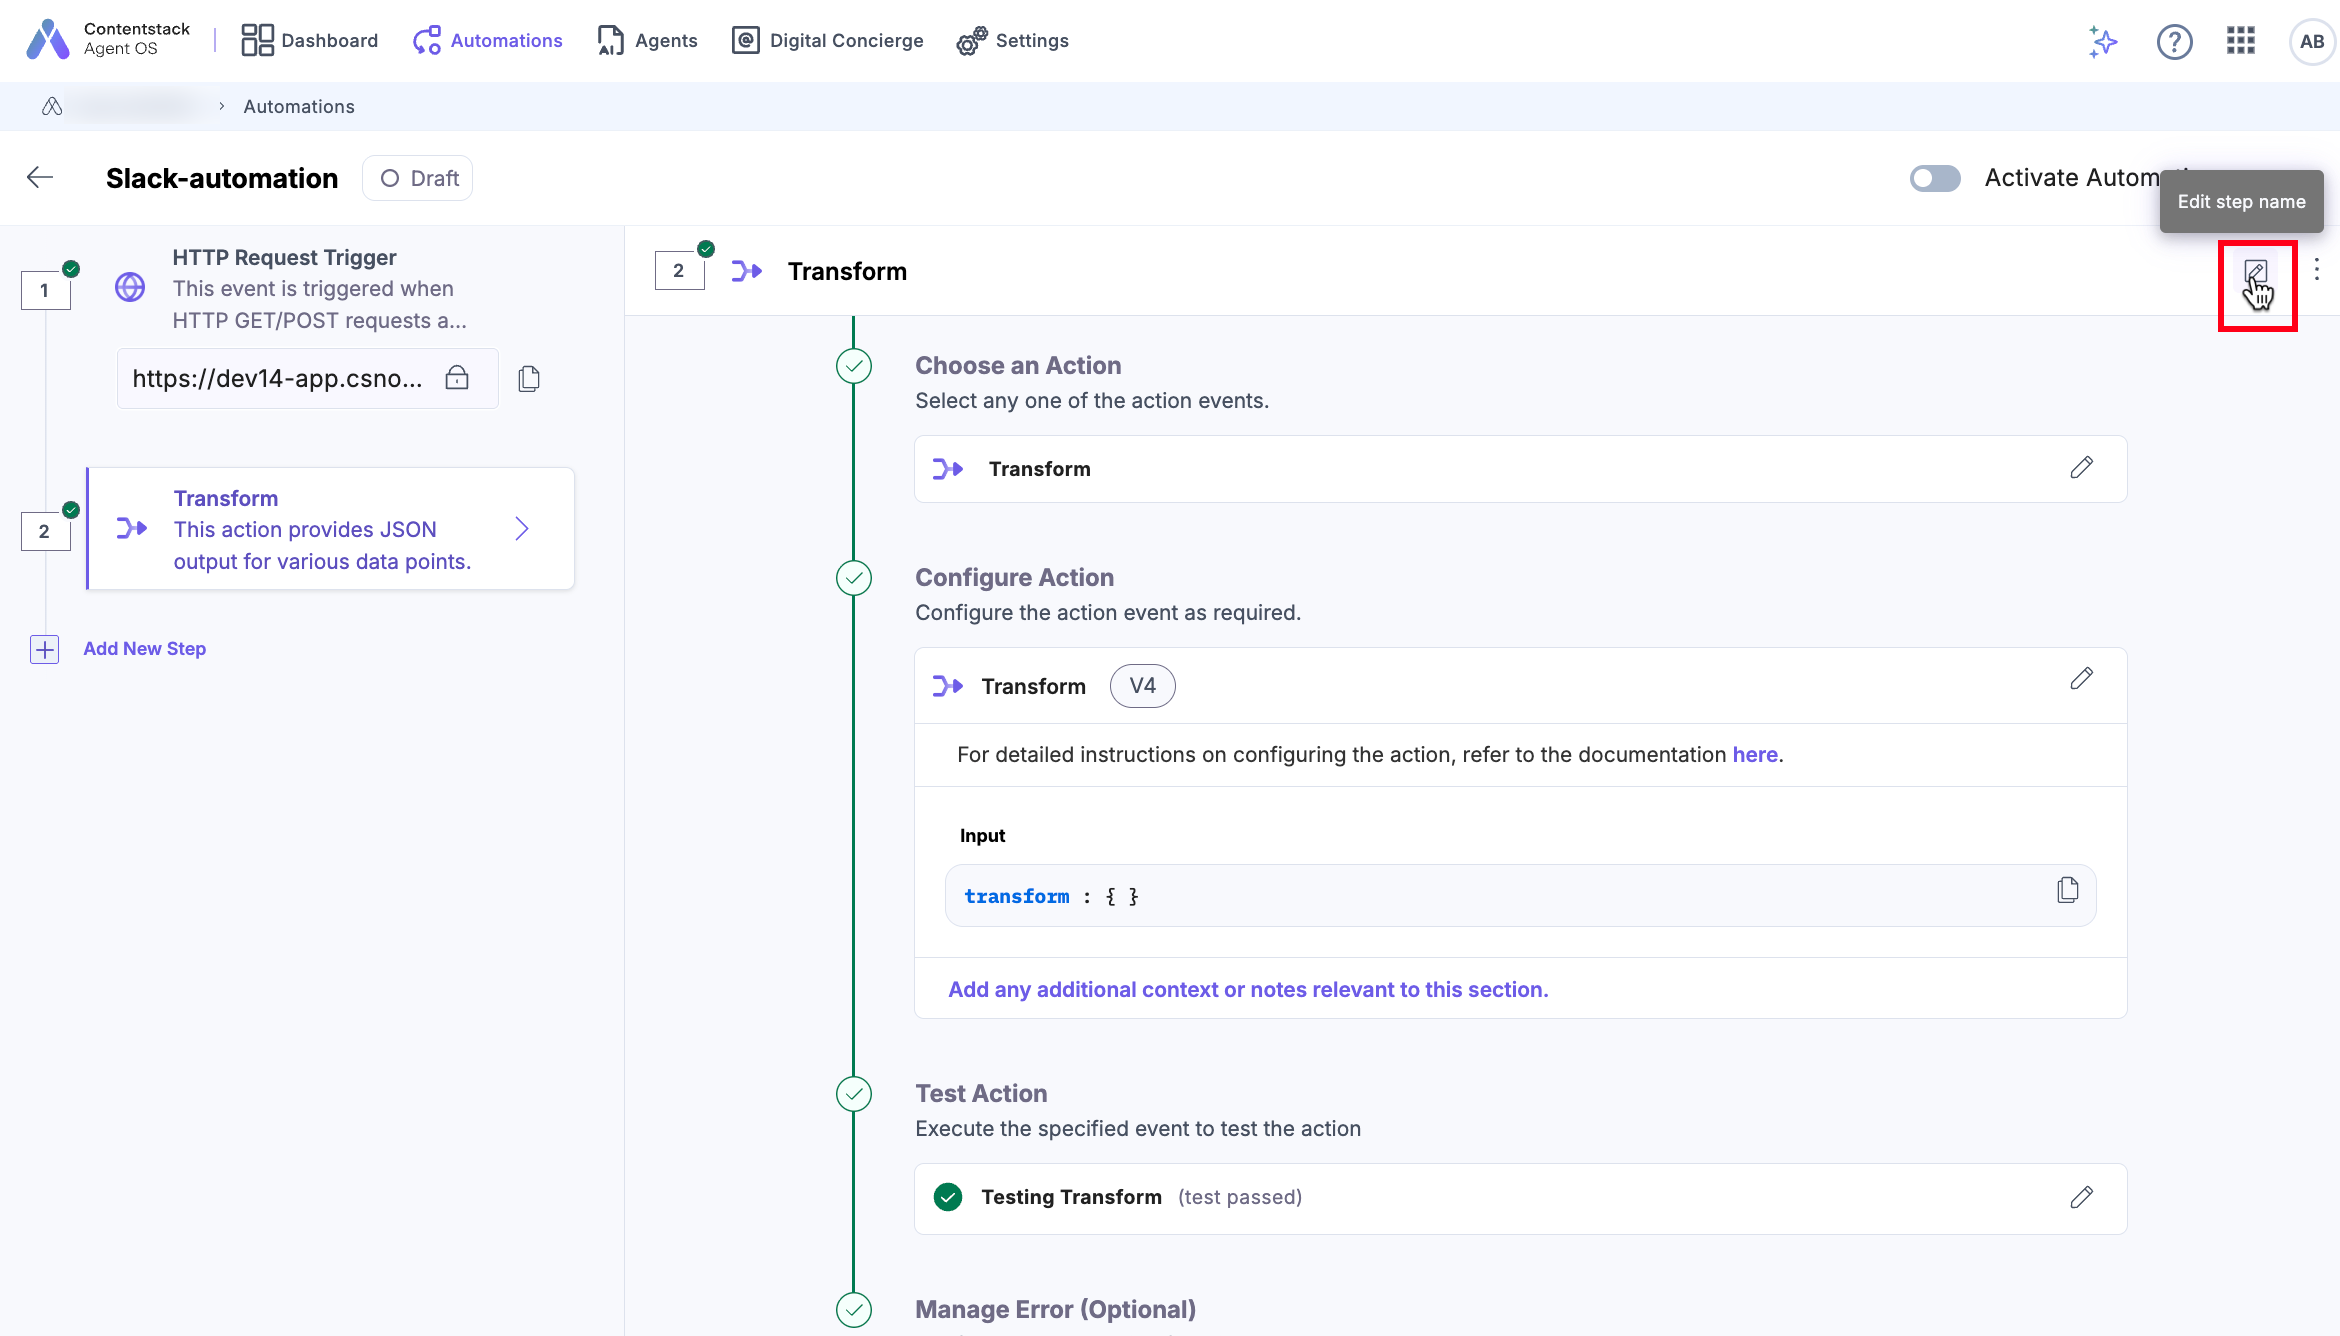
- The Transform field becomes editable. You can update the name of the action as required and click the “✔” check mark.