

Constructor
The Constructor connector in Contentstack's Automate enables e-commerce platforms to enhance their product search capabilities. This action connector allows you to store product details of your e-commerce website in an organized manner for faster search results. Additionally, it allows you to delete product details when needed, ensuring efficient data management.
Prerequisites
To use the Constructor connector, you first need to connect your Constructor account with Automate using the following steps:
- Log in to your Contentstack account and click the Automate icon from the left navigation panel.
- Select your project and then the automation.
- Click Configure Action Step from the left navigation panel and then Action Step to configure third-party services.
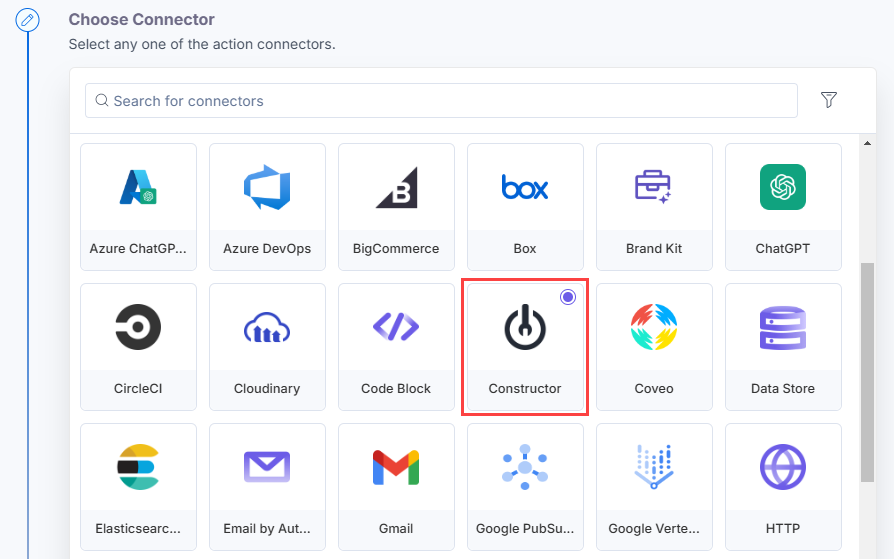
- Within the Choose Connector, click the Constructor connector.
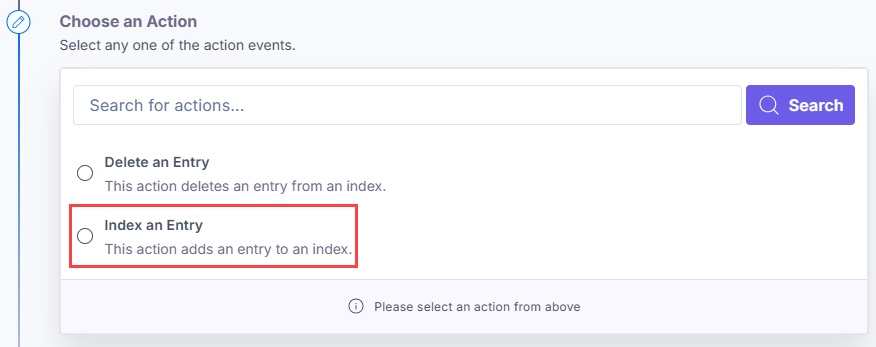
- Under Choose an Action, select any one action from the list. Here, we are selecting the Index an Entry action.
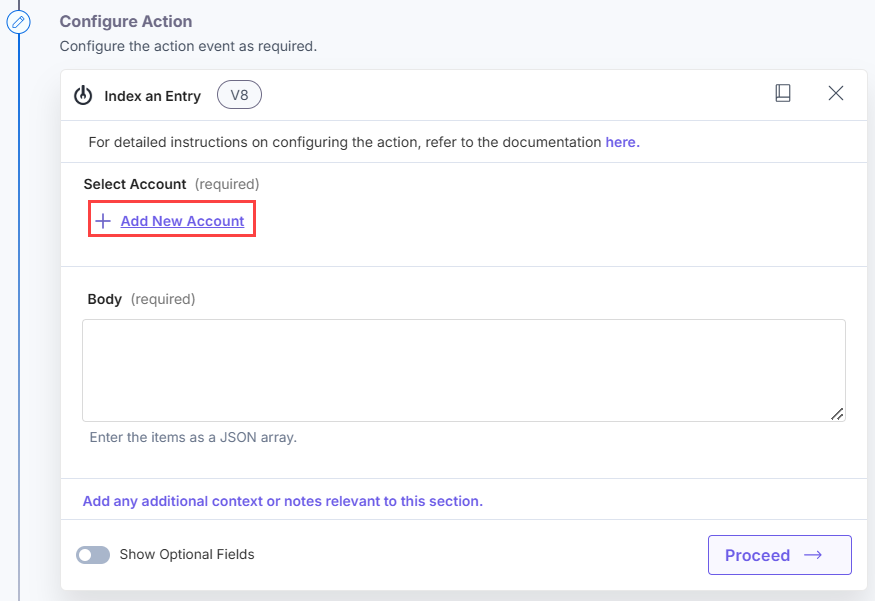
- In the Configure Action section, click + Add New Account to add your Constructor account.
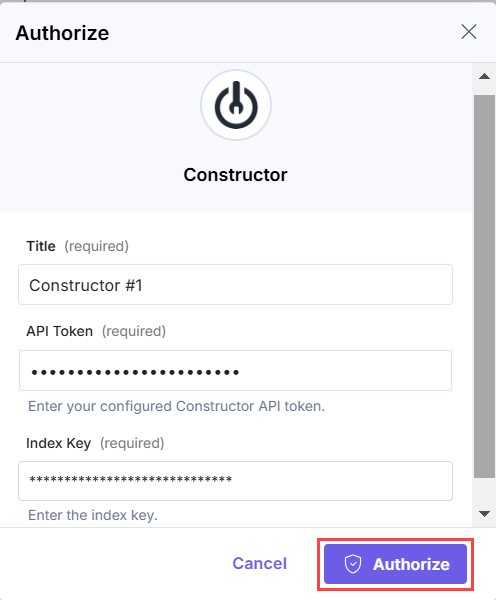
- In the Authorize modal, enter the API Token and Key.
To generate the API Token and Key, log in to the Constructor dashboard and perform the following steps:
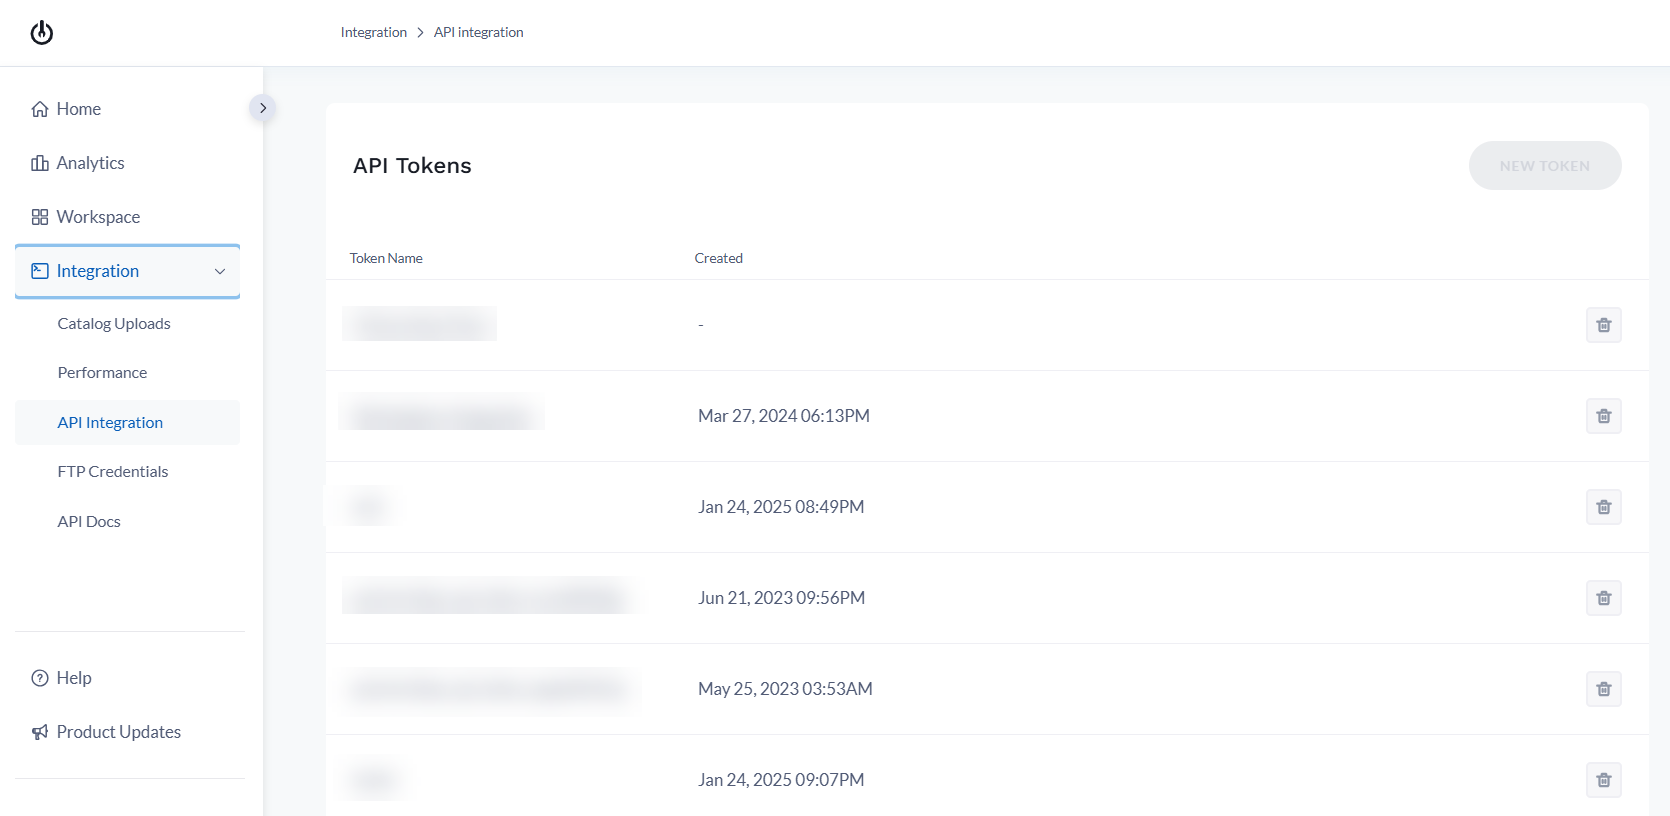
- From the left navigation, click the Integration tab.
- Under the API Integration section, click New Token.
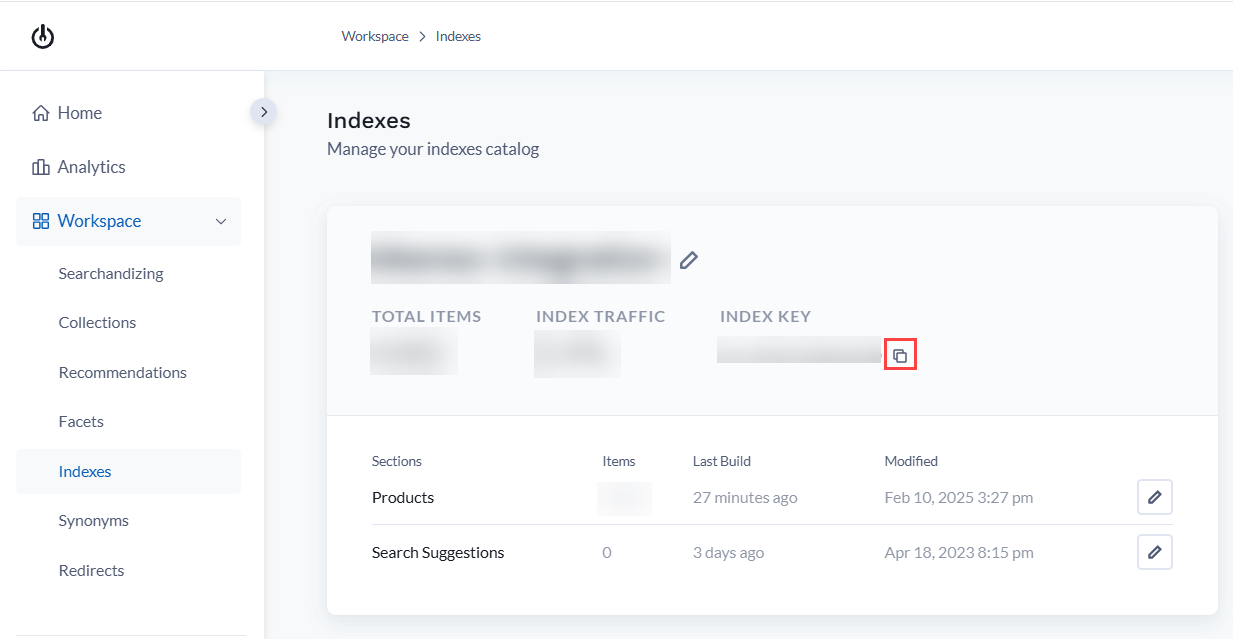
- Click the Workspace tab in the left navigation.
- Under the Indexes section, copy the INDEX KEY of the index to which you want to add or delete the data.
Note: Refer to the Authentication document for more details.
- Click the Authorize button.
This sets up your Constructor account for the Constructor connector.
Set up the Constructor Connector
Perform the following steps to set up the Constructor connector:
- Click Configure Action Step from the left navigation panel.
- Click Action Step to configure third-party services.
- Within the Configure Action Step, click the Constructor connector.
Note: You can sort and search the connector(s) based on the filter.
- Under Choose an Action, you will see the actions: Index an Entry and Delete an Entry.

Once done, you can start setting up your Google Vertex connector.
Index an Entry
The Index an Entry action in the Constructor connector allows you to add product details in your e-commerce website in an organized manner. This action enhances the overall search experience, making it easier for customers to find relevant products quickly.
- Under Choose an Action tab, select the Index an Entry action.
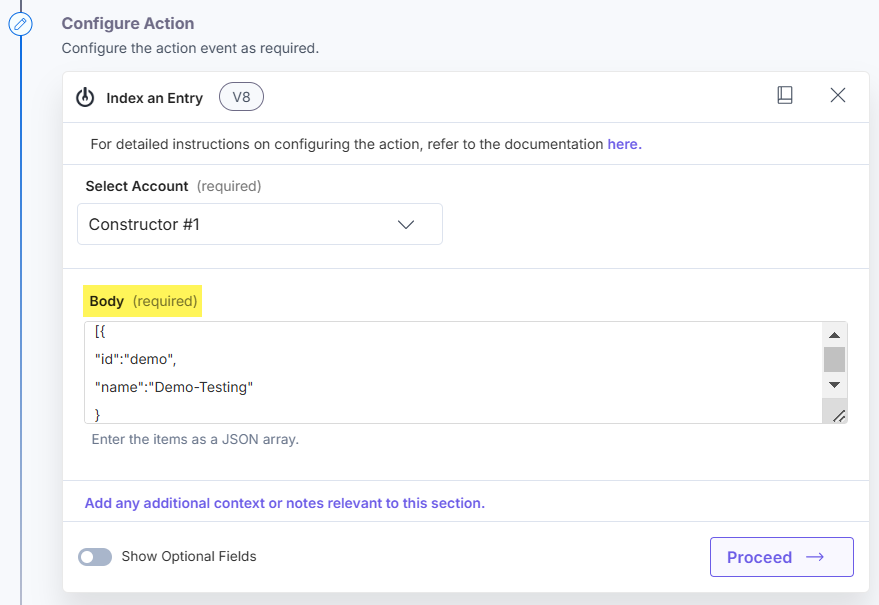
- On the Index an Entry Configure Action page, enter the details given below:
- Click + Add New Account button to connect your Constructor account as shown in the Prerequisites step.
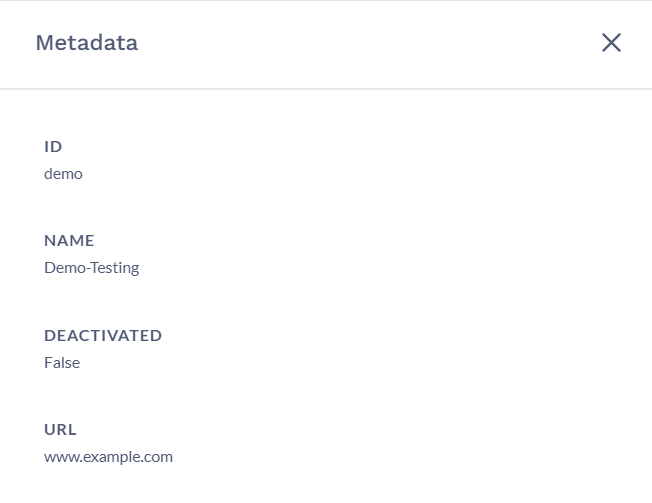
- In the Body section, add the product details such as id, name, data, and URL.
Note:You must define the mandatory parameters - id and name, in your JSON array. Refer to the Items document for more details on the pre-defined parameters.
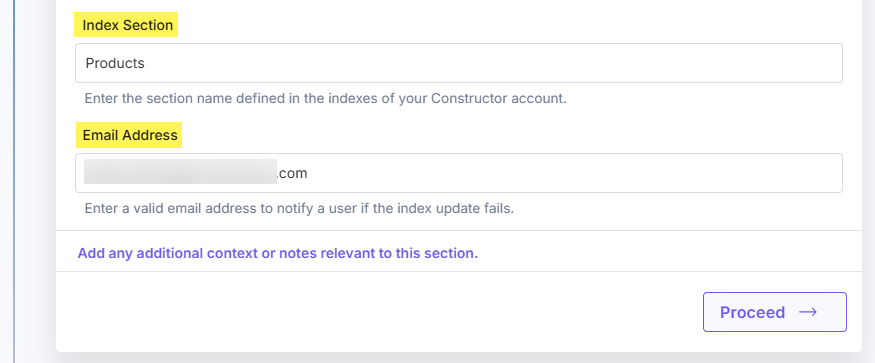
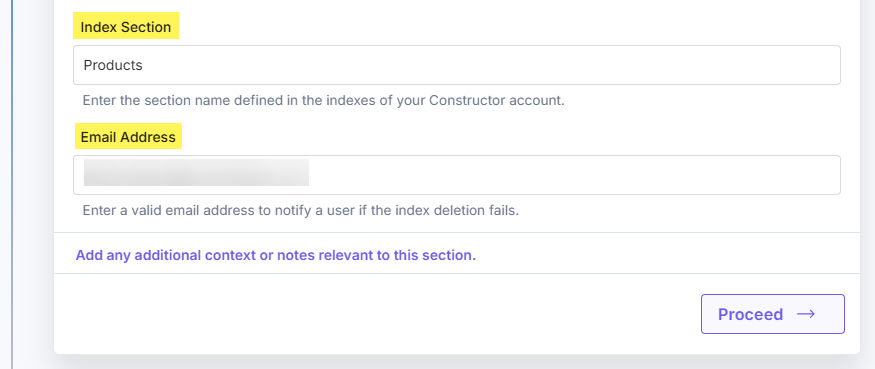
- Optionally, enable the Show Optional Fields toggle button to display the Index Section, and the Email Address fields.
In the Index Section field, select the specific section within an index where you want to add the entry item. Additionally, you can specify an Email Address to notify a user in case the index update fails.
Note: You can specify any index section and add the data.
- Click the Proceed button.
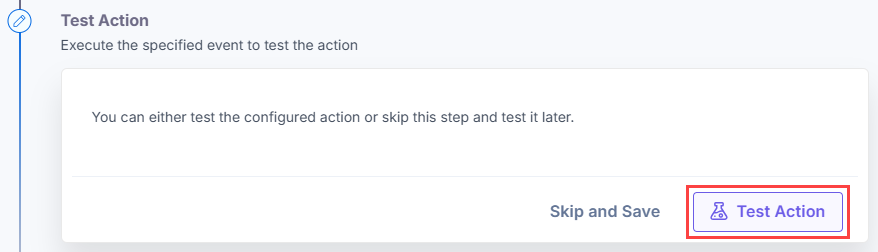
- Click the Test Action button to test the configured action.
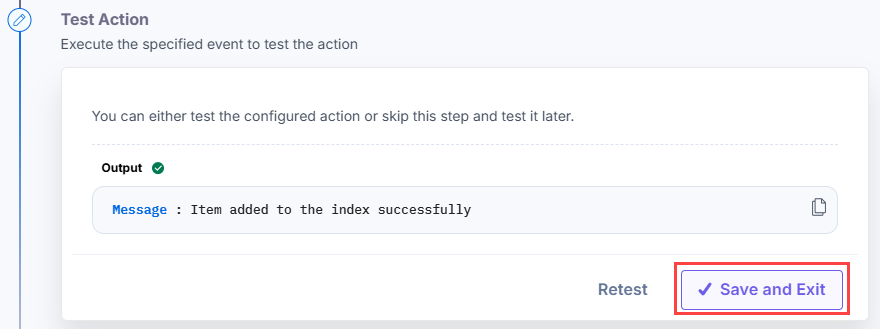
- Click the Save and Exit button.
- To view the added product details, navigate to the Constructor dashboard and click the Products section.
Delete an Entry
The Delete an Entry action in the Constructor connector allows you to remove product details from your e-commerce website's index. This ensures that outdated or irrelevant product information is no longer accessible in search results, keeping your product catalog up to date.
By deleting an entry, you maintain accurate and efficient data management for an optimized search experience.
- Under Choose an Action tab, select the Delete an Entry action.
- On the Delete an Entry Configure Action page, enter the details given below:
- Click + Add New Account button to connect your Constructor account as shown in the Prerequisites step.
- In the Body section, add the product details such as id, name, data, and URL that you want to delete from the Constructor index.
Note: You must define the mandatory parameter - id in your JSON array. Refer to the Items document for more details on the pre-defined parameters.
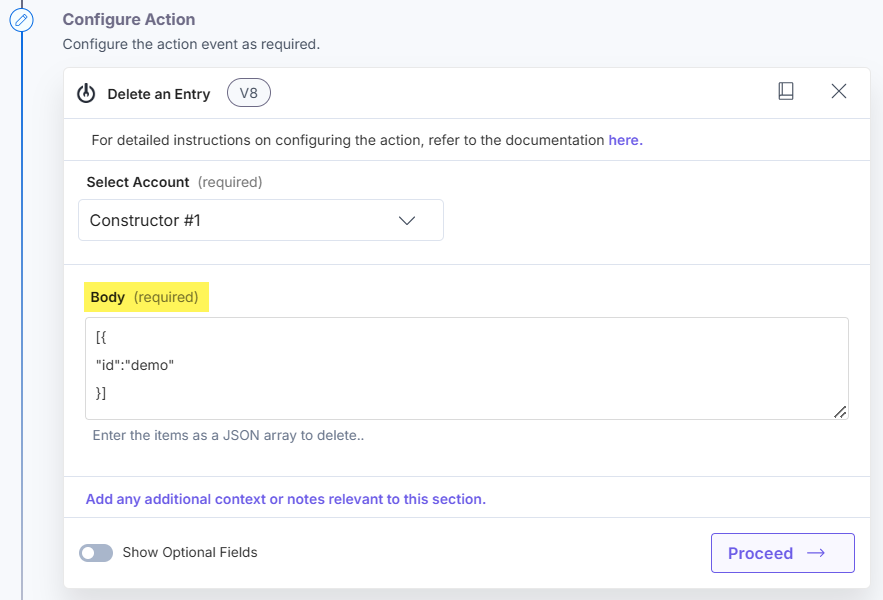
- Optionally, enable the Show Optional Fields toggle button to display the Index Section, and the Email Address fields.
In the Index Section field, select the specific section within an index from which you want to delete the entry item. Additionally, you can specify an Email Address to notify a user if the index update fails.
- Click the Proceed button.
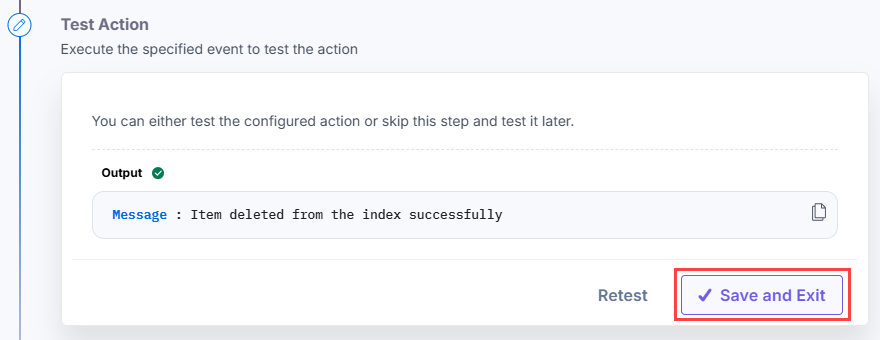
- Click the Test Action button to test the configured action.
- Click the Save and Exit button.
- To view the deleted product details, navigate to the Constructor dashboard and click the Products section.
This sets up the Constructor connector.
More articles in "Search & Discovery"
