

Cancel Scheduled Publishing/Unpublishing for Entries
You can cancel a scheduled publish or unpublish action for an entry if you no longer want it to go live. You can also remove entries from a release that is scheduled for deployment.
Cancel Scheduling from the Publish Queue
You can cancel a scheduled action directly from the Publish Queue.
- In your stack, click the Publish Queue icon. You can also use the shortcut key Alt + P (Windows) or Option + P (Mac).
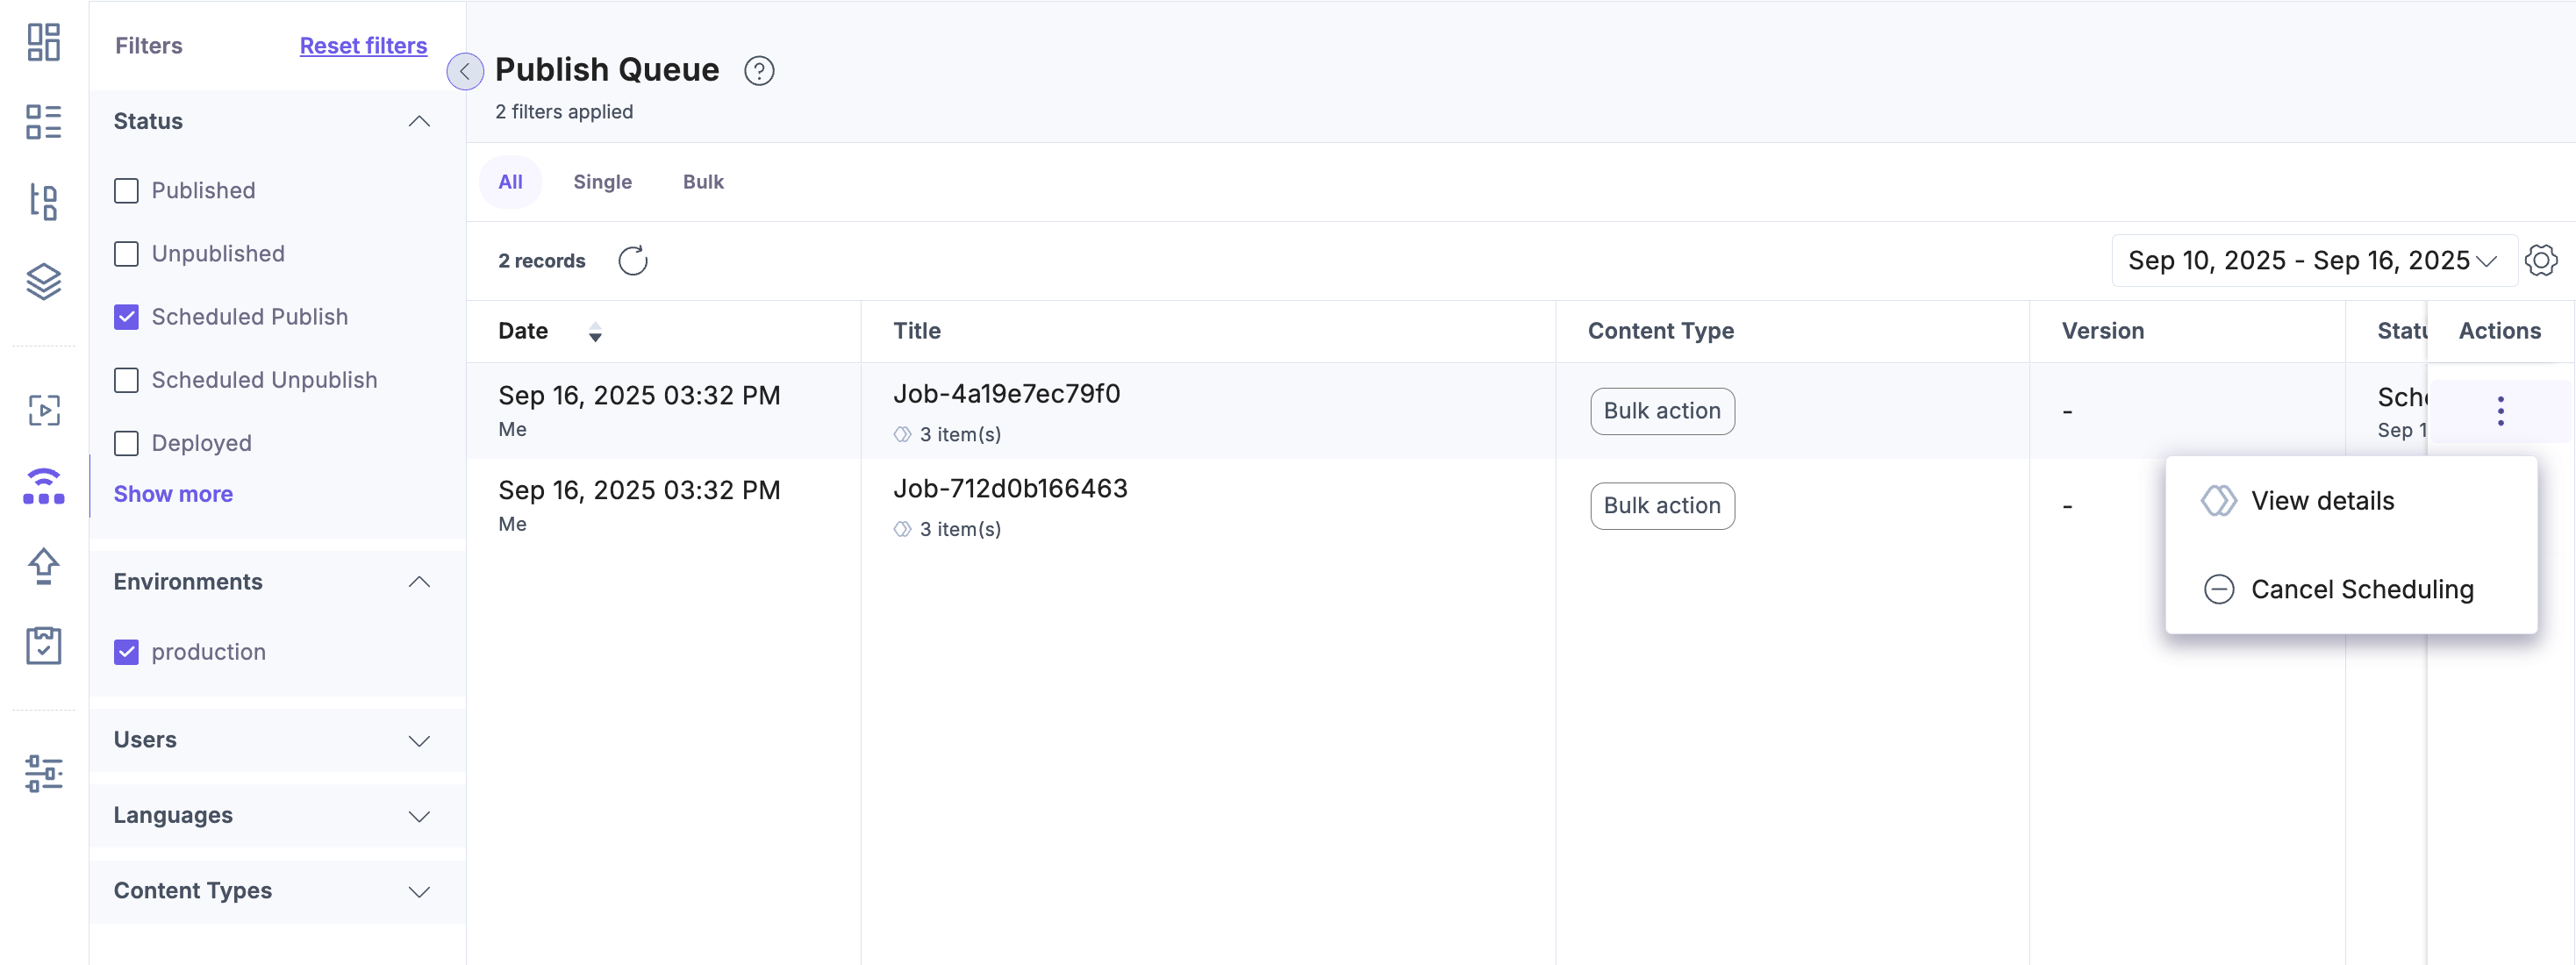
- The list of historical and current publishing or unpublishing activities appears.
- Under Filters, apply the Scheduled Publish/Unpublish status filter to refine results.
- From the filtered list, locate the entry whose scheduled publishing or unpublishing you want to cancel.
- Click the vertical ellipsis in the Actions column, select Cancel Scheduling, and confirm the action in the modal that appears.
Note: You must cancel each scheduled item individually in the publish queue.
Additional Resource: Refer to the Cancel Scheduled Action API for canceling schedules via the content management API.
Cancel Scheduling from the Entry Editor
You can also cancel a scheduled action directly from the Entry Editor.
- In the Entry Status Panel, hover over the scheduled publish/unpublish pill.
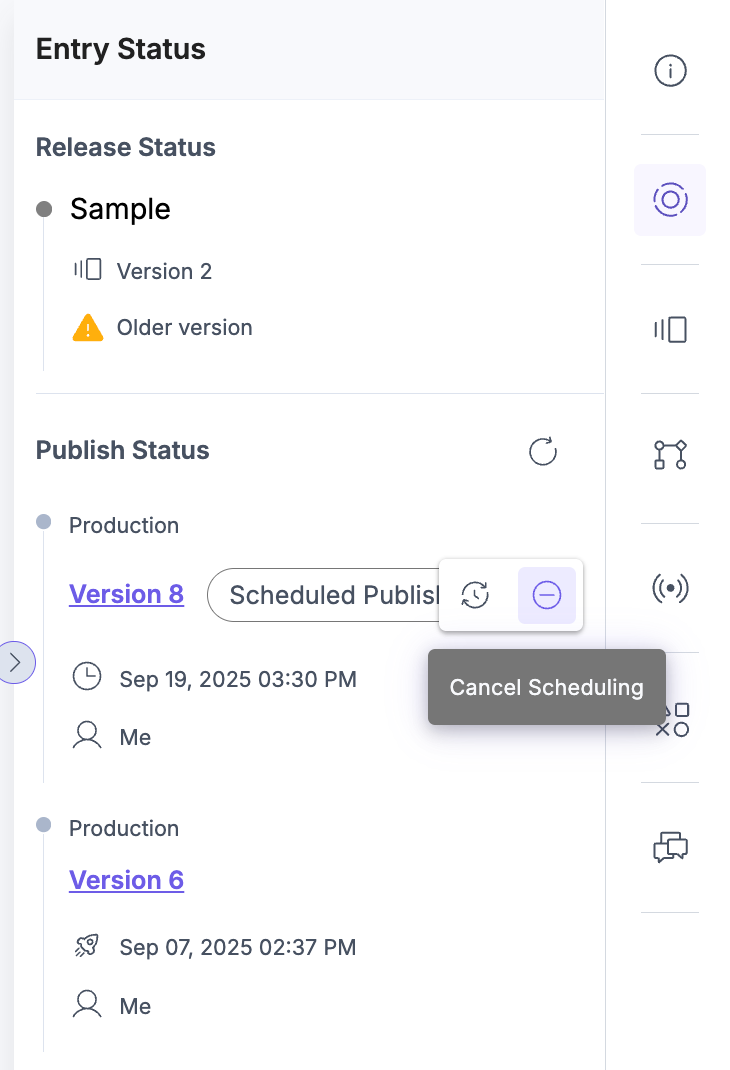
- Click Cancel schedule.
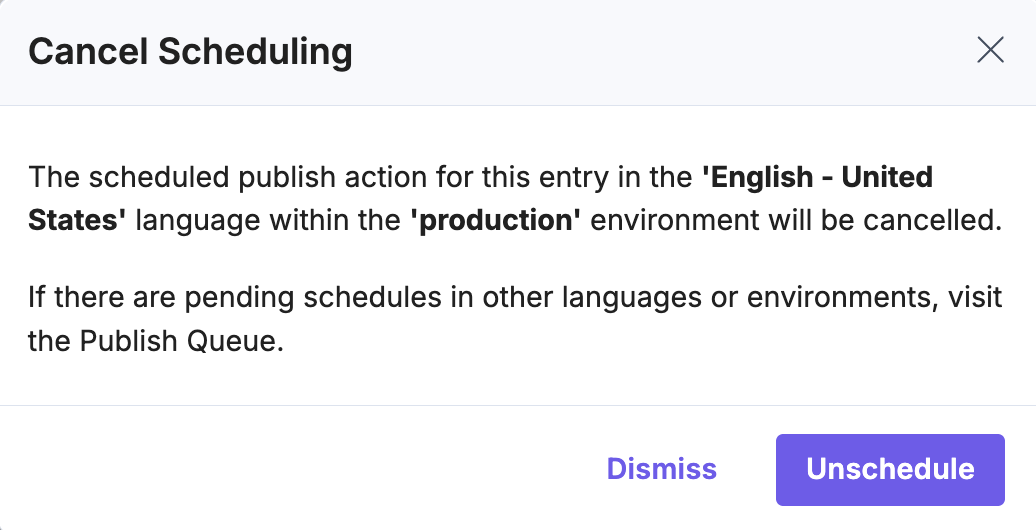
- In the Cancel Scheduling modal, review the confirmation message.
- Click Unschedule to confirm.
A processing message appears, and you can track the change in the Publish Queue.
Cancel Scheduling Using the Content Management API
You can also cancel scheduled publish or unpublish actions using the Content Management API.
- Log in to Contentstack using the Authtoken, or use the stack’s Management Token to authorize your requests.
- Make an API request to retrieve scheduled publishing or unpublishing activities on or after a specific date:
GET https://api.contentstack.io/v3/publish-queue?query={"scheduled_at": {"$gte": "2025-09-07T12:00:00Z"}}Note: Pass the scheduled publish or unpublish date and time in ISO format (YYYY-MM-DDThh:mm:ss).
- From the response body, copy the publish_queue UIDs of the activities you want to remove.
- Make an API request to cancel each scheduled action using its UID:
DELETE https://api.contentstack.io/v3/publish-queue/{publish_queue_UID}/unschedule - To cancel multiple scheduled actions, write a script to fetch publish queue details and call the unschedule endpoint for each UID.
API Reference
To cancel scheduled actions via API, refer to the Cancel Scheduled Action API Request.
