

Add Entry/Asset to a Release
After creating a release, you can add entries or assets to prepare them for deployment across environments.
Additional Resource: To add multiple entries at once, refer to the bulk add to release documentation.
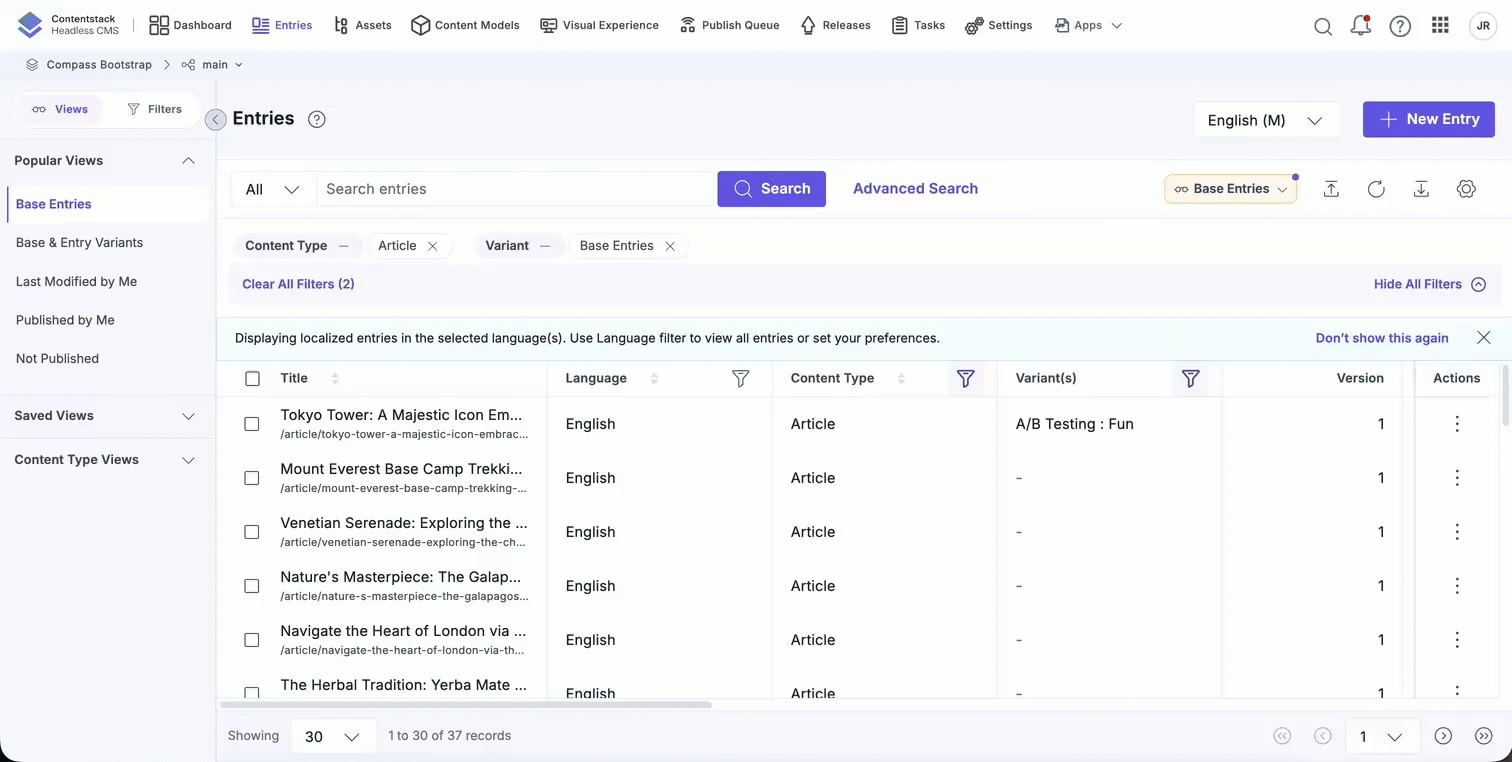
Add an Entry to a Release
To add an entry to a release, log in to your Contentstack account and perform the following steps:
- Go to your stack.
- Click the Entries icon and select the entry you want to add.
- Click the horizontal ellipsis at the bottom of the entry editor and select Add to Release.
- In the Add to Release modal:
- Select an existing release, or
- Click the + icon to create a new release.
Note: For older releases, you may receive a warning message indicating references may not be included, or only one level of nesting may be processed. To include all references, create a new release or clone an existing one.
- Select the language(s) for deployment.
- Choose the required action (Publish or Unpublish).
- Click Add.
- If the entry contains references, review the Add Reference(s) to Release modal, which lists linked entries and assets up to the configured nested reference publishing (NRP) depth.Note:
- If the selected entry contains taxonomy terms, associated taxonomies and localized taxonomy terms are automatically added to the release when references are included.
- Nested references are included up to a default depth of 5 levels.
- This limit may vary based on your organization’s plan.
- This modal appears only when adding a single entry with references.
- Choose one of the following:
- Add With References to include all linked items
- Add Without References to add only the selected entry
Note: You can view release action logs in the Stack Bulk Task Queue.
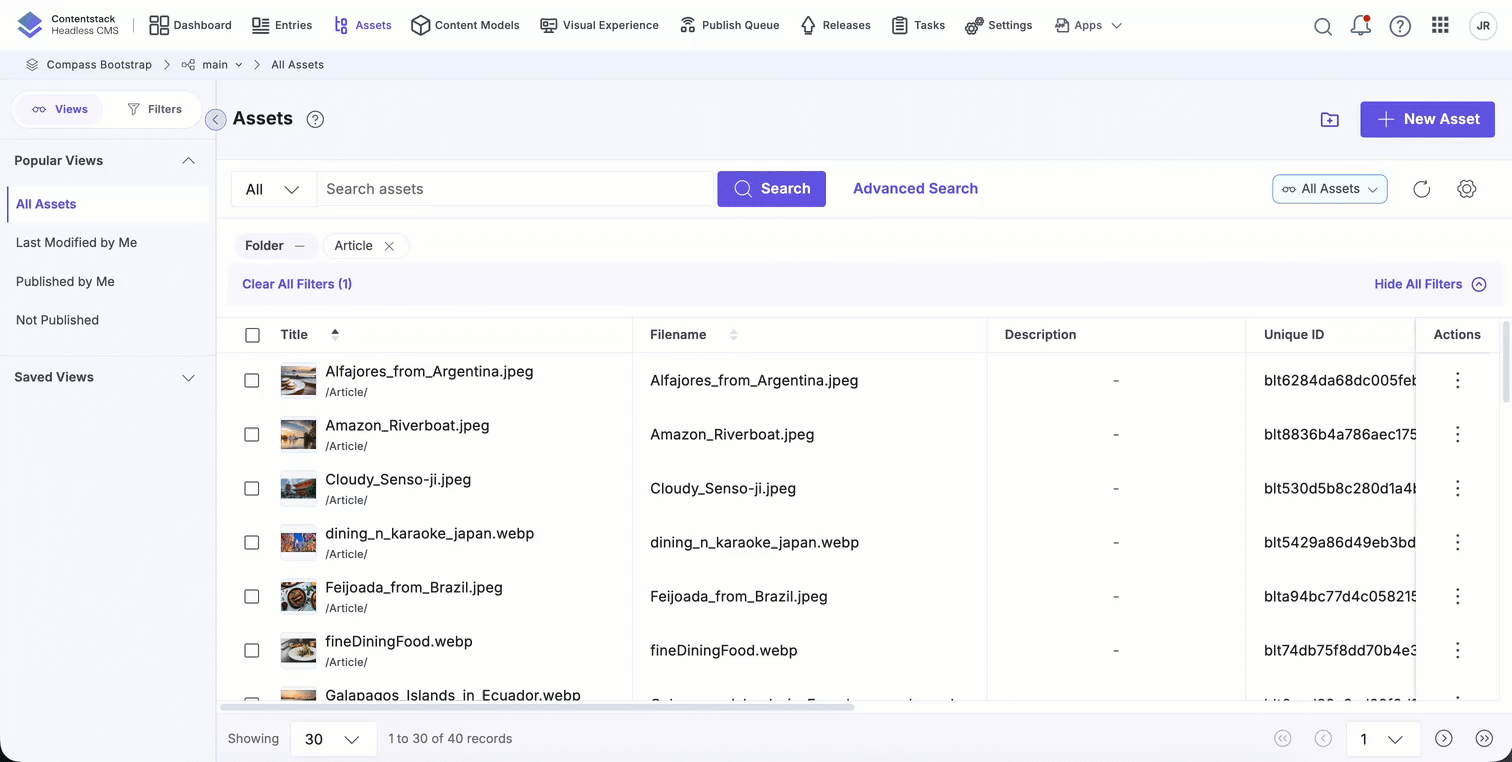
Add an Asset to a Release
To add an asset to a release, log in to your Contentstack account and perform the following steps:
- Go to your stack.
- Click the Assets icon and select the asset you want to add.
- Click the horizontal ellipsis and select Add to Release.
- In the Add to Release modal:
- Select an existing release, or
- Click Create New Release.
- Select the languages for deployment.
Note: Assets do not support localization. Selecting languages determines the locales in which the asset is available.
- Choose one of the following:
- Add for Publishing to publish the asset, or
- Add for Unpublishing to unpublish the asset
Note: You can view release action logs in the Stack Bulk Task Queue.
After adding items, deploy the release to an environment.
Note: Before deployment, update release items to their latest versions to ensure the most current content is included.
API Reference
To add entries or assets to a release via API, refer to the Add a single item to a Release and Bulk Add to Release API requests.
