

Create a Voice Profile
Voice Profiles allows you to define unique AI-generated brand voices that you can apply to your content.
Note: Each organization can create a maximum of 100 Voice Profiles within each Brand Kit.
Prerequisites
- Contentstack account
- Access to Organization that has Brand Kit enabled
- Access to the Contentstack Organization/Stack as the Owner/Admin
- Access to Brand Kit as an invited Collaborator
Steps for Execution
To create a Voice Profile in Brand Kit, log in to your Contentstack account and perform the following steps:
- In the left navigation panel, click the Brand Kit icon.
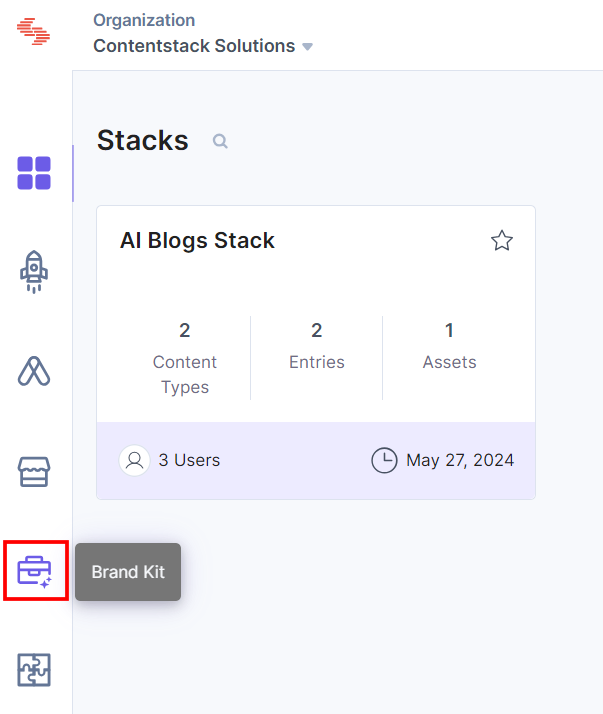
- Select the Brand Kit in which you want to create a Voice Profile.
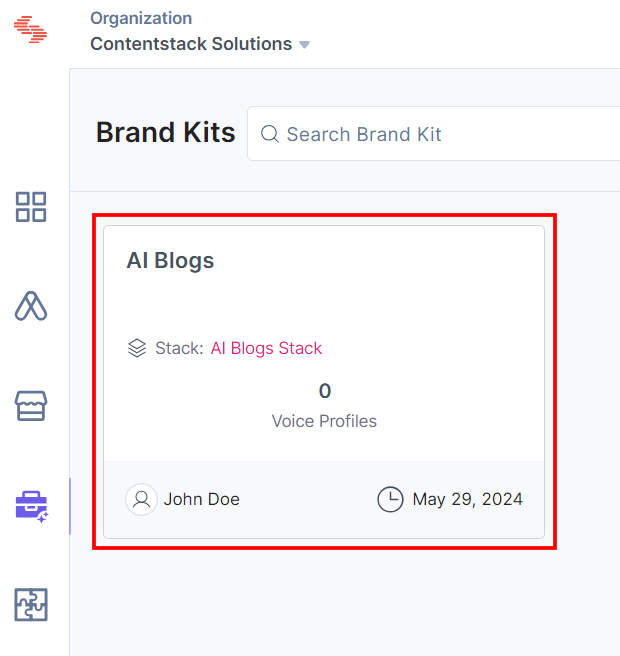
- You will be navigated to the Voice Profile landing page. If there are any Voice Profiles already created, they will appear here. To create a new one, click the + New Voice Profile button and select Add Manually.
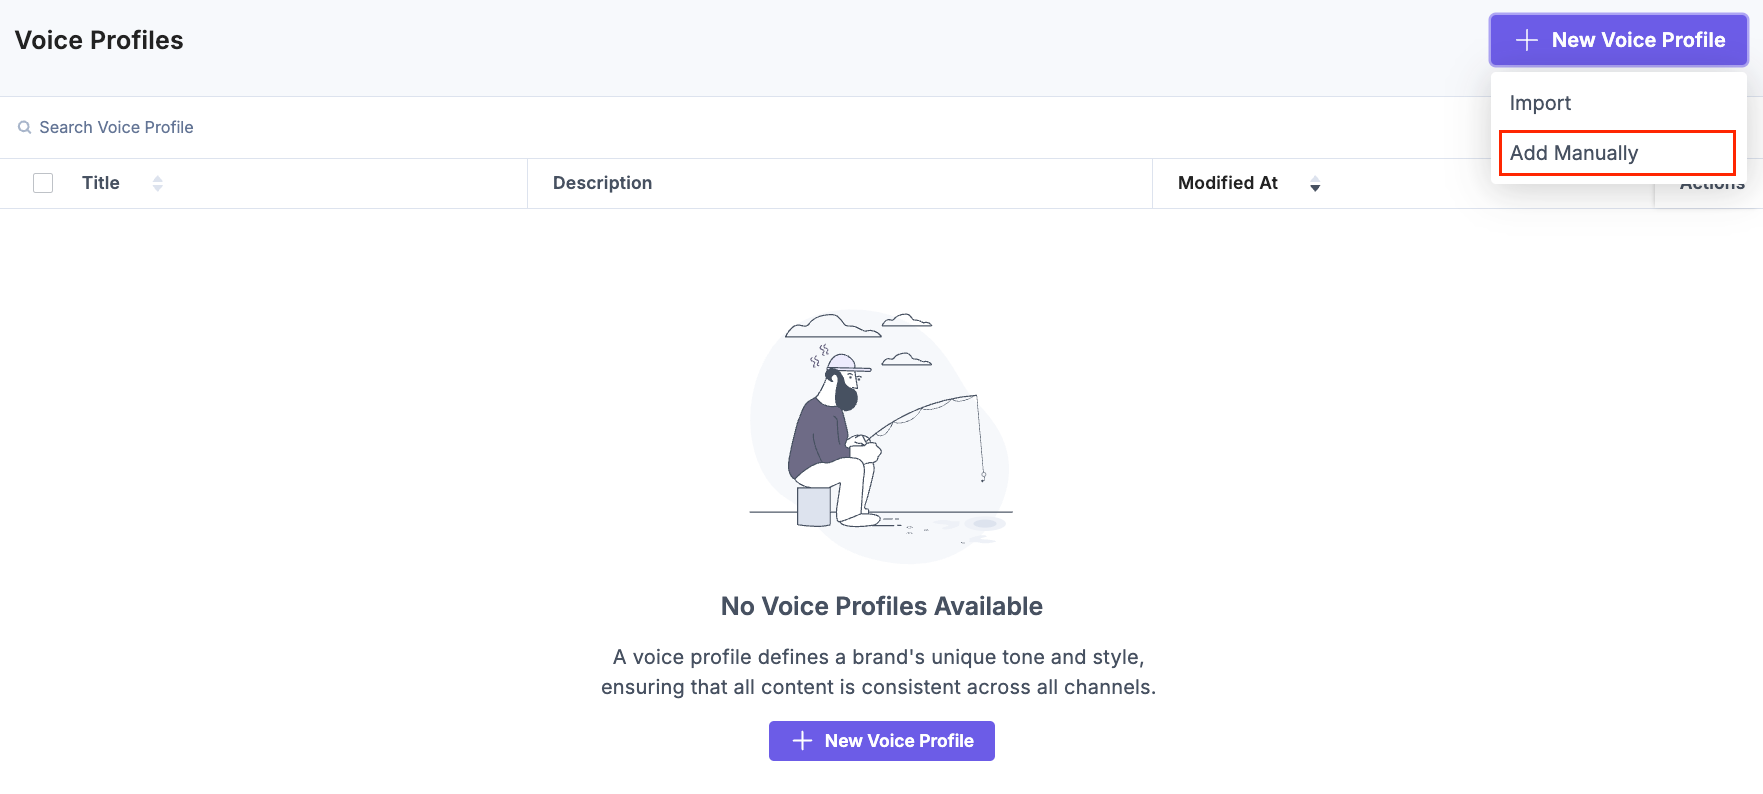
Additional Resource: To import the Voice Profile, refer to the Import a Voice Profile document
-
Create a Voice Profile
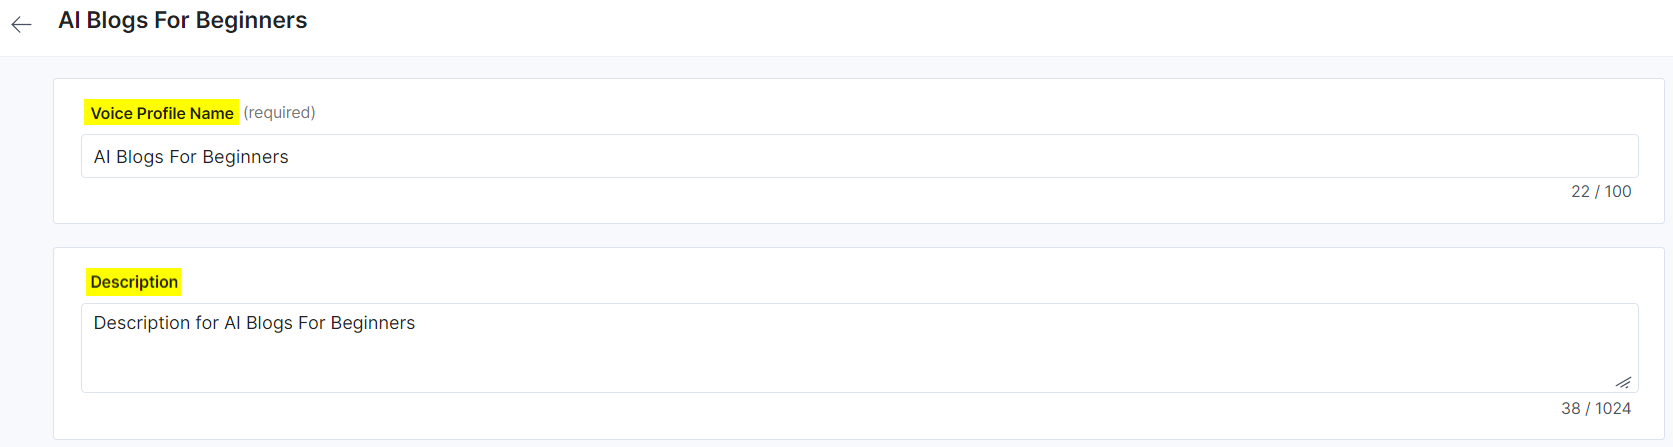
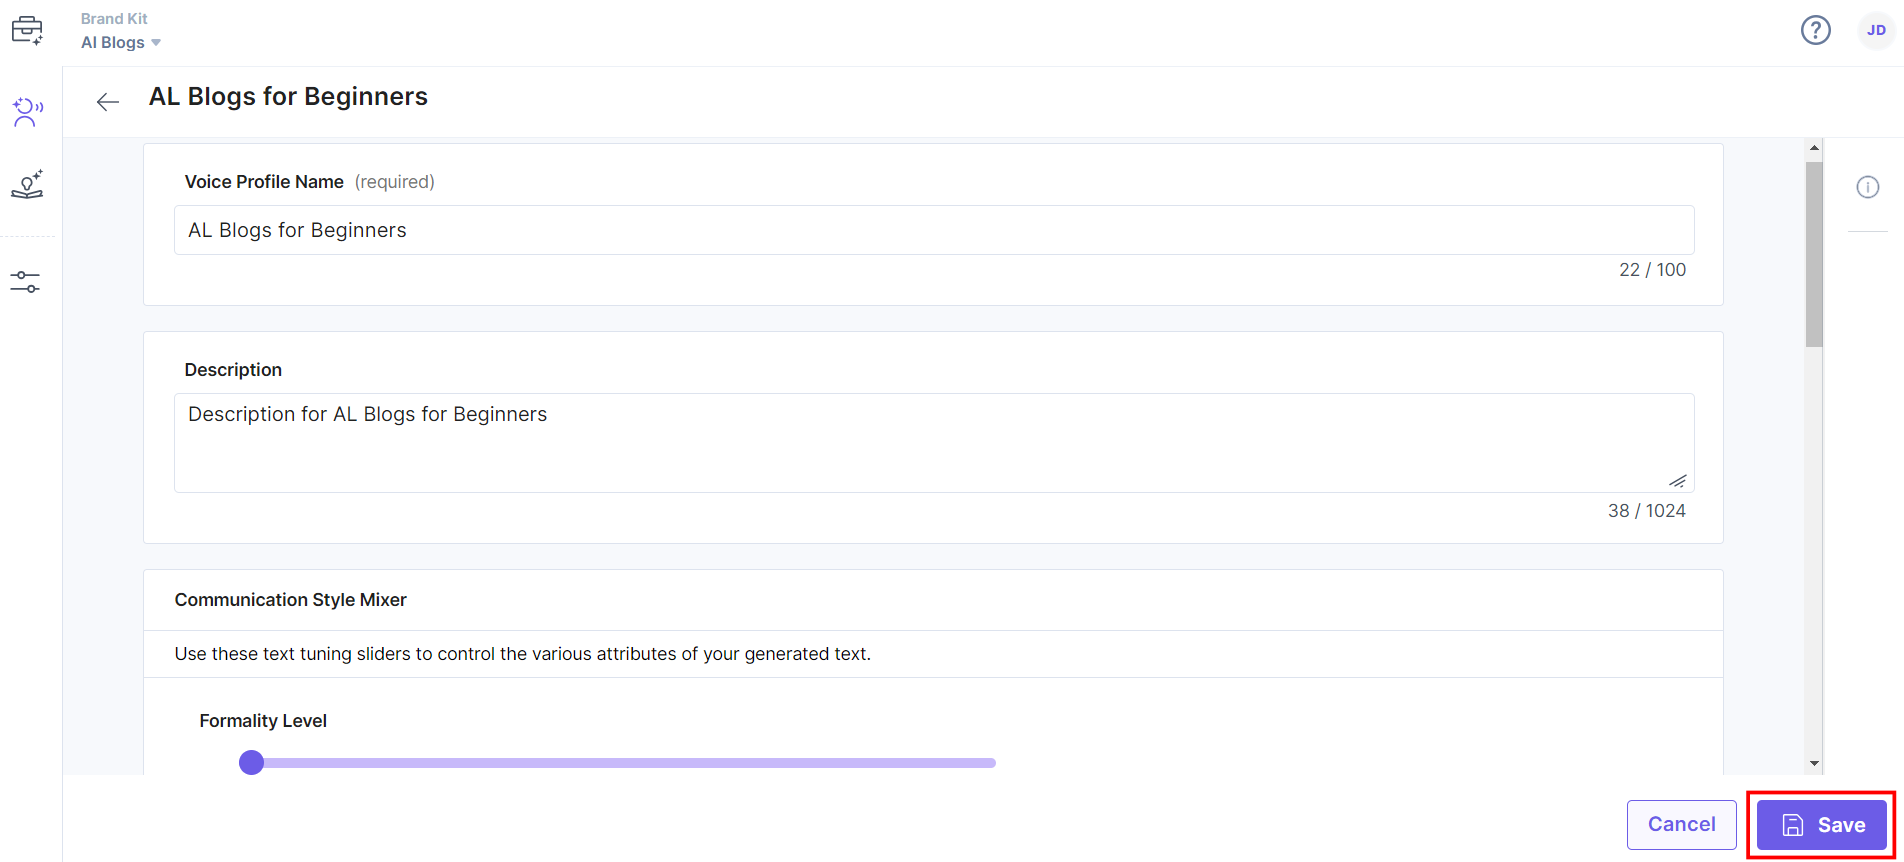
On the Create Voice Profile page, enter the following details:
- Voice Profile Name (required): Enter a suitable name for your Voice Profile.
- Description (optional): Enter an appropriate Voice Profile description.
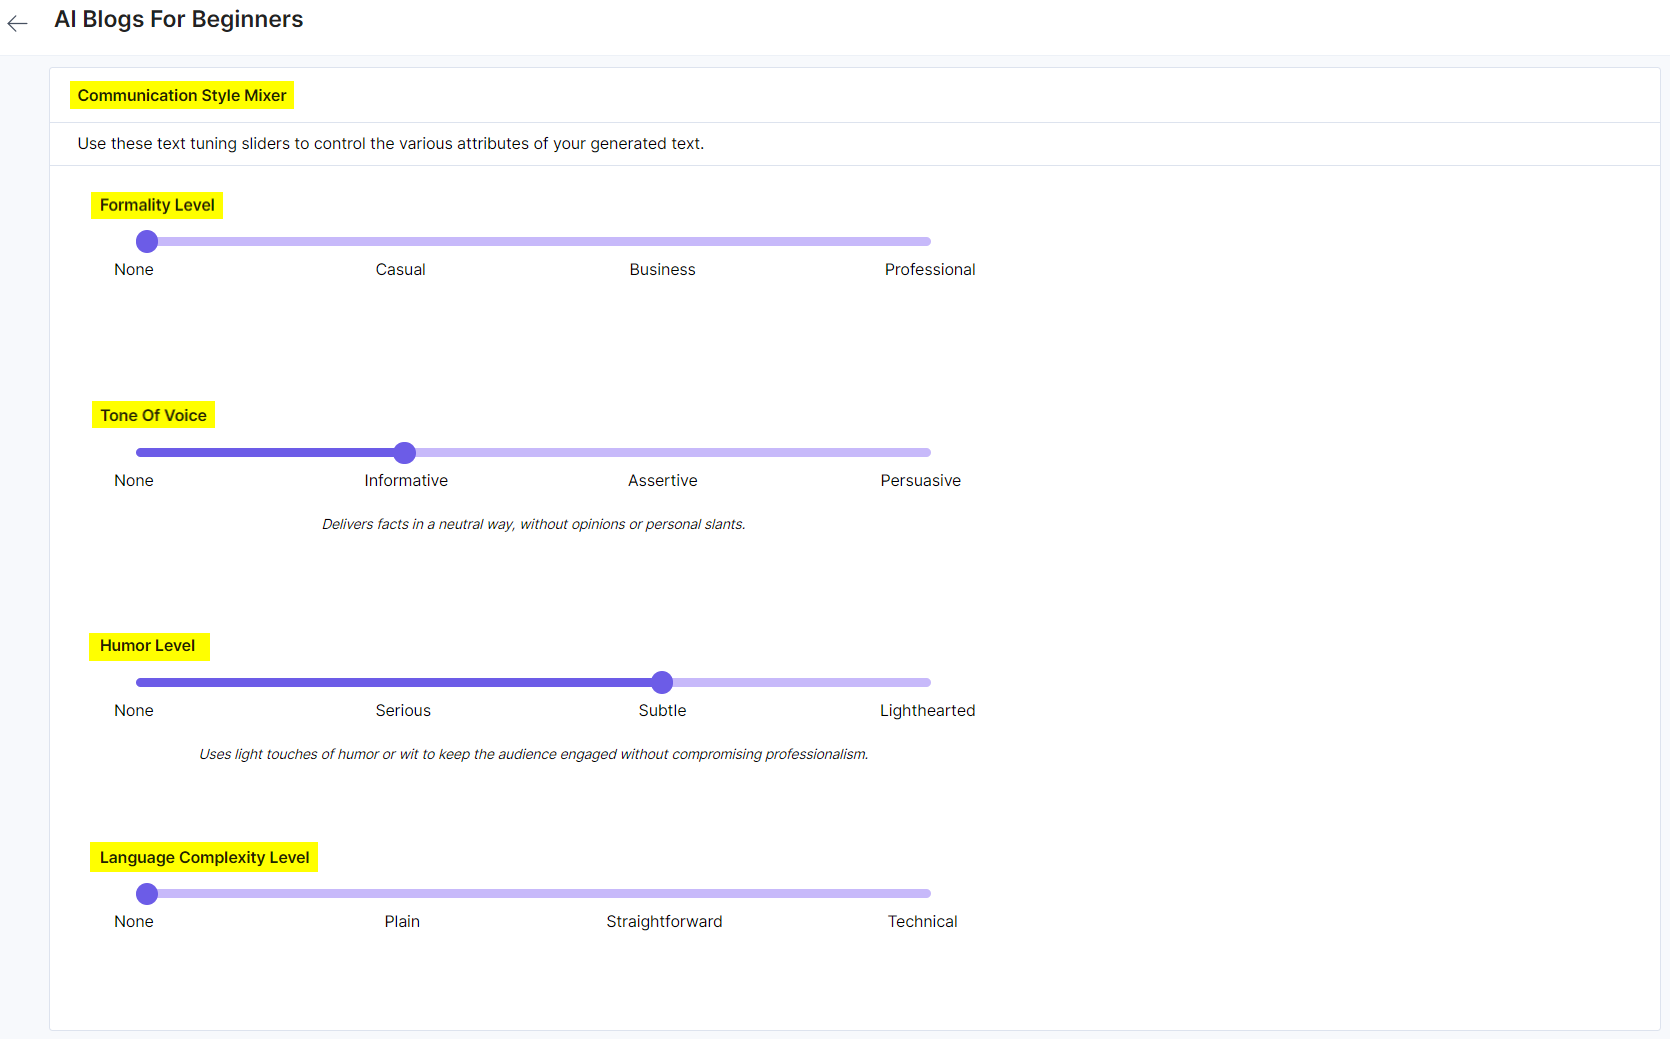
- Communication Style Mixer: The Communication Style Mixer is a critical element of your brand identity, defining how your organization interacts with customers. In this section, you can set the following parameters:
- Formality Level: You can set the formality level from None, Casual, Business, to Professional. Let’s discuss in detail:
- None: Generic content without any specifications
- Casual: Uses an informal but engaging tone that makes content more compelling.
Example: "It’s true, nobody really enjoys grocery shopping. Here's five ways to make it less painful."
- Business: Employs clear and concise language that maintains a tone suitable for business settings, you can set this parameter accordingly.
Example: "Please note that customer support is available 24/7 via our online customer portal."
- Professional: Uses polished language often found in legal documents or important announcements.
Example: "We are pleased to announce the official launch of our new product line."
- Tone Of Voice: You can set the tone of voice from None, Informative, Assertive, to Persuasive. Let’s discuss in detail:
- None: Generic content without any specifications.
- Informative: Delivers facts in a neutral way, without opinions or personal slants.
Example: "The report shows a 15% increase in sales."
- Assertive: Presents arguments and ideas with confidence, making clear recommendations.
Example: "This method is the most effective based on our research."
- Persuasive: Uses strong arguments and emotional appeals to influence action or belief.
Example: "Upgrade now and unlock exclusive features to transform your experience!"
- Humor Level: You can set the humor level from None, Serious, Subtle, to Lighthearted. Let’s discuss in detail:
- None: Generic content without any specifications.
- Serious: Maintains a strictly professional tone, avoiding humor altogether.
Example: "Lack of data security can have serious consequences."
- Subtle: Uses light touches of humor or wit to keep the audience engaged without compromising professionalism.
Example: "Here are ten tips for writing email subject lines that won’t end up in the dreaded spam folder."
- Lighthearted: Incorporates relevant humor to connect with the audience and create a more playful atmosphere.
Example: "Sometimes my biggest accomplishment of the day is simply remembering to mute myself during a virtual meeting."
- Language Complexity Level: You can set the language complexity level from None, Plain, Straightforward, to Technical. Let’s discuss in detail:
- None: Generic content without any specifications.
- Plain: Uses everyday words that are clear and understandable to a broad audience.
Example: "Turn on the device and follow the on-screen instructions."
- Straightforward: Employs clear communication, potentially including industry-specific terms relevant to the target audience.
Example: "The ROI of this investment is significant."
- Technical: Leverages advanced concepts and specialized vocabulary for audiences with prior knowledge.
Example: "The software leverages machine learning algorithms for optimization."
- Formality Level: You can set the formality level from None, Casual, Business, to Professional. Let’s discuss in detail:
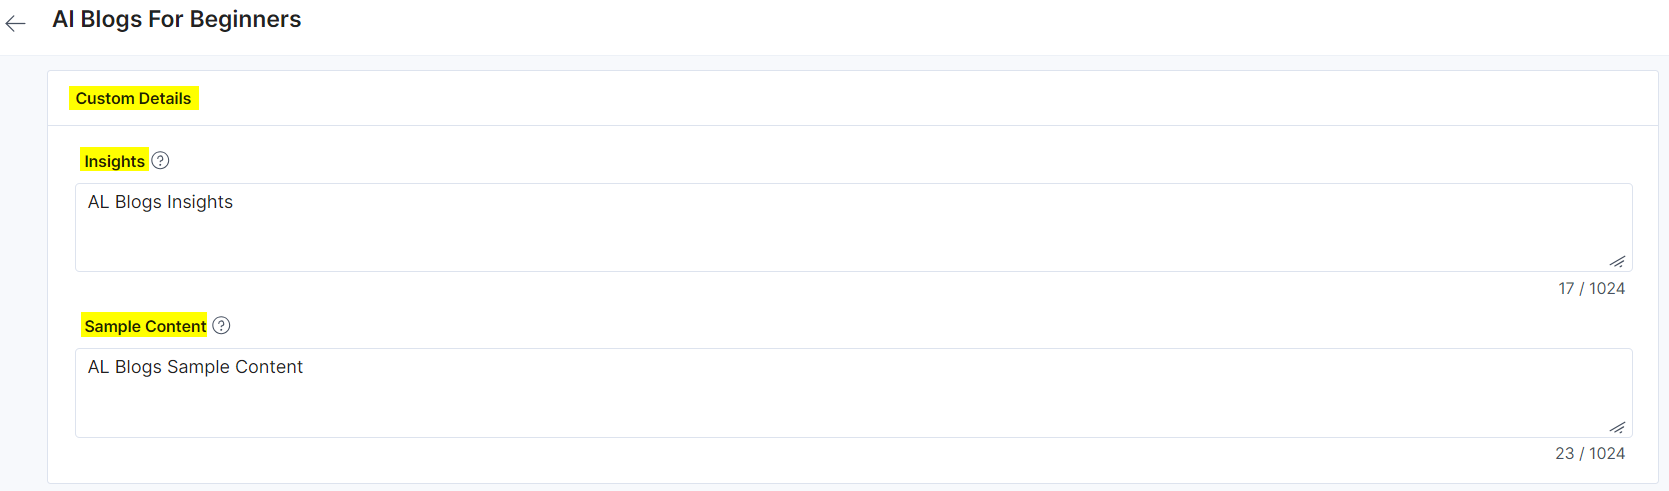
- Custom Details: Custom Details includes two entities: Insights and Sample Content:
- Insights: Insights are the additional information that you can provide to the AI model.
Example: Monitor industry trends, experiment with new content formats and strategies, incorporate ethical AI practices.
- Sample Content: You can provide sample content to your Voice Profile to generate similar content in action.
Example: Navigating the AI Landscape: Essential Insights for Aspiring Bloggers. Explore the fundamentals of AI, uncover your niche, leverage AI tools, engage with the community, and address ethical considerations to succeed as an AI blogger.
- Insights: Insights are the additional information that you can provide to the AI model.
-
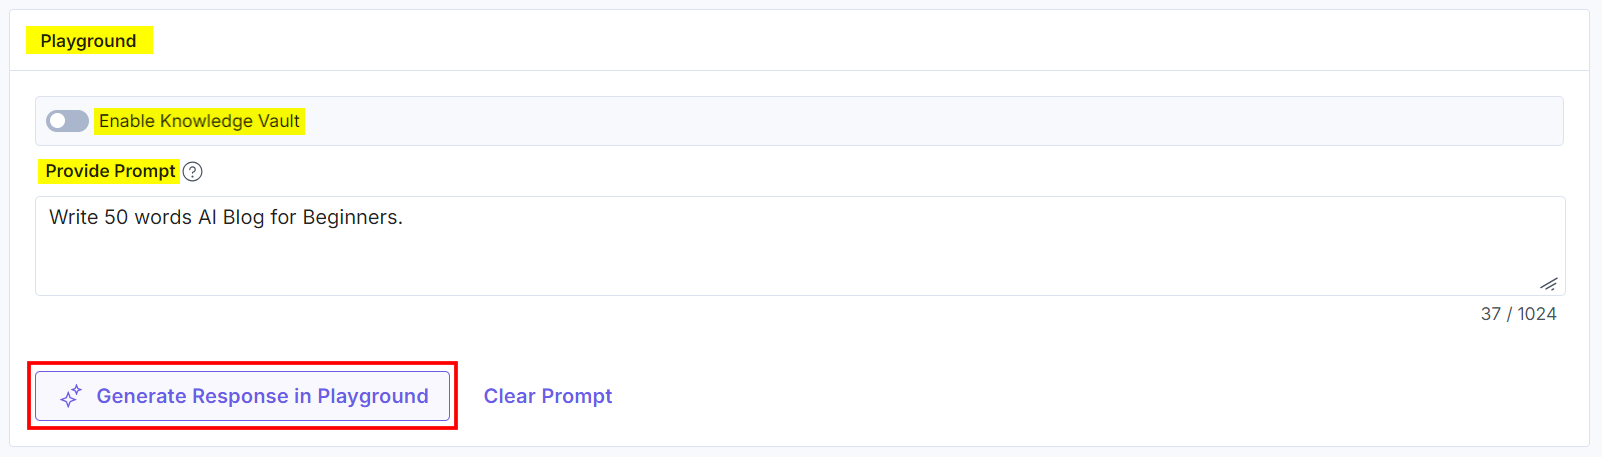
Playground in Voice Profile
Playground lets you experiment with prompts to test and refine your Voice Profiles. Inside this section, you can perform the following operations:
- Enable Knowledge Vault: Enable this button to generate content through the Knowledge Vault.
- Enter Prompt: Enter your topic or content idea into the Provide Prompt field.
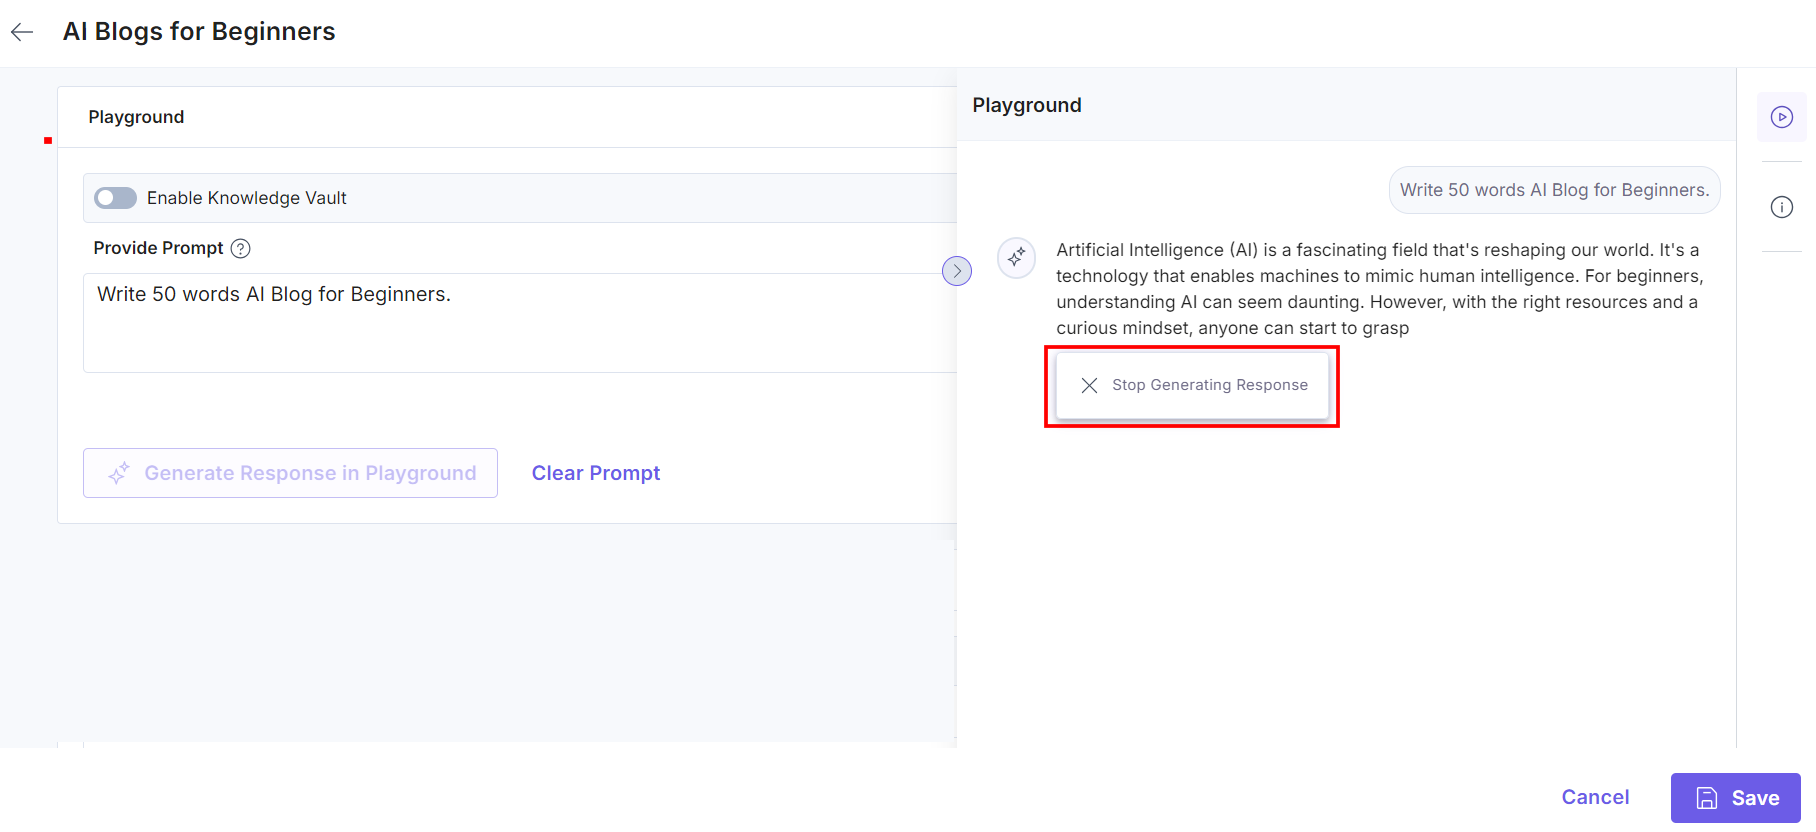
- Generate Response: Click the Generate Response in Playground button to generate the content.
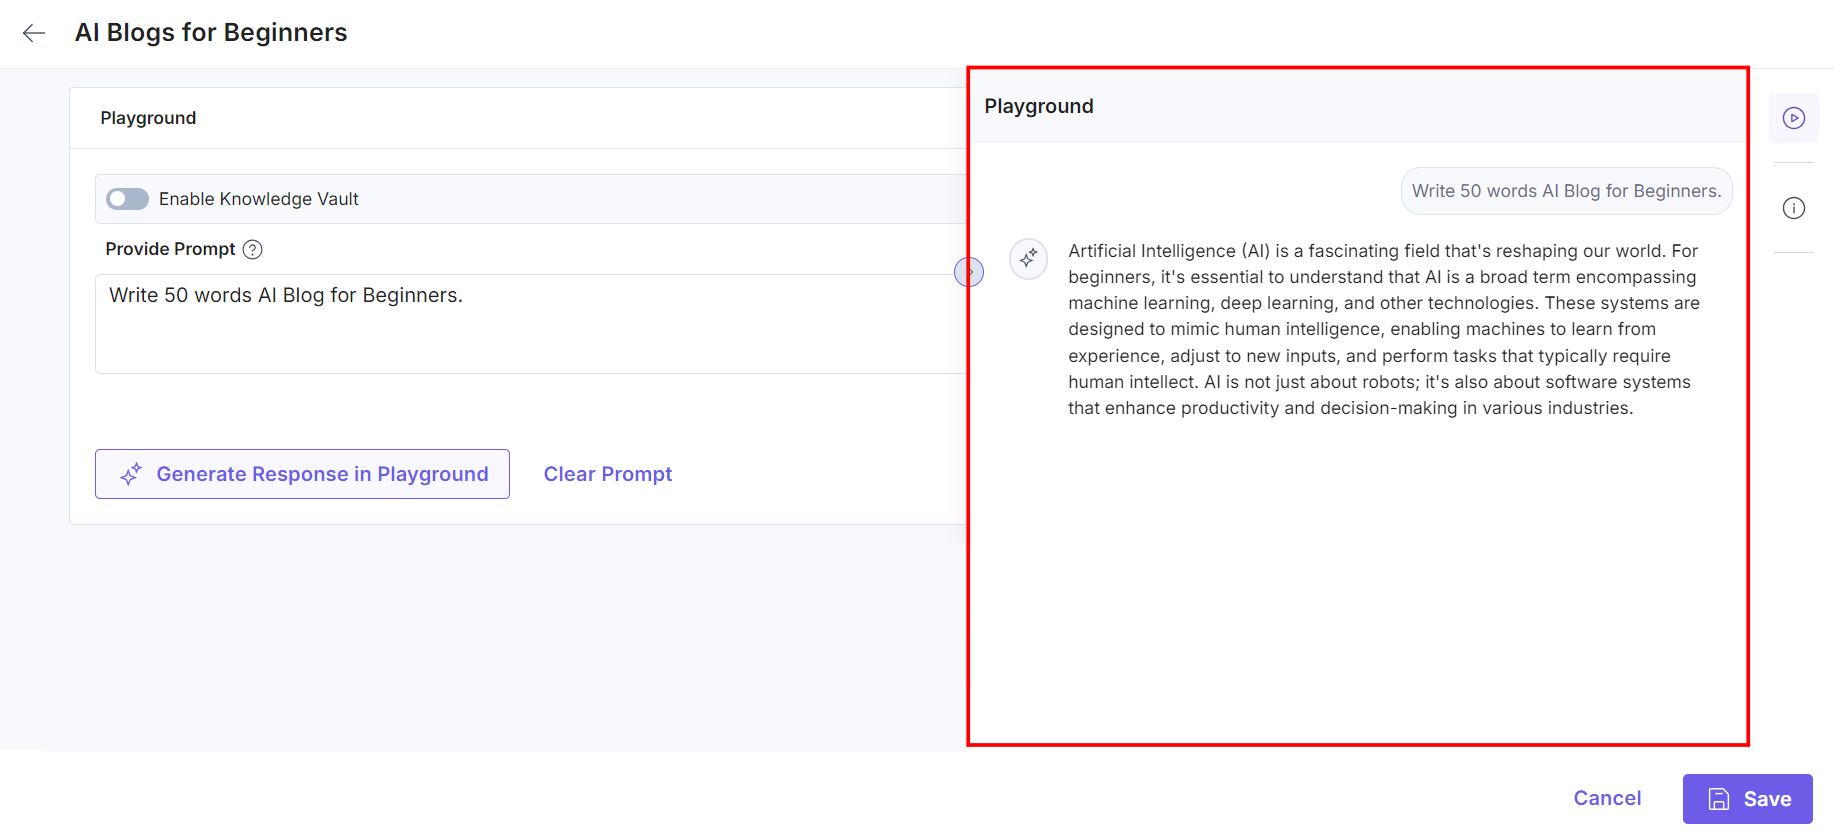
The content generation initiated in the right side Playground panel.
- Stop Content Generation (optional): Click Stop Generating Response option to halt the process.
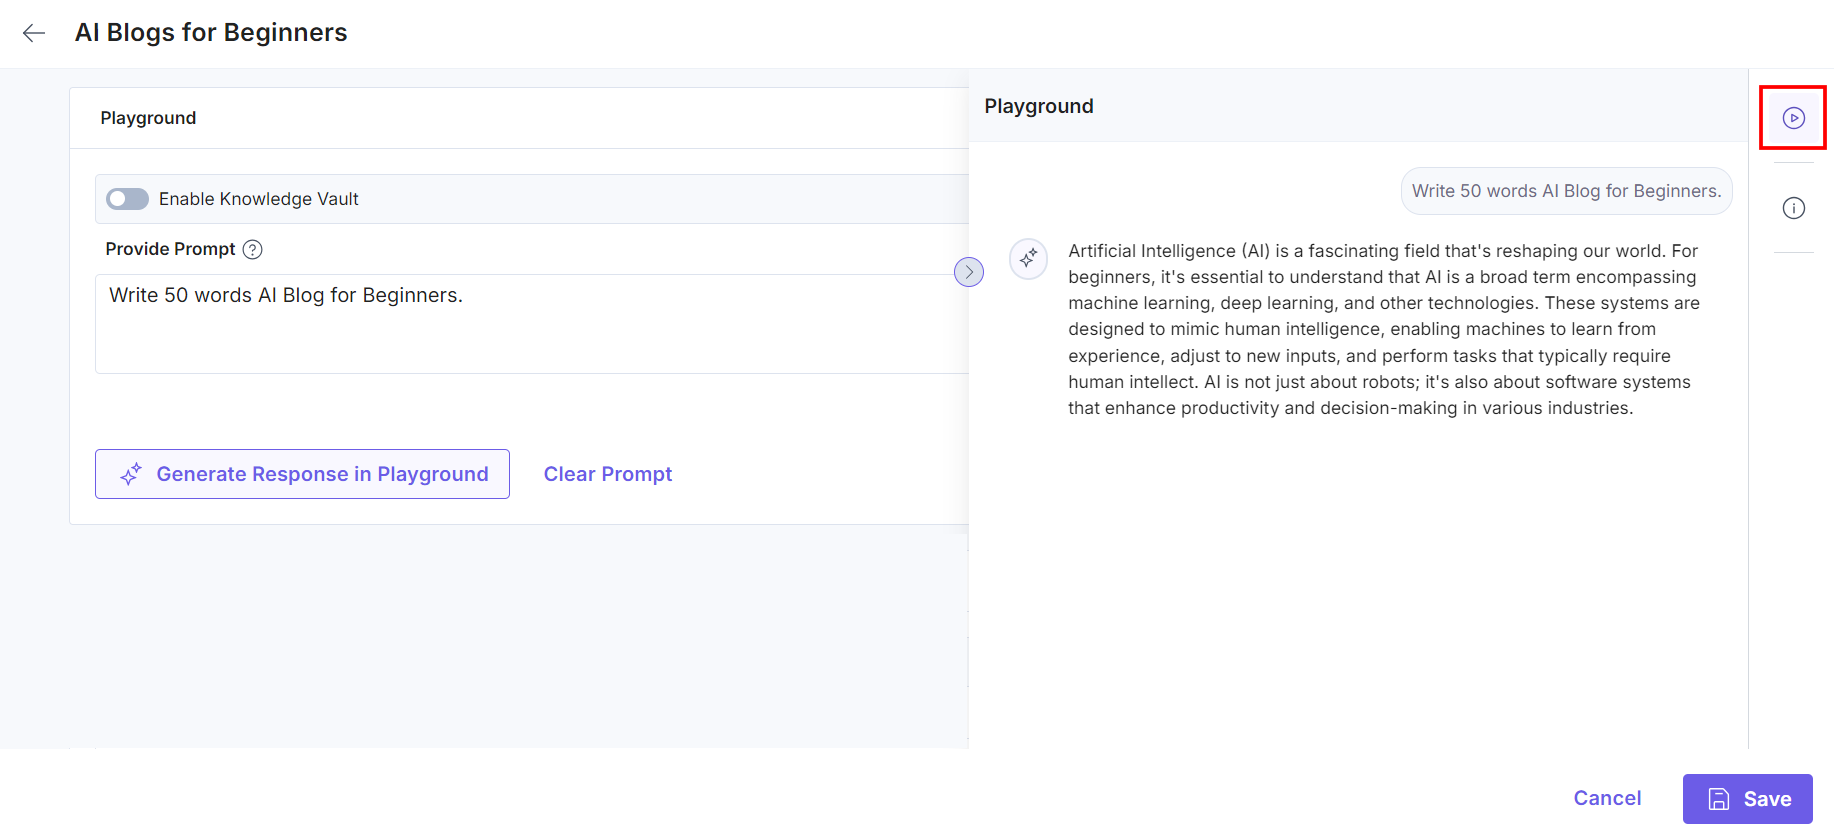
- View/Hide Response: Use the highlighted icon, to toggle the response display.
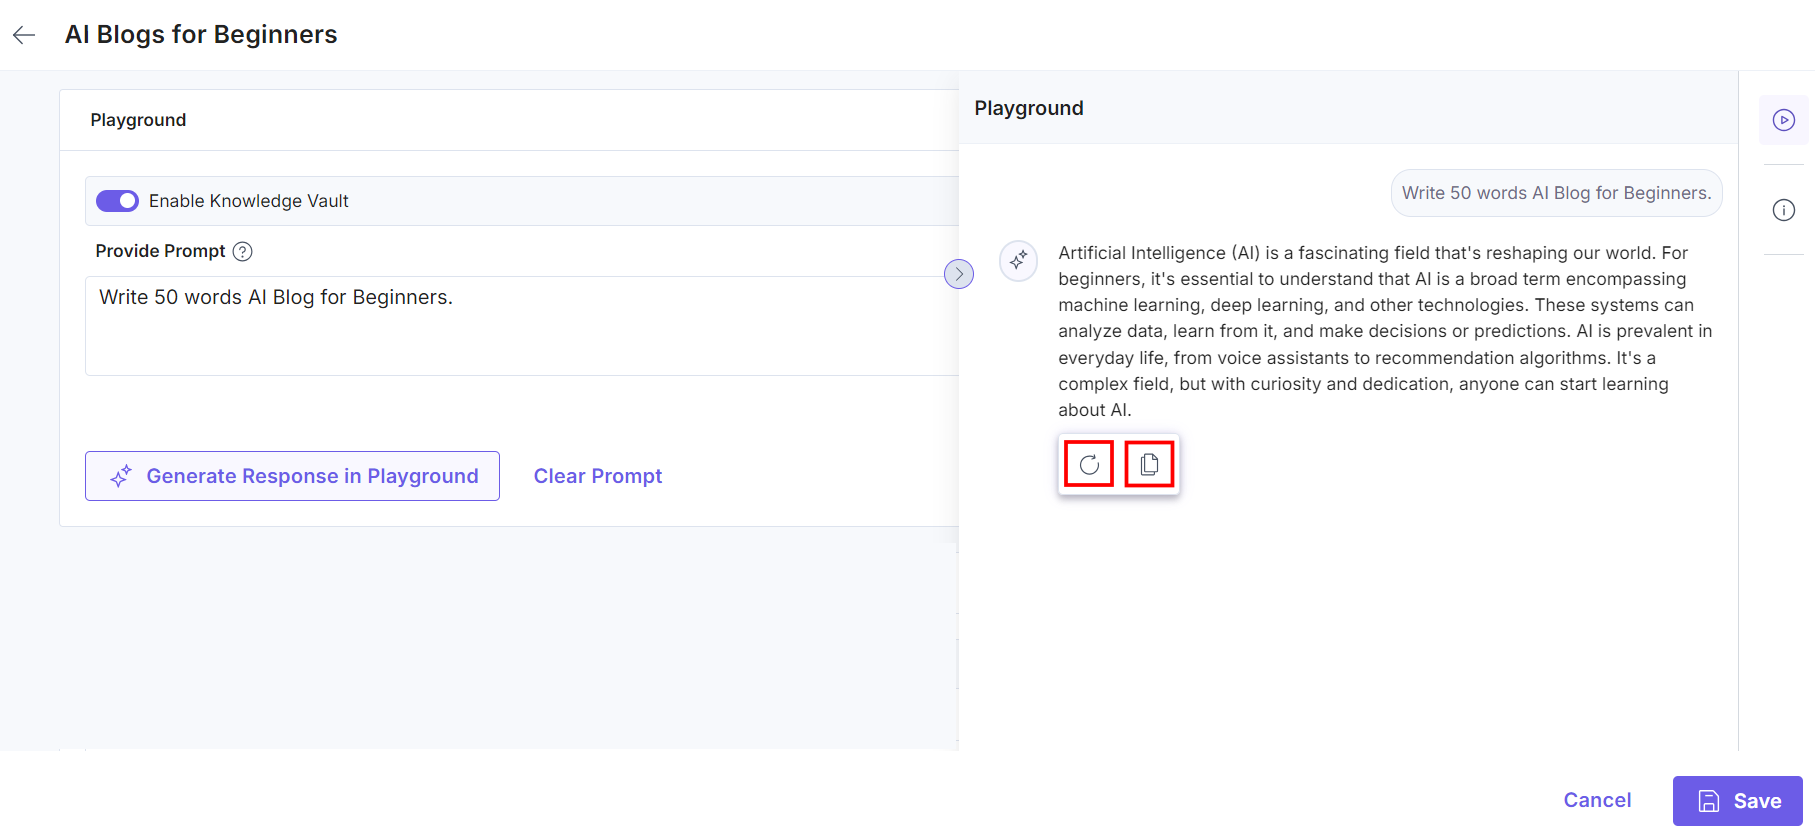
- Regenerate or Copy Generated Content: After the content is generated, you can see two options:
- Regenerate: This option allows you to regenerate the content.
- Copy: Copy the content to clipboard and use it further if required.
- Clear Prompt: Click Clear Prompt to start a new prompt.
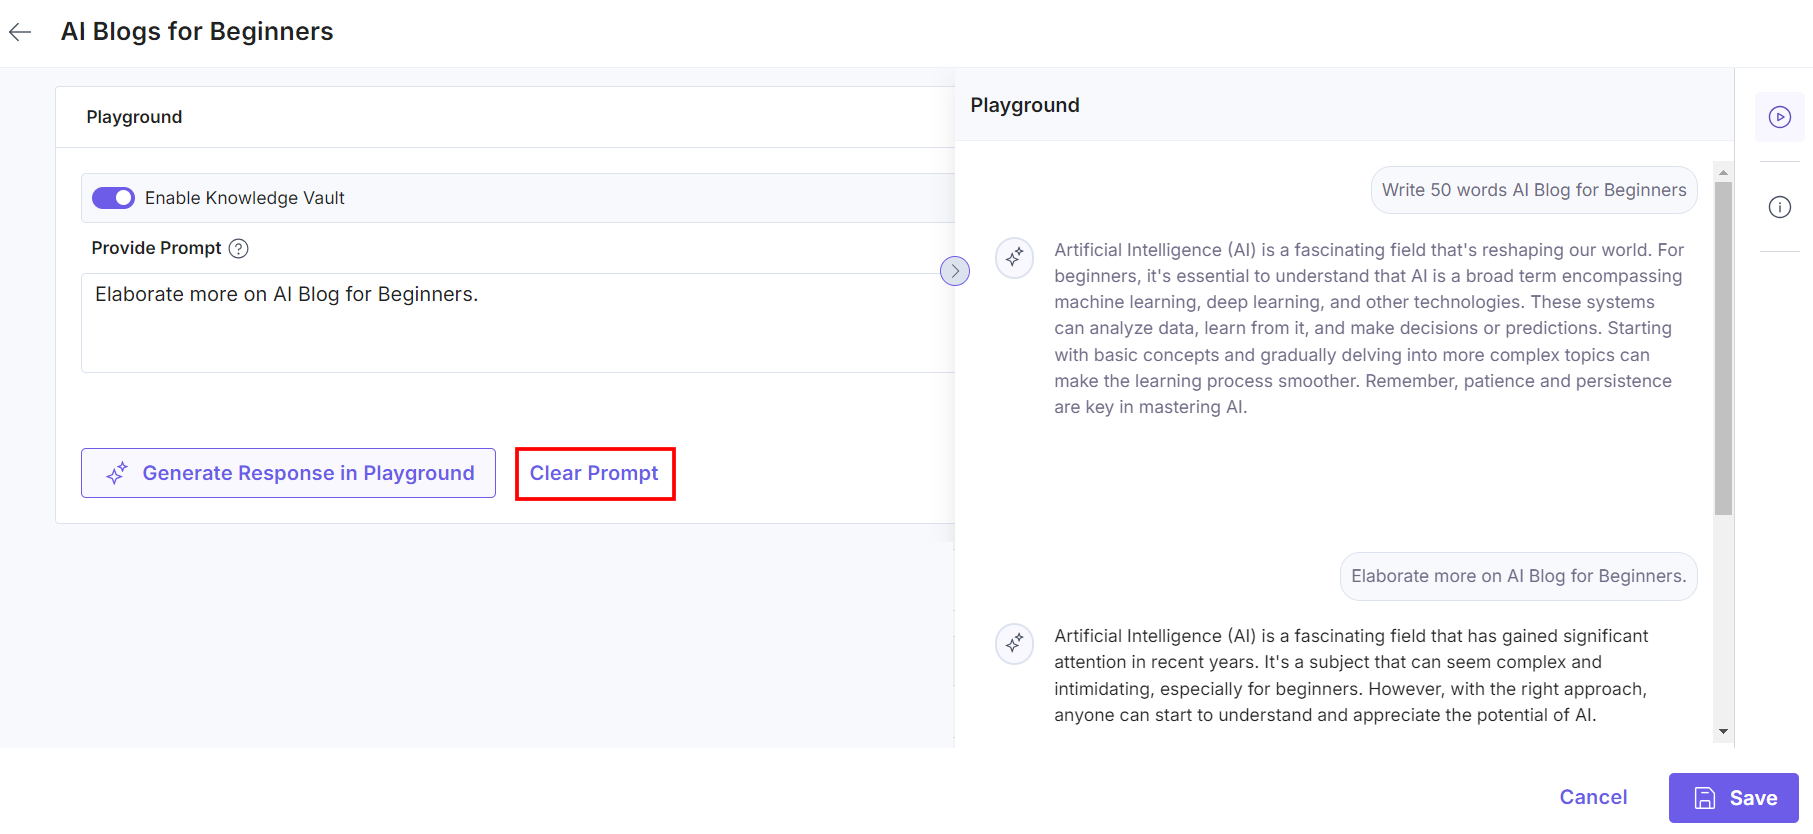
Warning: The generated content will not be saved in the history and will be cleared once you click the Save button.
- Once you have added these details to your Voice Profile, click Save.
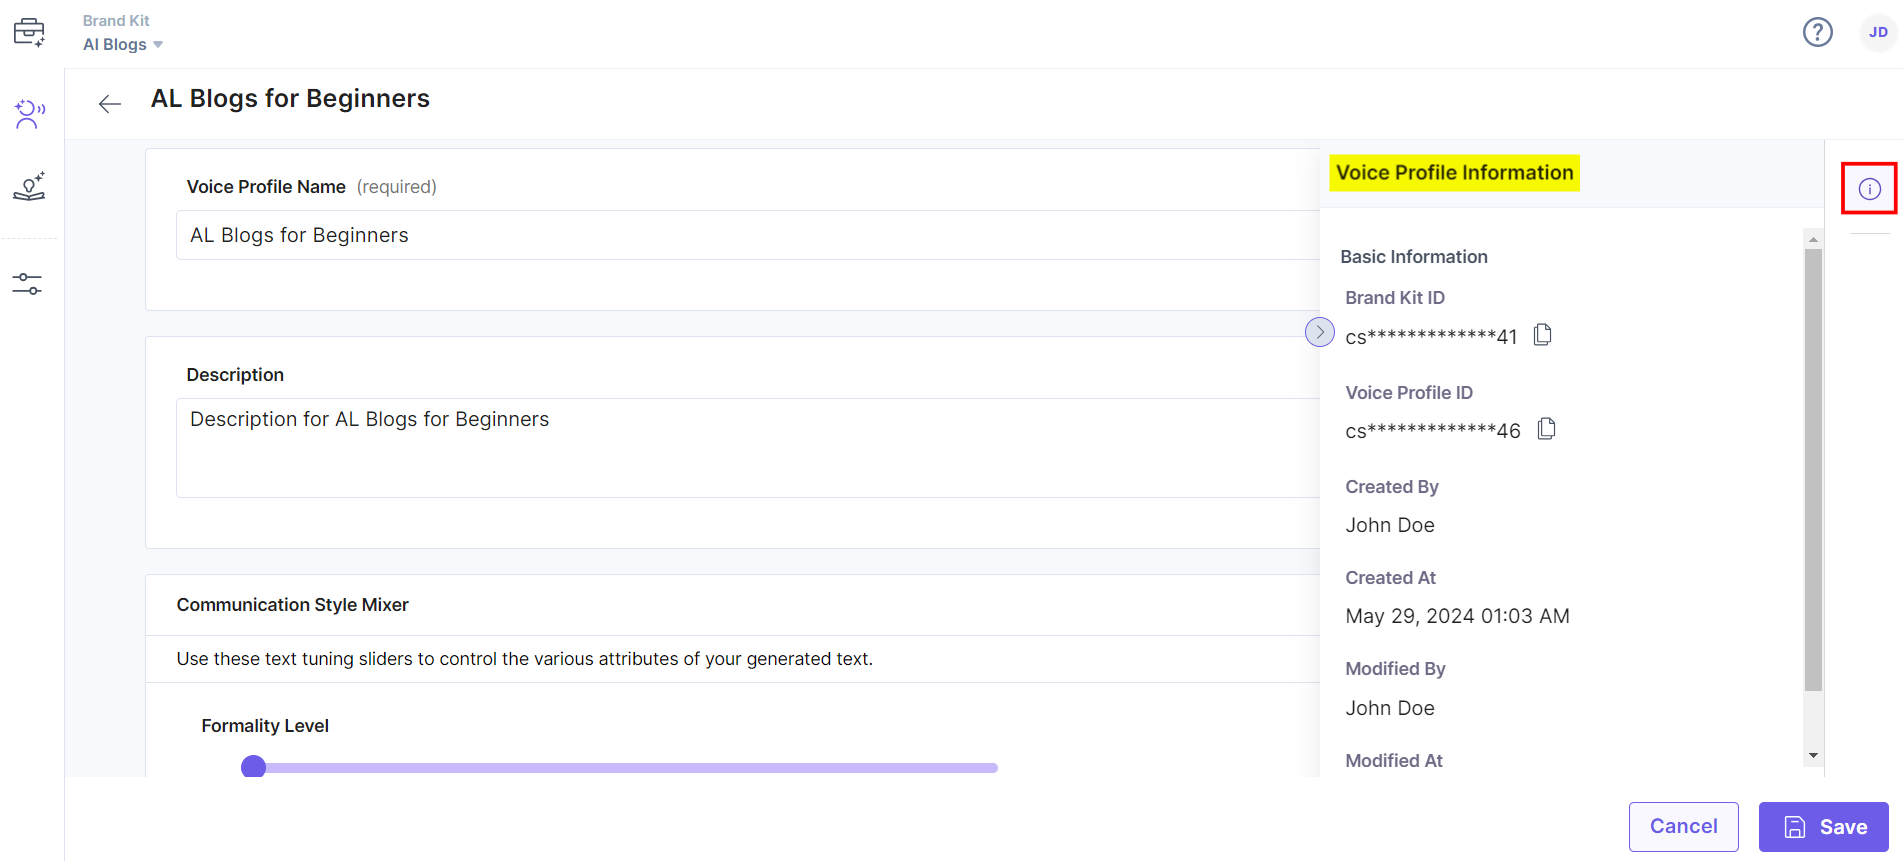
You will get a success message after the Voice Profile is created. You can view its details by clicking the Information icon on the right-side navigation panel.
Additional Resource: To generate content specifically in the entry’s fields, refer to the AI Assistant with Brand Kit documentation.
