

Add Item in Knowledge Vault
The Knowledge Vault provides a centralized repository for storing, managing, and accessing content across various channels.
You can easily add items into the Knowledge Vault by using its intuitive UI, the Brand Kit Connector in Automate, or the Knowledge Vault APIs.
In this guide, we will learn how to add items into the Knowledge Vault using the UI.
Prerequisites
- Contentstack account
- Access to Organization that has Brand Kit enabled
- Access to the Contentstack Organization/Stack as the Owner/Admin
Steps for Execution
To add an item in Brand Kit Knowledge Vault, log in to your Contentstack account and perform the following steps:
- In the left navigation panel, click the Brand Kit icon.
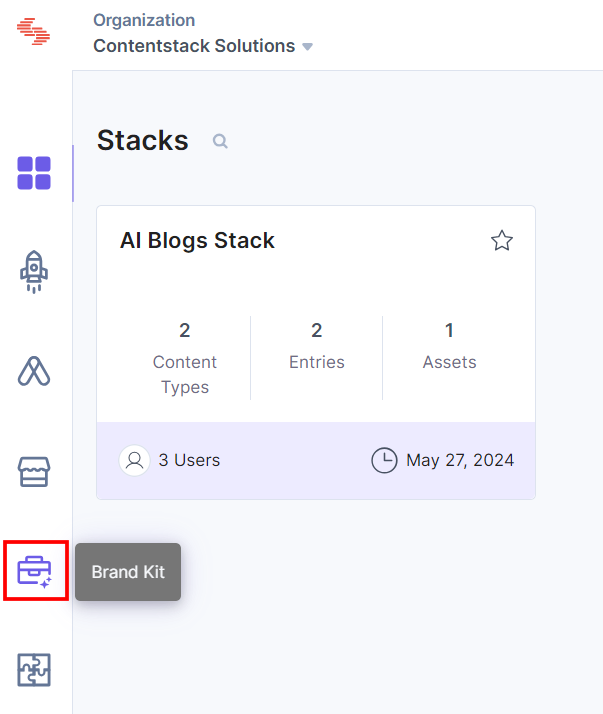
- Select the Brand Kit in which you want to add a Knowledge Vault item.

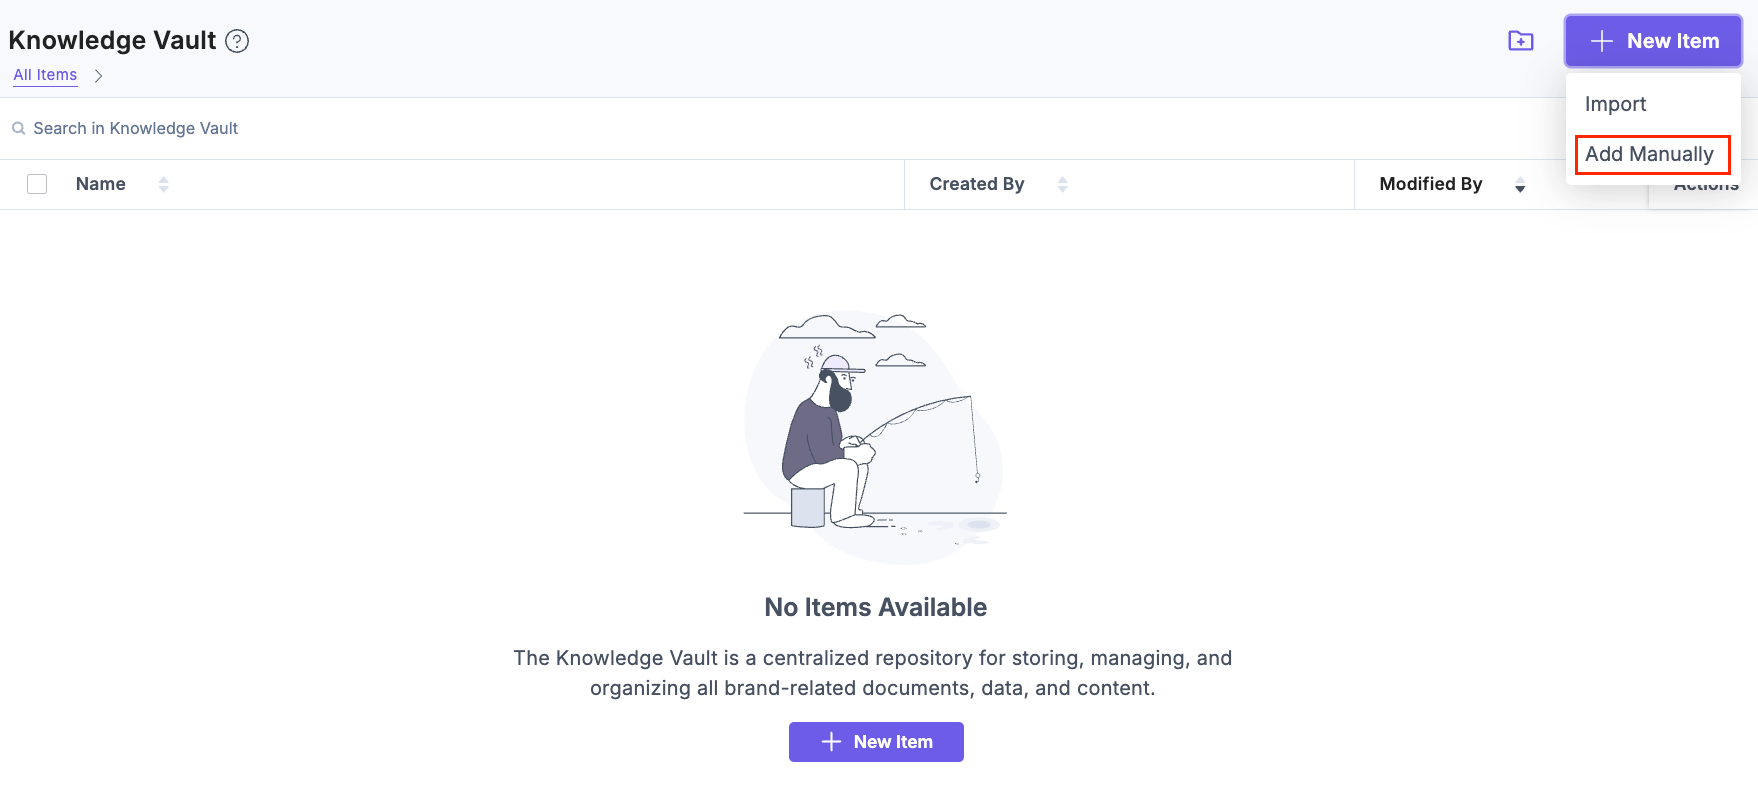
- Click Knowledge Vault from the left navigation panel, then click the + New Item button and select Add Manually to add a new item to the Knowledge Vault.
Note: Only Brand Kit Owners and Admins can add items to the Knowledge Vault.
Additional Resource: To import an item in Knowledge Vault, refer to the Import Item in Knowledge Vault document.
- In the Add Item modal, you have two options to add items into the Knowledge Vault:
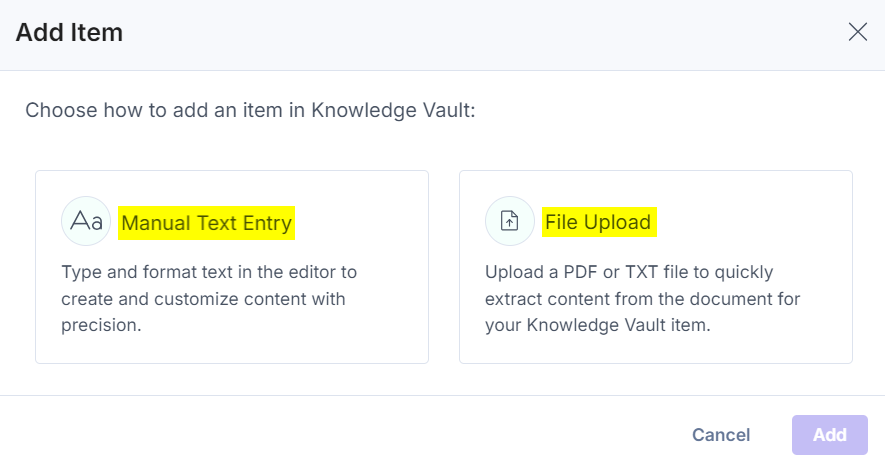
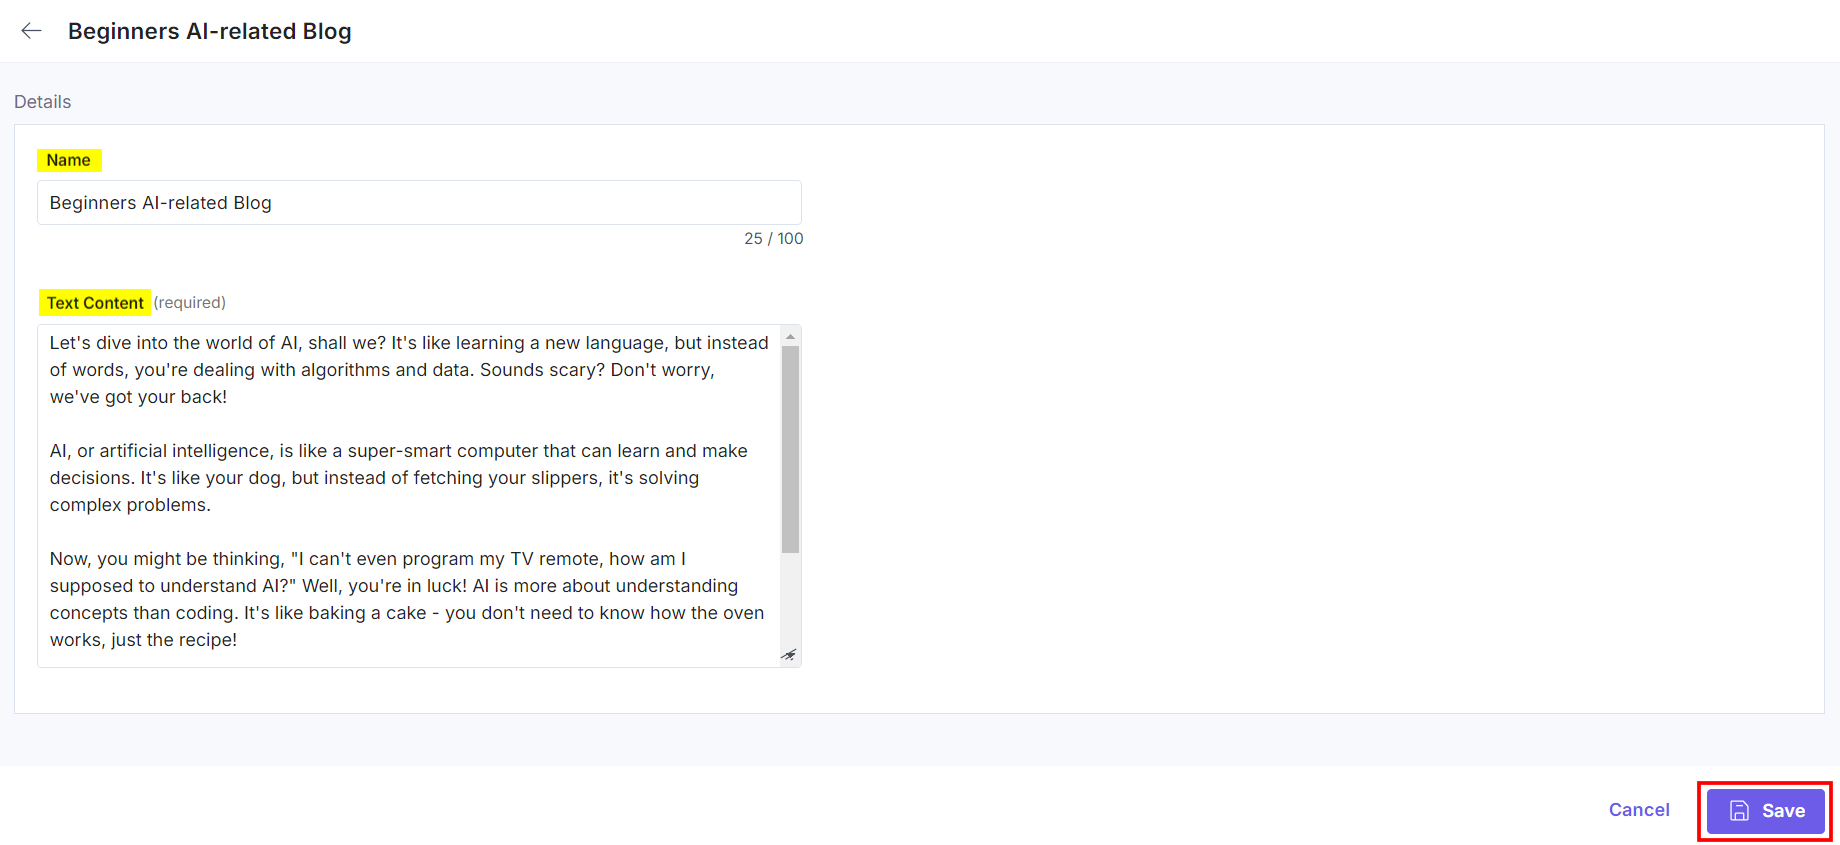
- Manual Text Entry: Select Manual Text Entry and click Add to directly add text in the corresponding screen that opens. Enter Name, Text Content in the editor, and click Save to add the item in the Knowledge Vault.
- File Upload: Select File Upload to upload a text document and click Add to proceed to the corresponding screen. Now, perform the following steps:
- Enter the Name and upload a PDF or TXT file. After uploading the file, the text is extracted from the uploaded document using the Text Generation process.
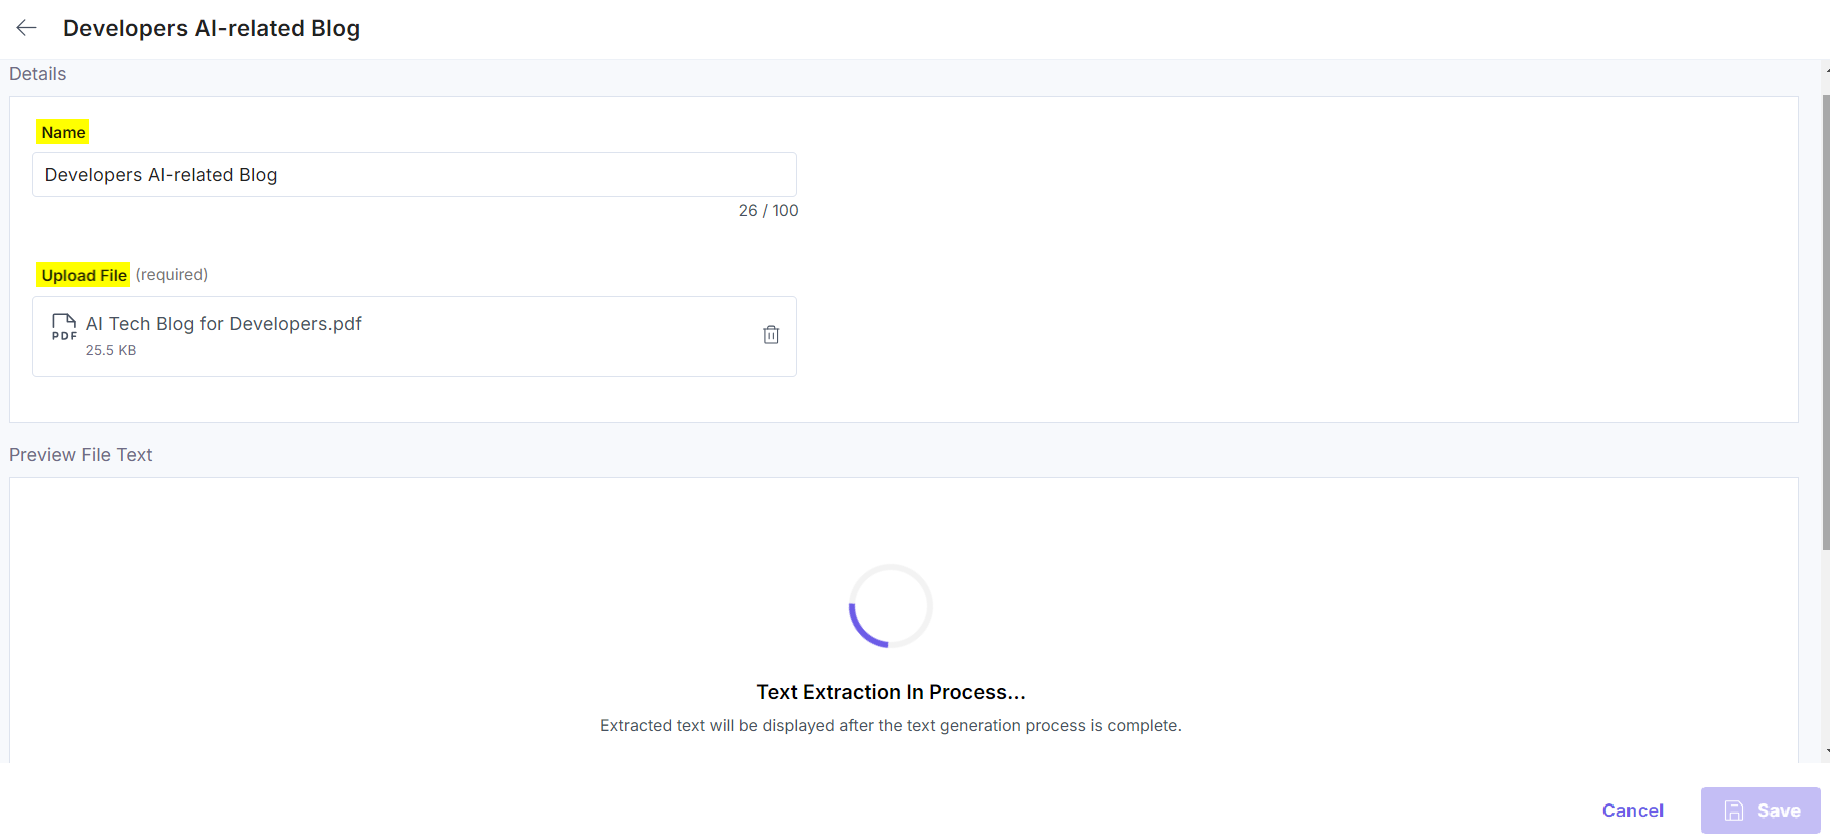
Note:
- The file must not be empty and must contain some textual content.
- If the Name field is empty, an auto-generated title will be applied to the item upon saving.
- If the Text Generation process fails, click the Retry button to reinitiate the process.
- After successful text extraction, review the text in the Preview File Text field. You can also update the text.
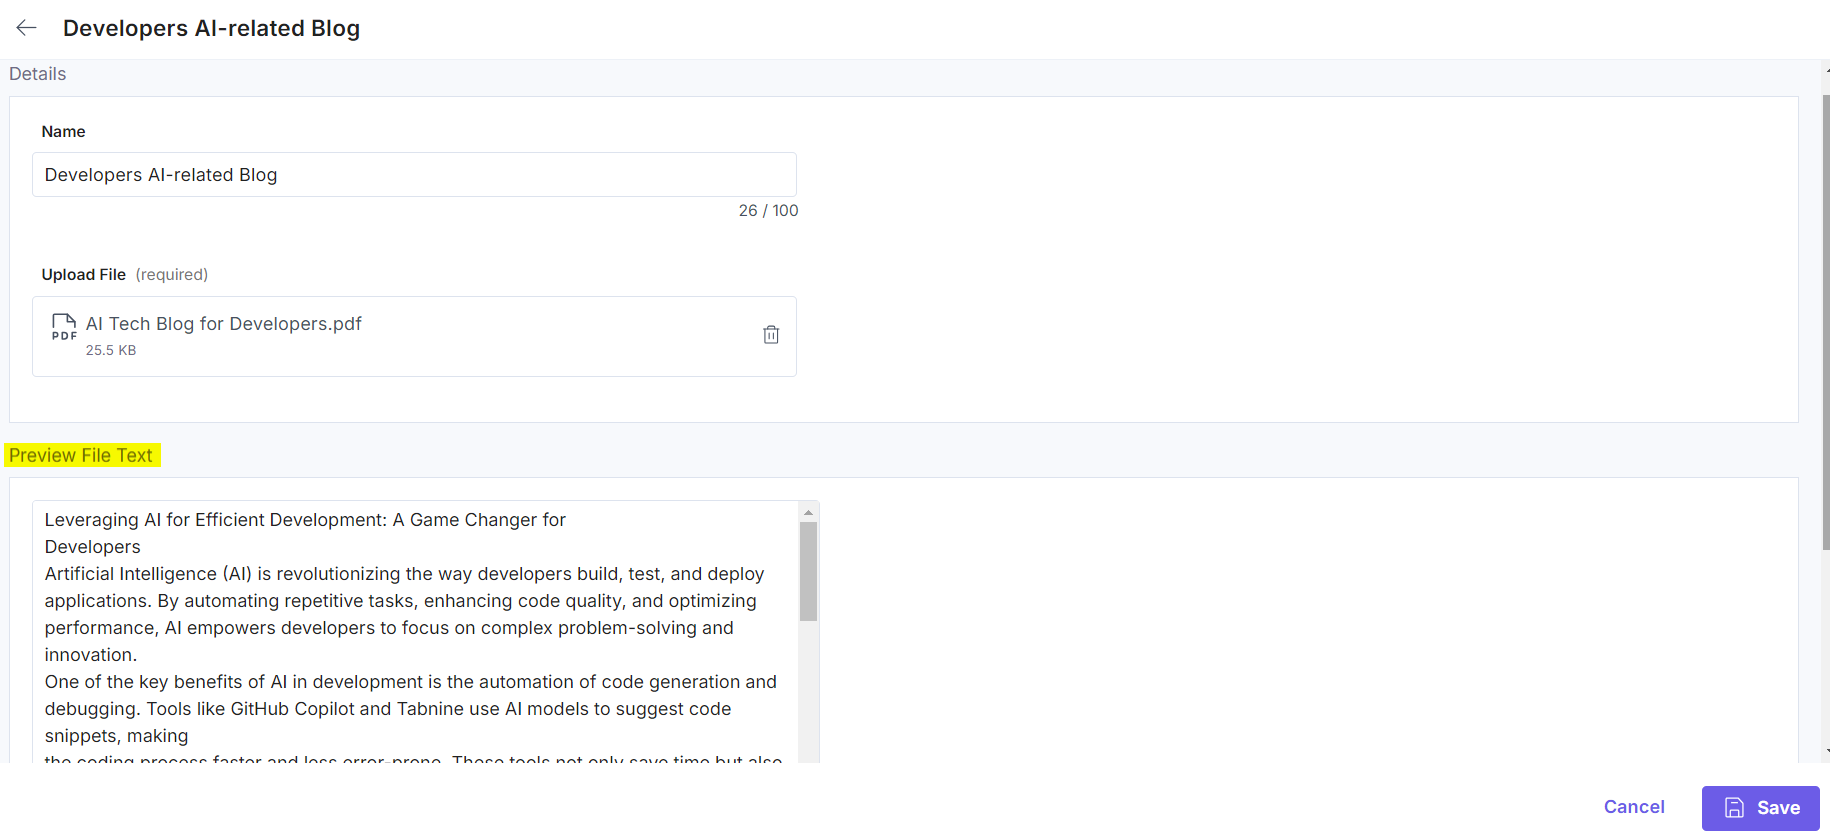
- Click Save to add the item in the Knowledge Vault.

- Enter the Name and upload a PDF or TXT file. After uploading the file, the text is extracted from the uploaded document using the Text Generation process.
- Manual Text Entry: Select Manual Text Entry and click Add to directly add text in the corresponding screen that opens. Enter Name, Text Content in the editor, and click Save to add the item in the Knowledge Vault.
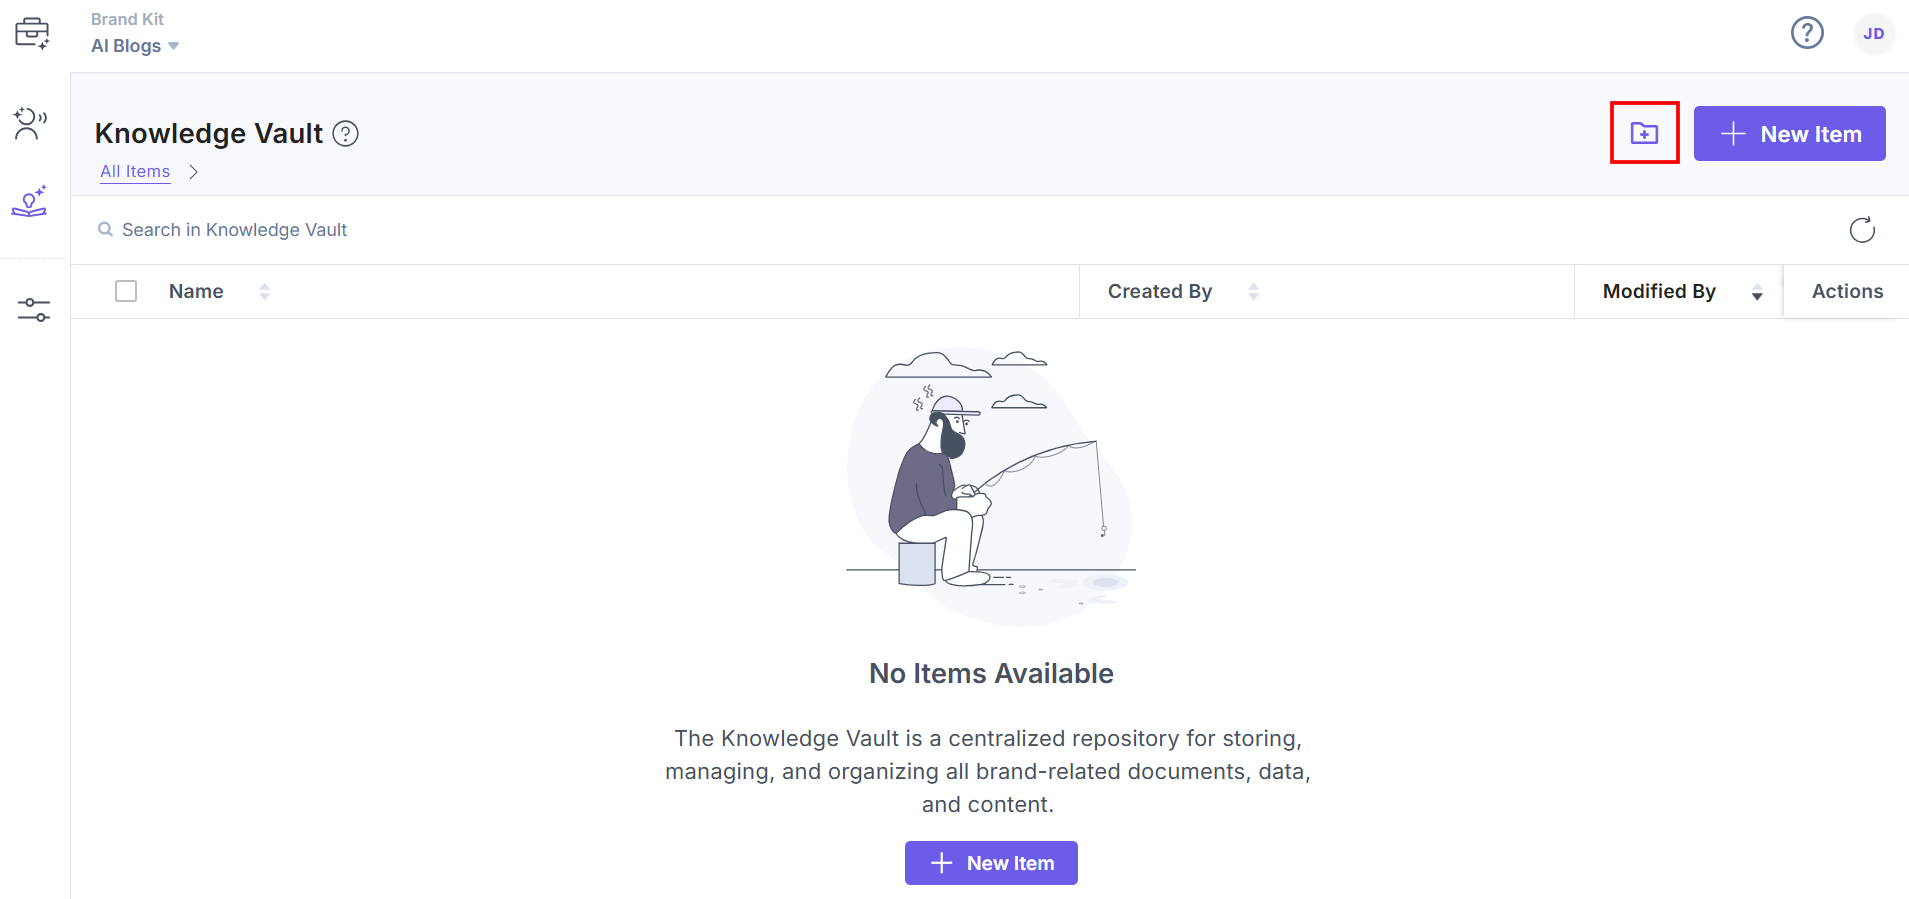
- You can also add the subfolders for grouping items in Knowledge Vault by clicking the Folder icon from the top-right corner.
In the New Folder modal, enter the Name and click Save to create a new folder.
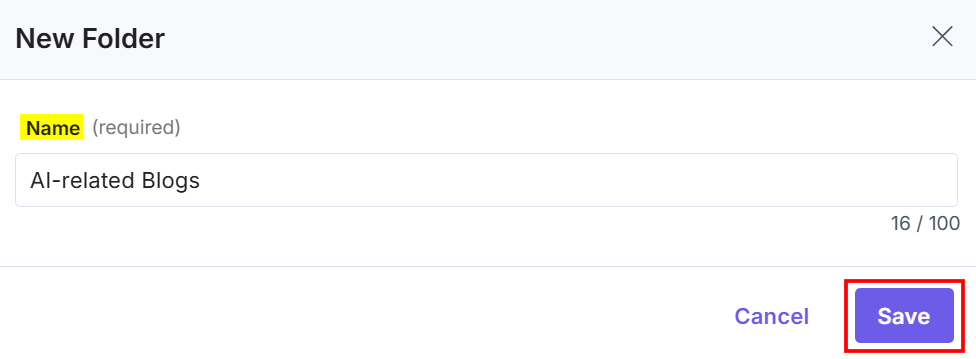
Now you can add items in the newly created folder.
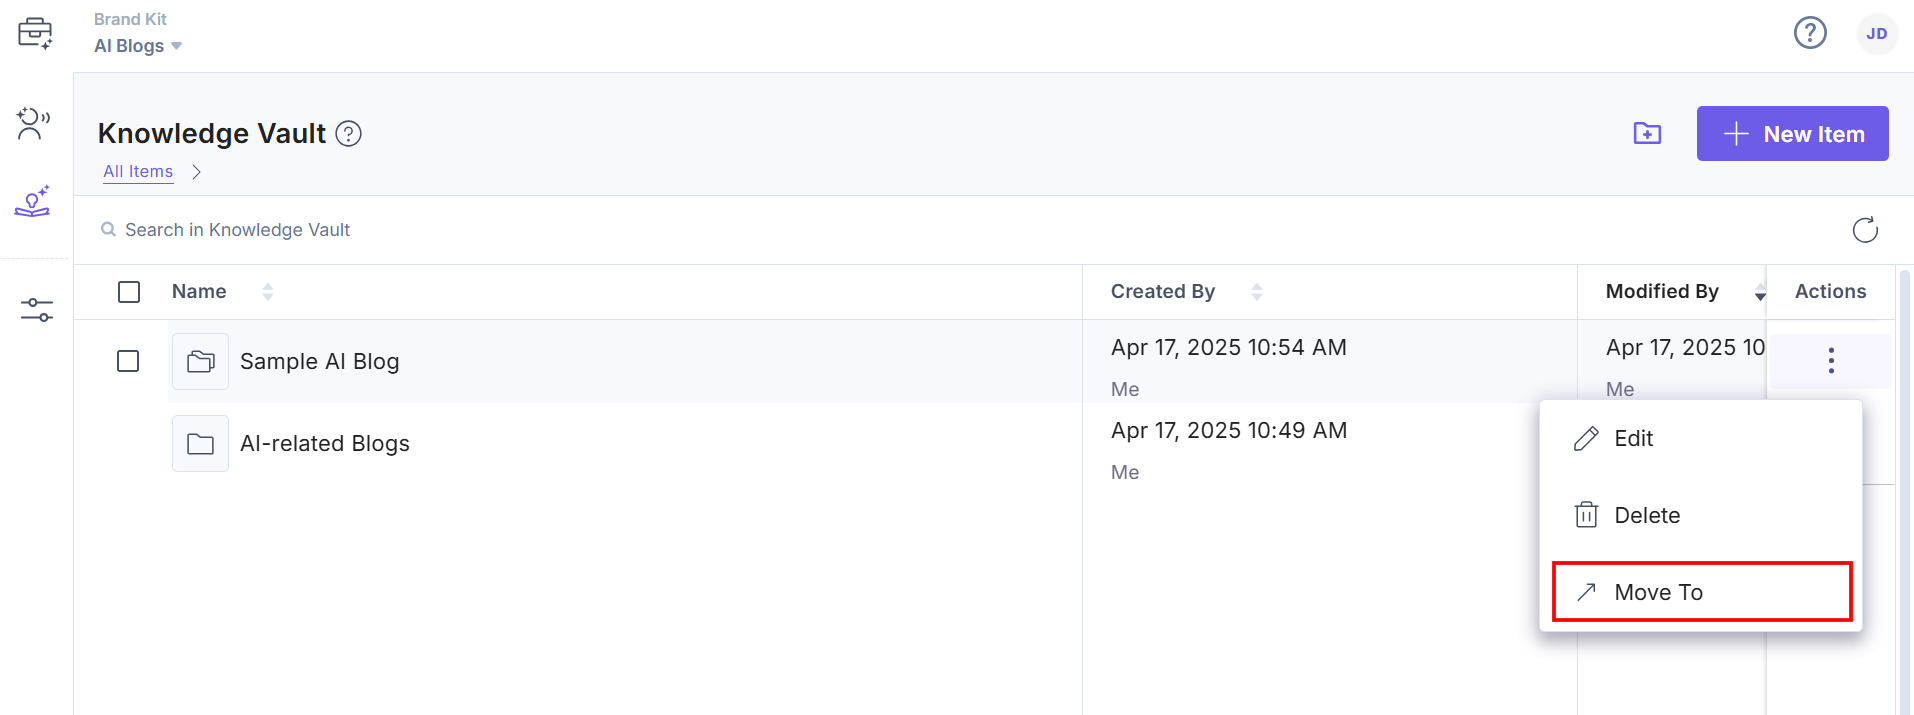
- You can also move the items in a folder or from one folder to another. Click the corresponding vertical ellipses under the Actions tab, and then click the Move To option.
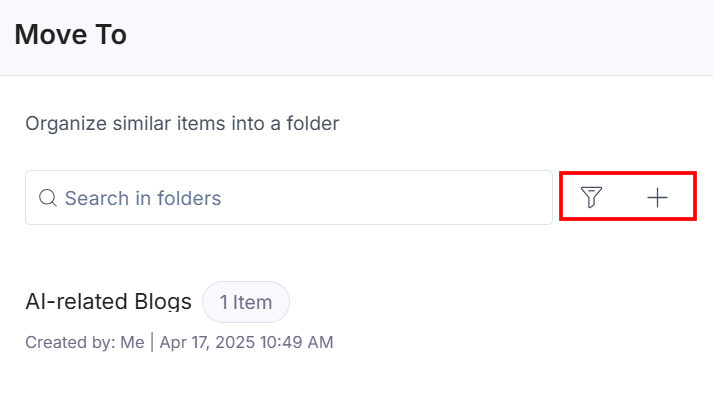
In the Move To modal, you can search for a folder, apply filters, or add a new folder to move the items respectively.
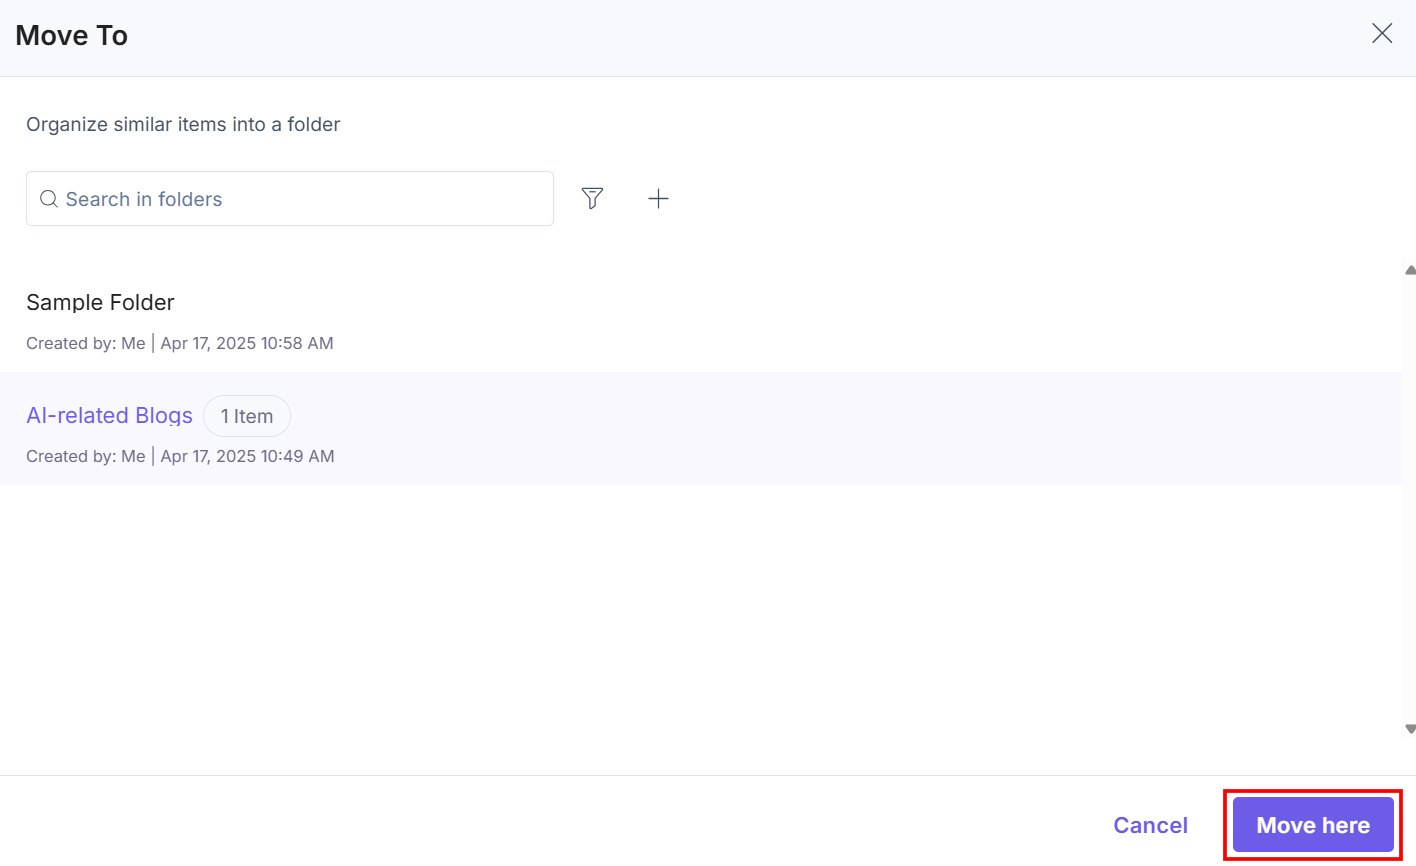
Select the preferred folder and then click the Move here button to relocate the item to the selected folder.
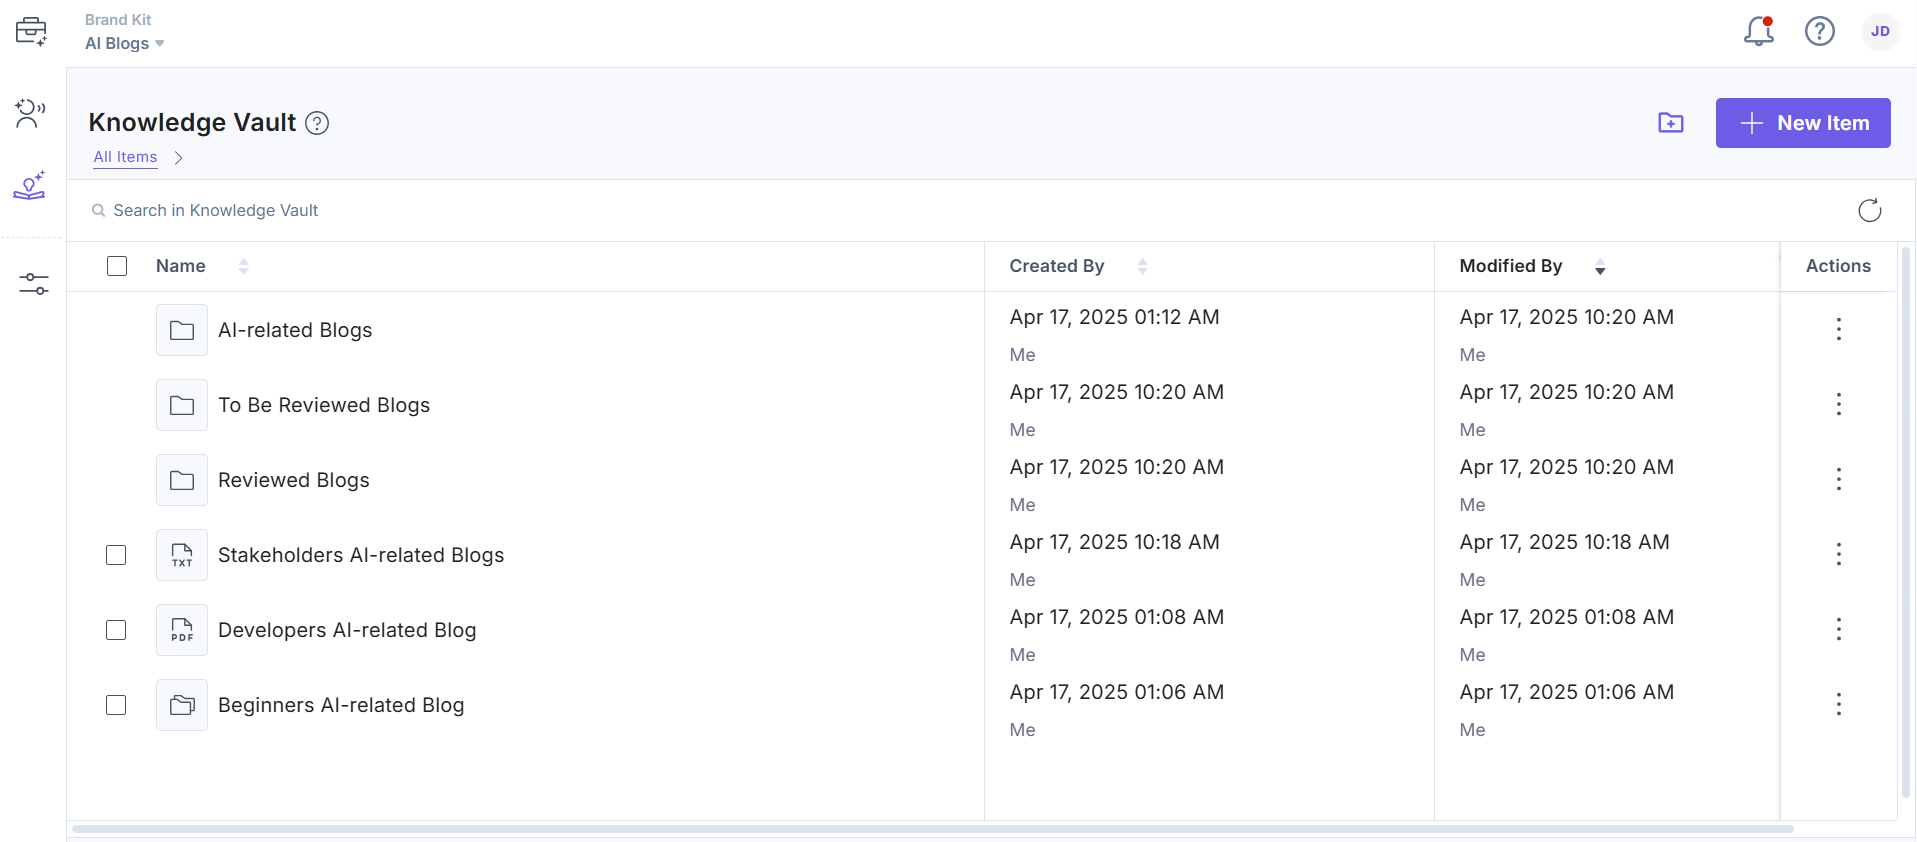
- After successfully adding items and folders, you can view them in the Knowledge Vault dashboard.
More articles in "Understanding Knowledge Vault"
