Users
Users are individuals who have access to contribute to or manage the Launch project.
Roles define the scope of actions users can perform based on their level of access.
Roles and Capabilities
| Roles | Capabilities |
|---|---|
| Organization Owner/Admin | Full access to all actions and settings |
| Launch Project Owner | Full access to all actions and settings. |
| Admin | Can perform all actions and manage settings, except deleting a project or repairing the Git connection. |
| Read-Only | Can view environments, deployments, and settings but cannot create, update, or delete anything. |
Note: Only the Launch Project Owner, Organization Owner and Organization Admin can add or remove users.
User Permissions
The following table outlines the permissions for each role across various resources:
| Resources | Actions | Organization Owner/Admin | Launch Project Owner | Admin | Read-Only |
|---|---|---|---|---|---|
| Project | View | check_circle | check_circle | check_circle | check_circle |
| Create | check_circle | check_circle | check_circle | cancel | |
| Update | check_circle | check_circle | check_circle | cancel | |
| Repair Git Connection | check_circle | check_circle | cancel | cancel | |
| Delete | check_circle | check_circle | cancel | cancel | |
| Environment | View | check_circle | check_circle | check_circle | check_circle |
| Create | check_circle | check_circle | check_circle | cancel | |
| Update | check_circle | check_circle | check_circle | cancel | |
| Delete | check_circle | check_circle | check_circle | cancel | |
| Domain | View | check_circle | check_circle | check_circle | check_circle |
| Create | check_circle | check_circle | check_circle | cancel | |
| Update | check_circle | check_circle | check_circle | cancel | |
| Delete | check_circle | check_circle | check_circle | cancel | |
| Deploy Hook | View | check_circle | check_circle | check_circle | check_circle |
| Create | check_circle | check_circle | check_circle | cancel | |
| Update | check_circle | check_circle | check_circle | cancel | |
| Delete | check_circle | check_circle | check_circle | cancel | |
| Deployment | View | check_circle | check_circle | check_circle | check_circle |
| Create | check_circle | check_circle | check_circle | cancel | |
| User | View | check_circle | check_circle | check_circle | check_circle |
| Invite | check_circle | check_circle | cancel | cancel | |
| Remove | check_circle | check_circle | cancel | cancel |
Managing Users
Invite a User to the Project
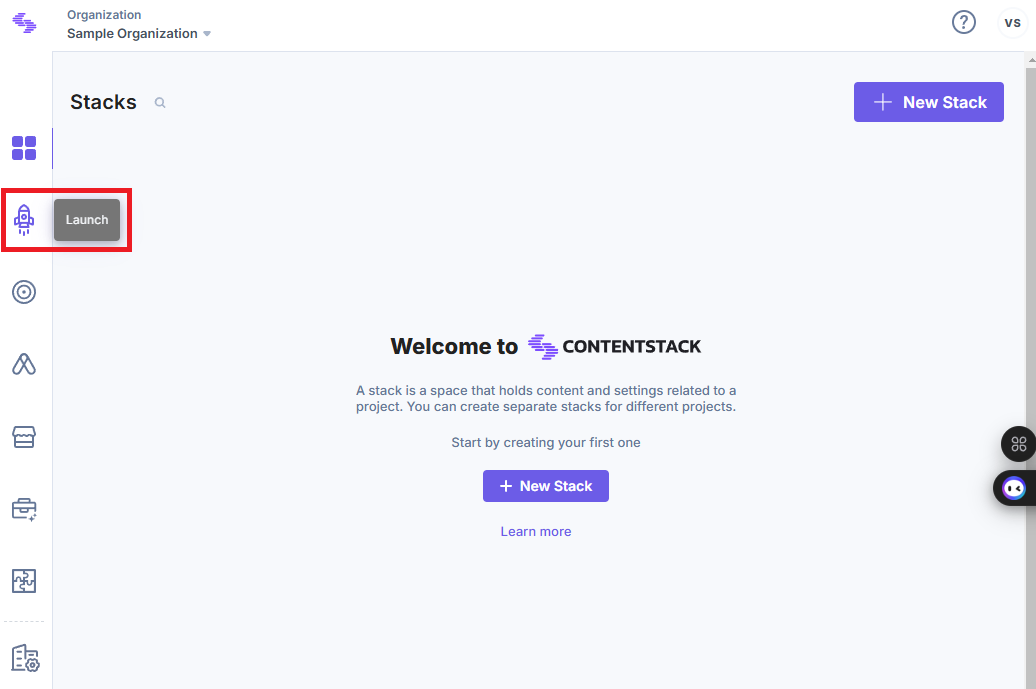
- Log in to your Contentstack account and select the Launch icon from the left navigation panel.
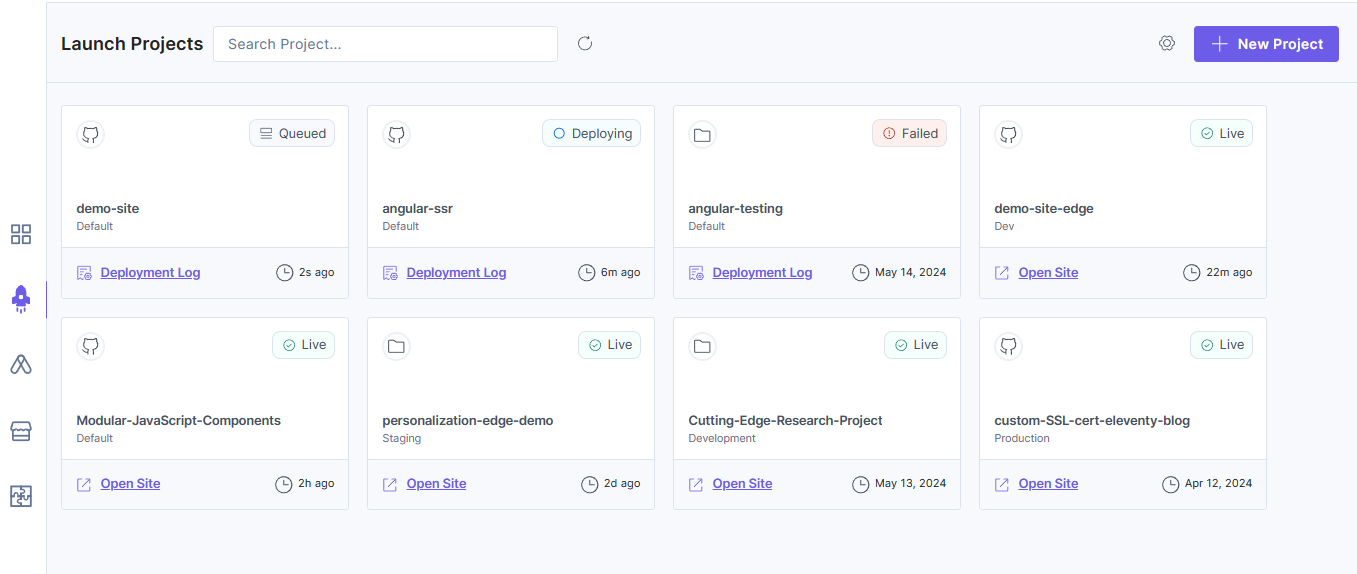
- On the Launch landing page, click the desired project.
- From the left panel, click the Settings icon.

- In the Users section, click the Invite User button.

- In the Invite User modal:
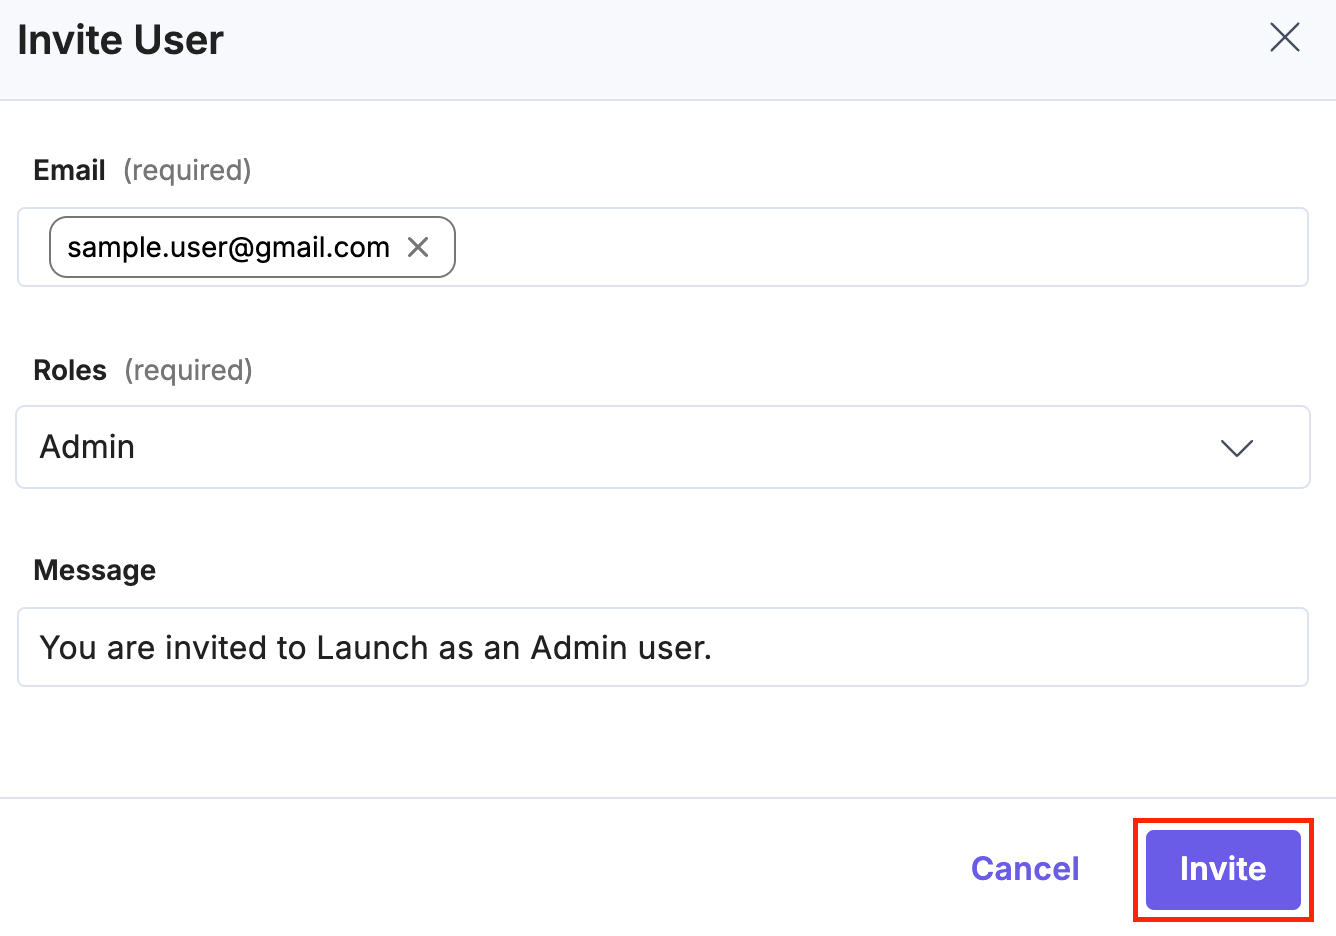
- To assign the Admin role to the user, follow the steps below:
- Enter the user's email address.
- Select the role as Admin from Roles drop-down.
- Optionally, add a message for the invitee.
- Click Invite to send the invitation.
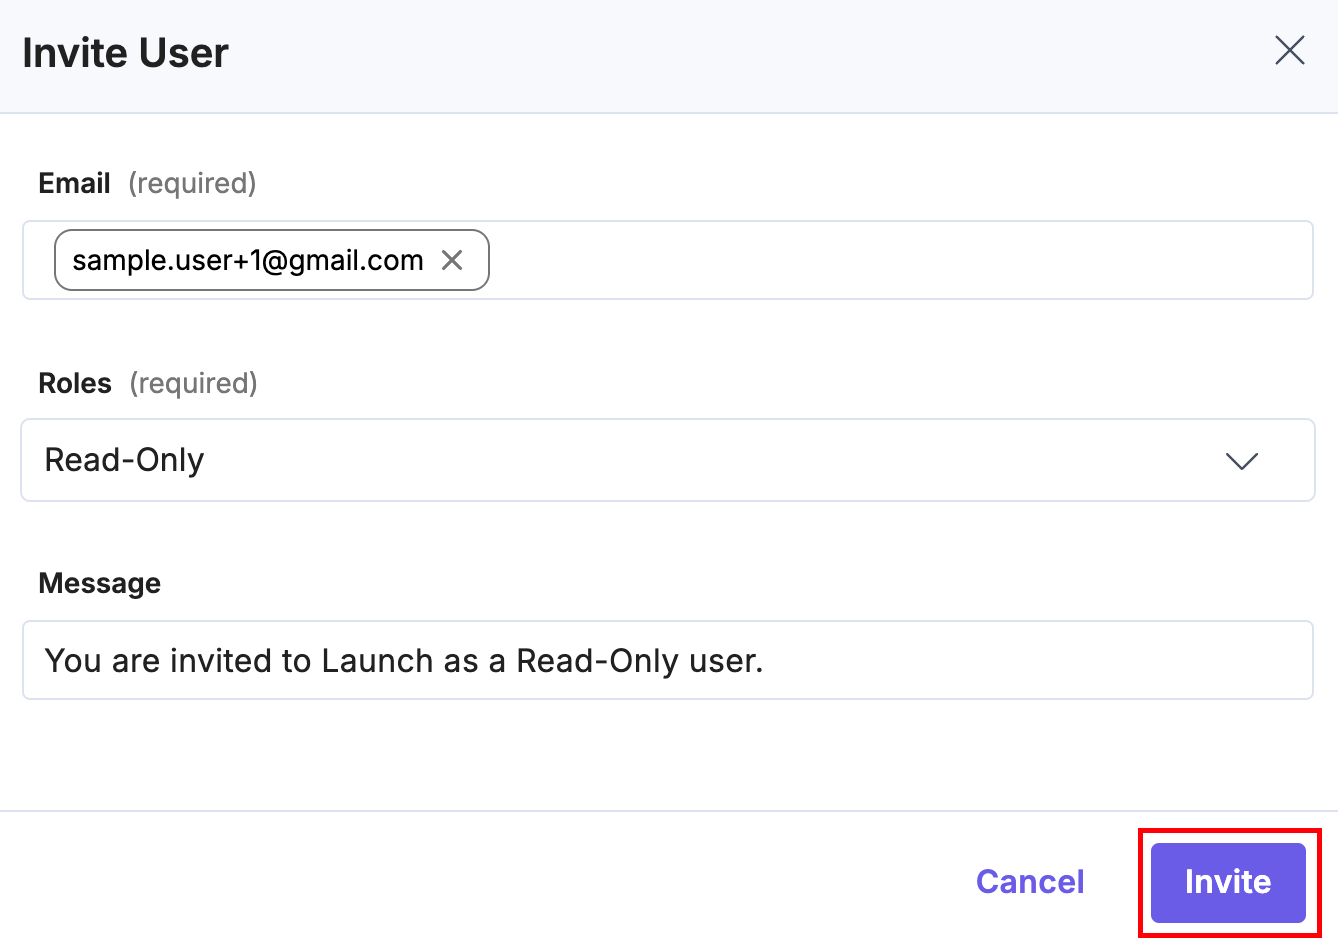
- To assign the Read-Only role to the user, follow the steps below:
- Enter the user's email address.
- Select the role as Read-Only from Roles drop-down.
- Optionally, add a message for the invitee.
- Click Invite to send the invitation.
You can invite multiple users by entering their email addresses.
The invited user will receive an email. Once they accept the invite and are authorized, their status will update to Accepted.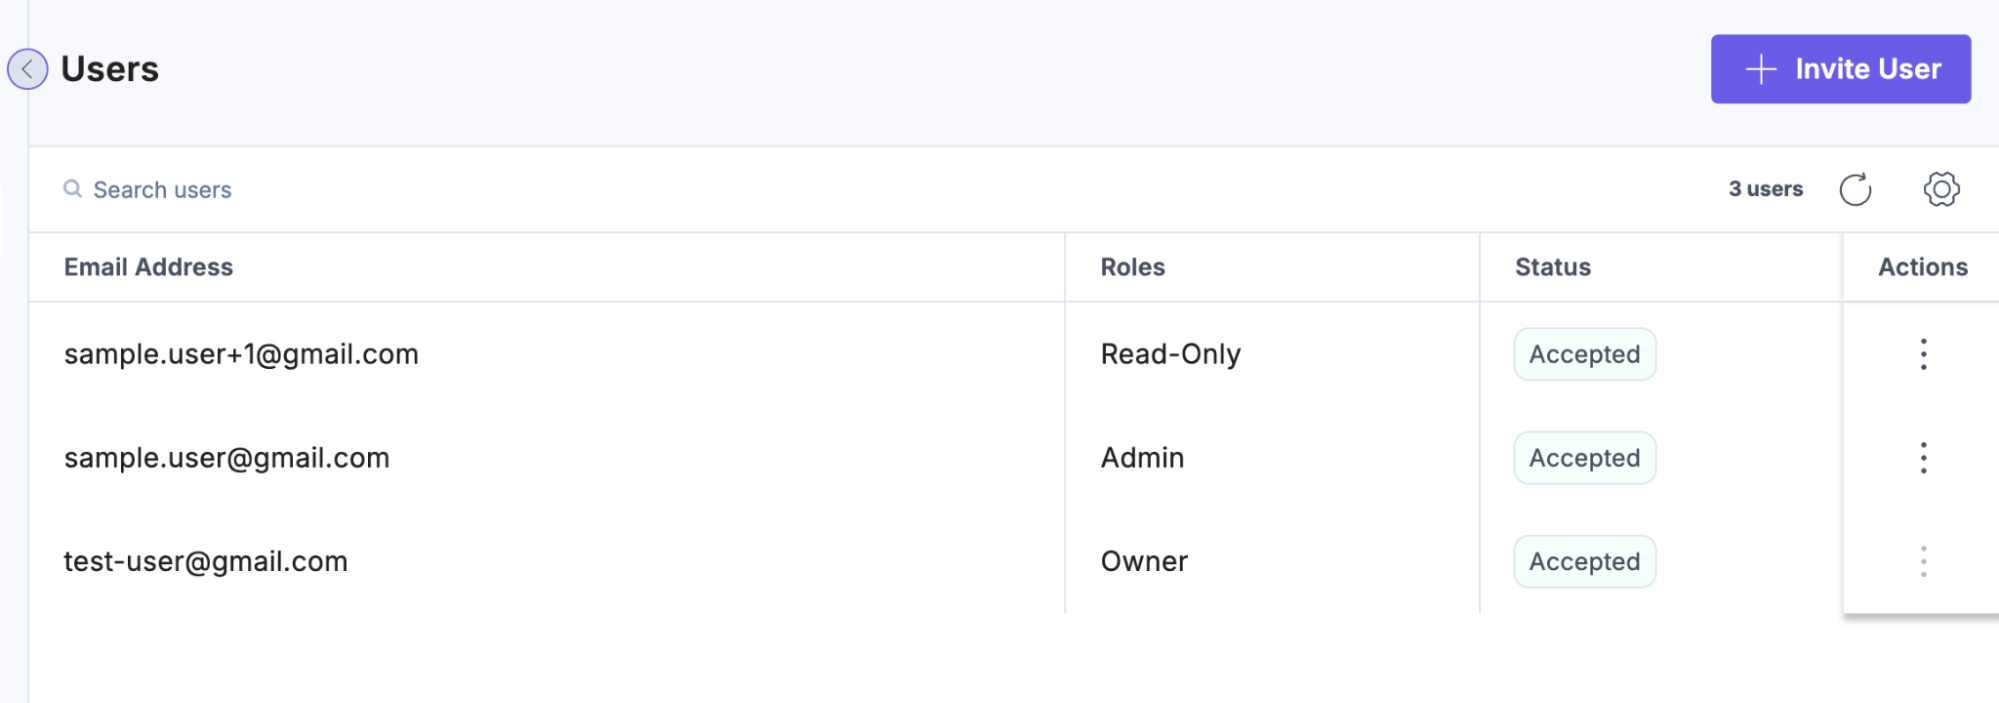
- To assign the Admin role to the user, follow the steps below:
Remove a User from the Project
- Go to the desired project and click the Settings icon from the left navigation panel.
- In the Users section, locate the user you want to remove.
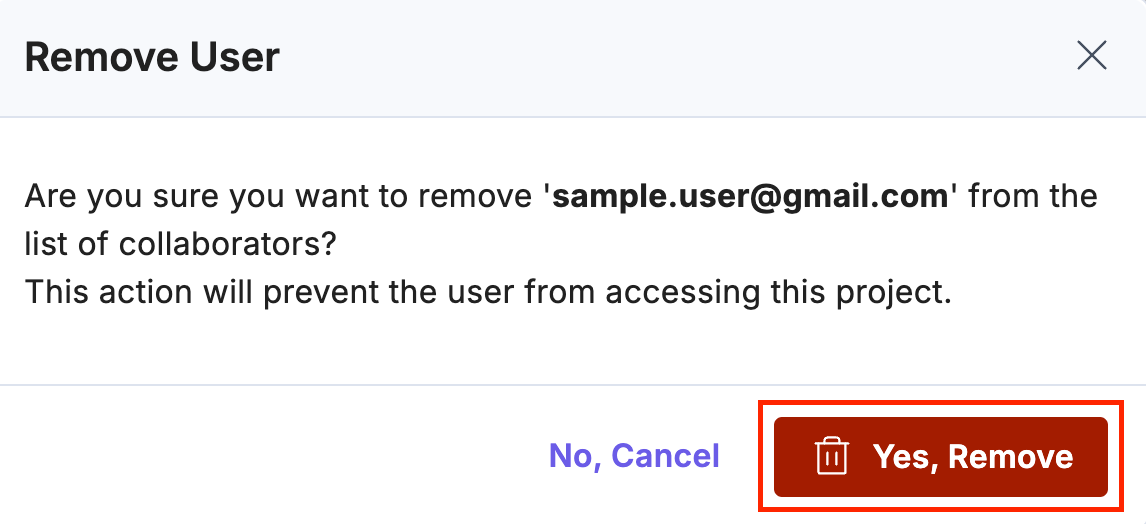
- Click the ellipses under Actions and select Remove.

- Click the Yes, Remove button to successfully remove the user.


.svg?format=pjpg&auto=webp)


.svg?format=pjpg&auto=webp)
.svg?format=pjpg&auto=webp)
.svg?format=pjpg&auto=webp)
.svg?format=pjpg&auto=webp)


